all right youtube back over here on this train rtac verified that our nitrogen holding charge held over the weekend so that's a really good sign so what we're going to get started doing now is we're going to vent the nitrogen that's holding in the circuit we're going to go ahead and pull the cover off of that change the filter dryer core i'll show you how to get that done and after we do that we'll set up the vacuum setup we got the field piece we're going to use some core removal tools got the true blue
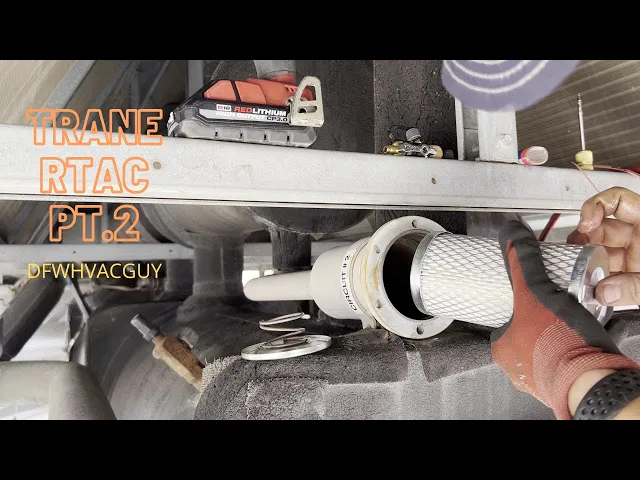
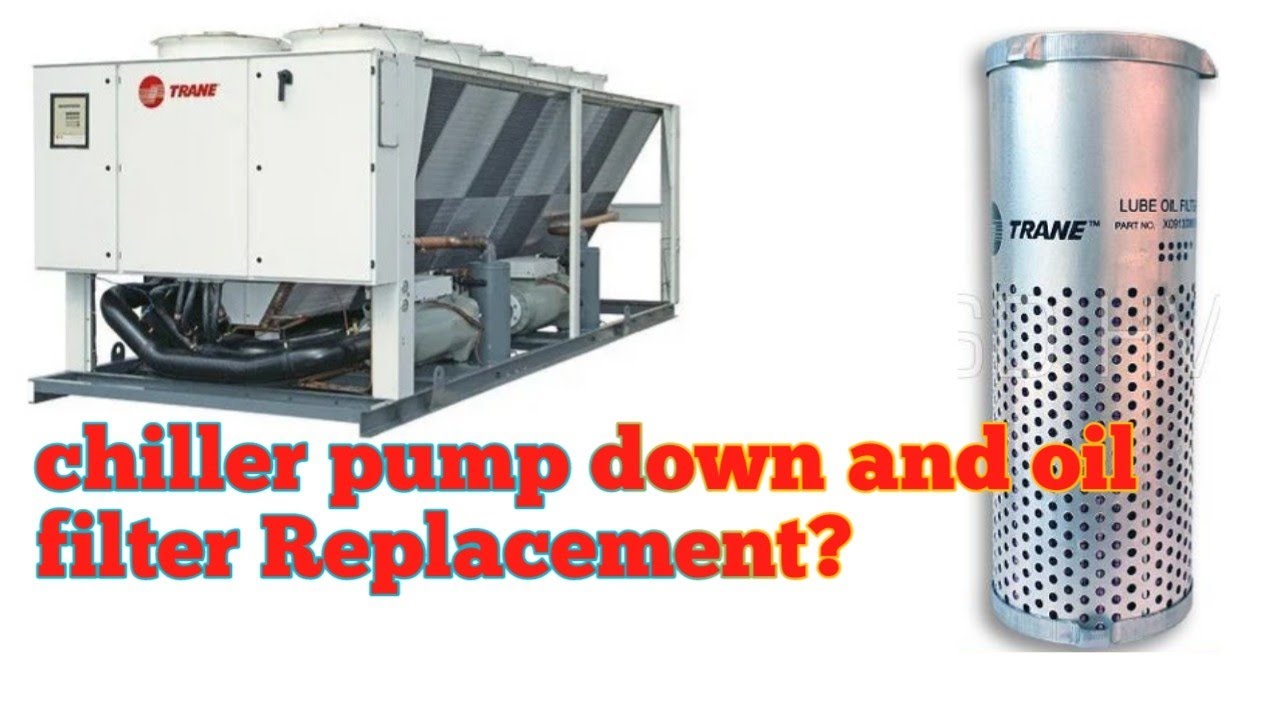
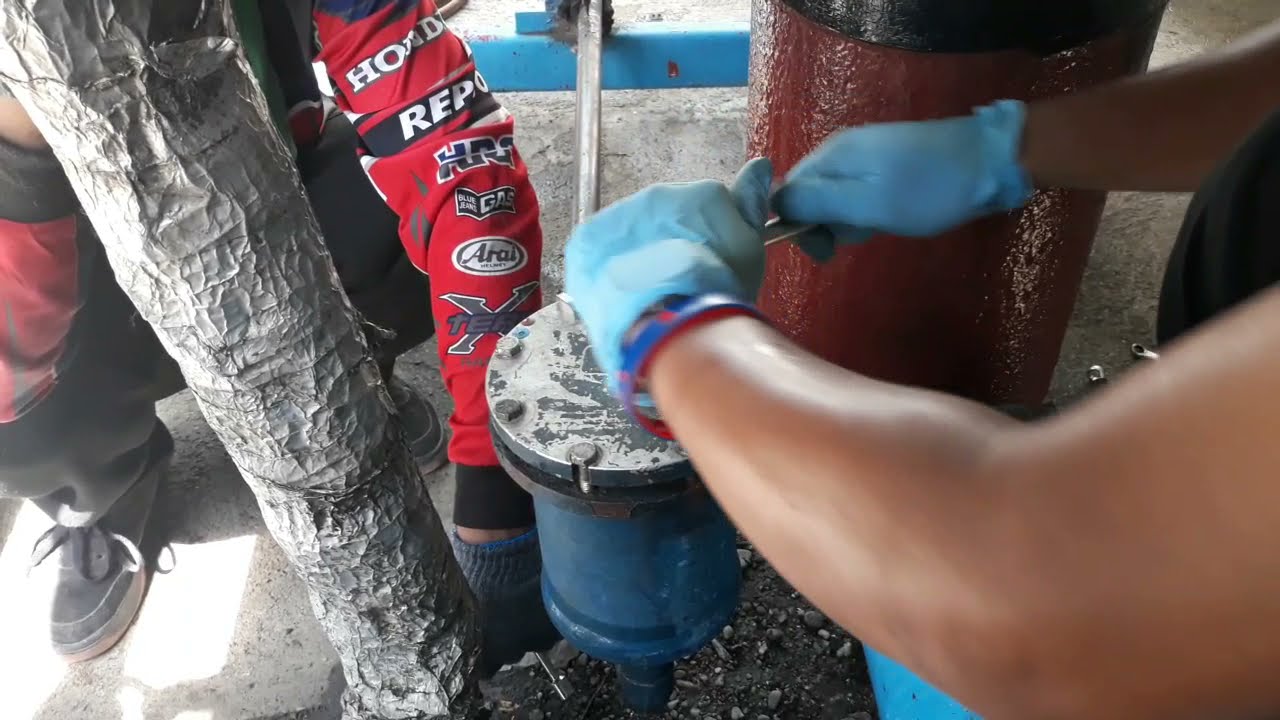
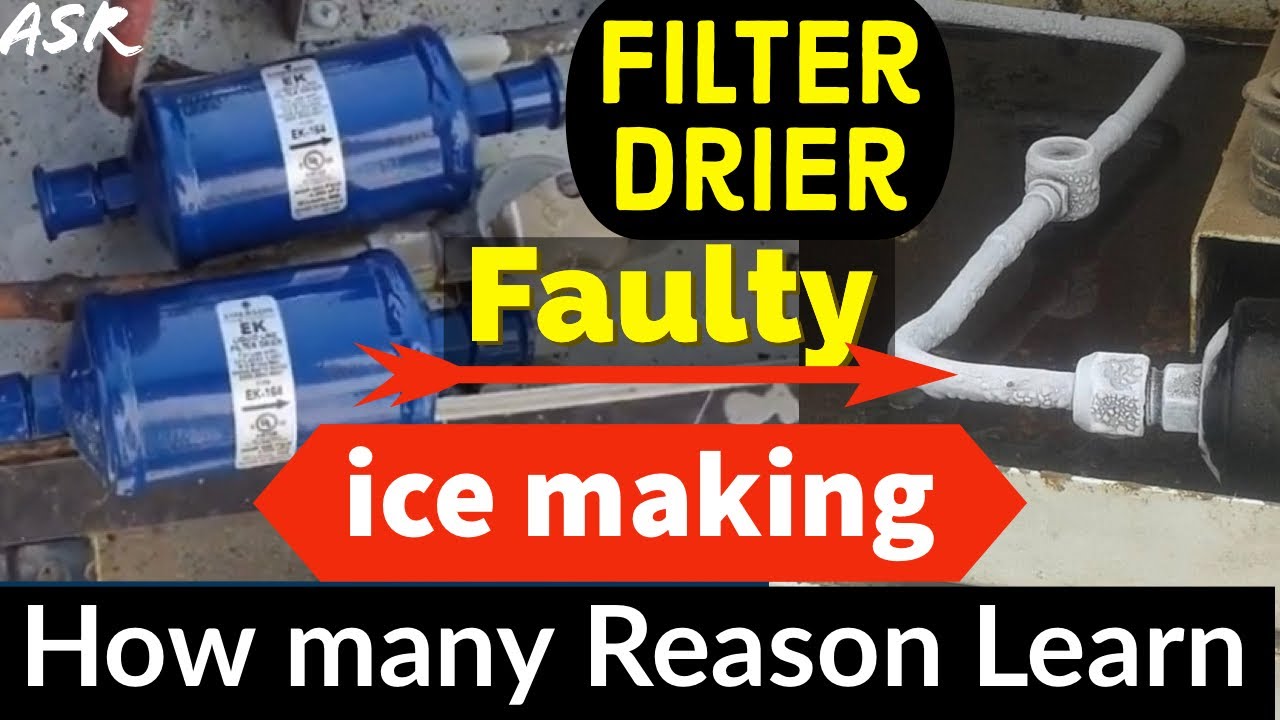
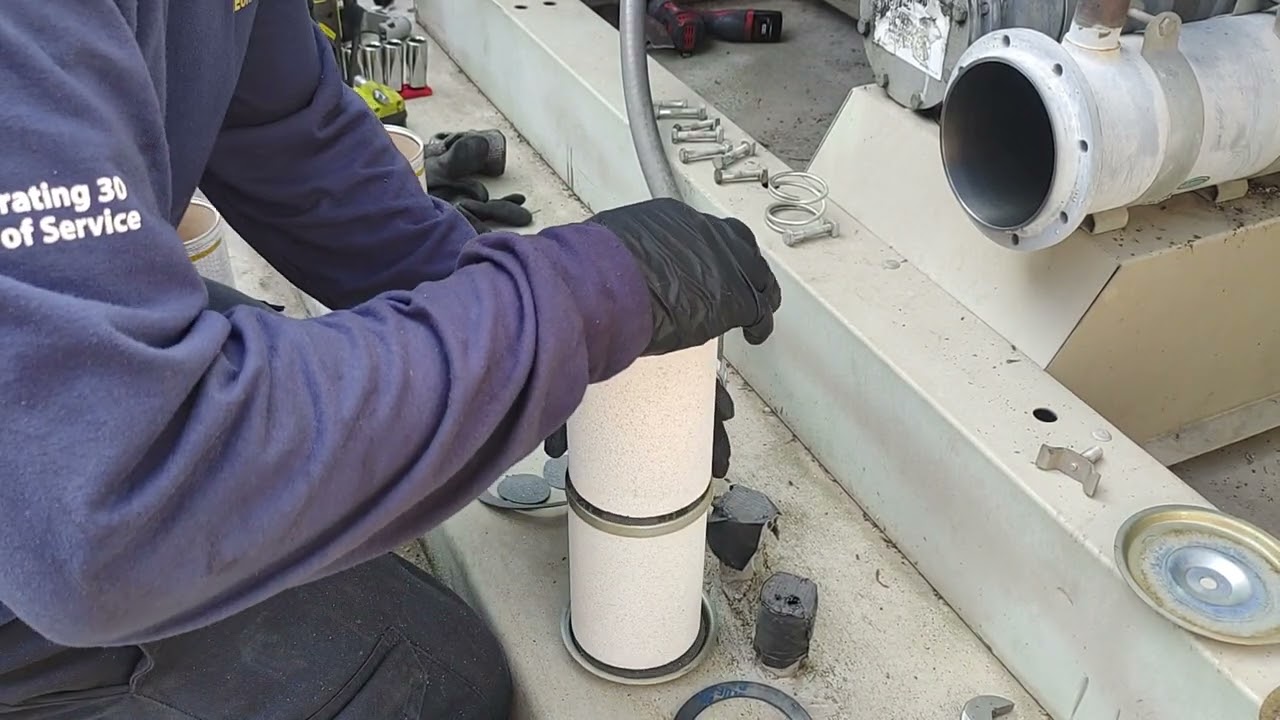
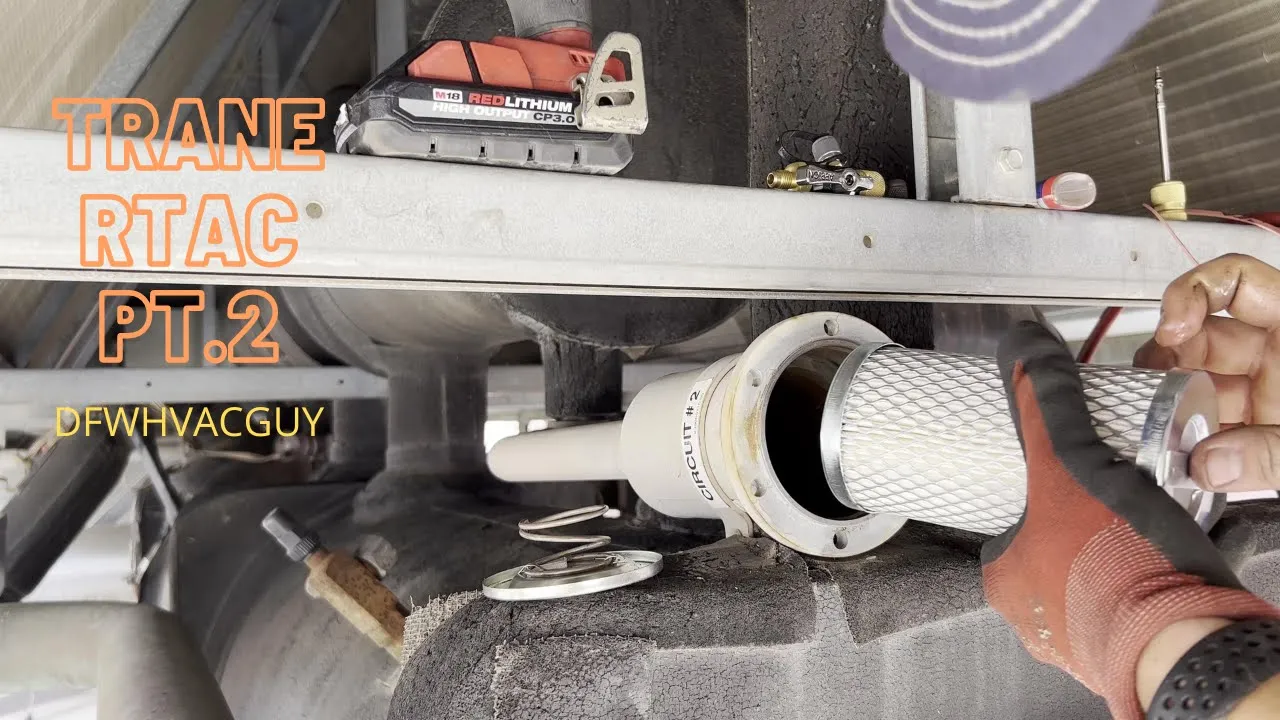
kit and another yellow jacket vacuum rated hose get that set up and sucked it down okay we've got the nitrogen vented about to pull the dryer these bolts are a half inch there's a square nut on the back you have to make sure you won't drop it and lose it this isn't your standard size 48 dryer core you're gonna have to order this oem from trane so that's the part number kit zero six one four it's not a charcoal dryer it looks more like a filter so let me get this pulled out and i'll show
you what it looks like [Music] make sure not to drop that [Music] so [Music] [Music] set these on the ground as you can see there should be a gasket right here that kit will come with a gasket [Music] pull this little plunger off [Music] you may need to get a pair of channel locks or a flat head and try to kind of pull this out because it snaps into place [Music] so [Music] [Music] [Music] let me go get a pair of channel locks see if i can get that out easier okay [Music] there you go
sometimes you got to give it a little spin while you're pulling it so that's what it looks like [Music] i'm gonna pause the video while i clean this [Music] gasket rib out i'm gonna want to get it nice and clean and then i'll apply some nylon to our new gasket and get that in there for those of you wondering that's what the inside looks like so we've got the [Music] inlet side of the dryer right here filters through here across through that hole right there it just kind of snaps in place [Music] again there's an
o-ring right here on the inside of this lip you're gonna want to make sure you lubricate that really good with some of that oil that's sitting down in there okay we got the inside of this all cleaned up what i did is i just used some of that previously existing compressor oil that we had drained into a water bottle lubricated both sides of this gasket really well okay set that down for the time being [Music] get our new filter and remember we're going to lubricate the inside of this o-ring [Music] just using my finger with
some oil on it duplicate that too [Music] so we've got a nice good seat [Music] popped right into place our little uh spring is gonna go back on the outside like that [Music] liner play-doh [Music] you're going to have to keep pressure on the back side of this plate or that spring will push it out [Music] i'm going to go ahead and just barely run this screw in so it catches on that nut and holds it in place [Music] there we go now i'm going to do the same thing with all the screws just going
to get them caught up on that nut we don't want to fully crank it down yet [Music] like so this one down at the bottom it's gonna be kind of tricky because there's insulation so you're kind of gonna have it [Music] okay i got that on there now like i said in the previous video part one you're gonna go obviously when you tighten these so i'm gonna take this one so it seats evenly across the base i like my finger on the back side of this nut while i tighten it [Music] [Music] okay i got
that on there now like i said in the previous video in part one you're gonna go opposite when you tighten these so i'm gonna tighten this one then this one this one this one this one this one so it seeps evenly across the base and i'm gonna keep my finger on the backside of this nut while i tighten it [Music] so [Music] so [Music] so [Music] okay guys we got the core replaced one thing i should note is if you're running those in with an impact or taking them out it's best to use a ratchet
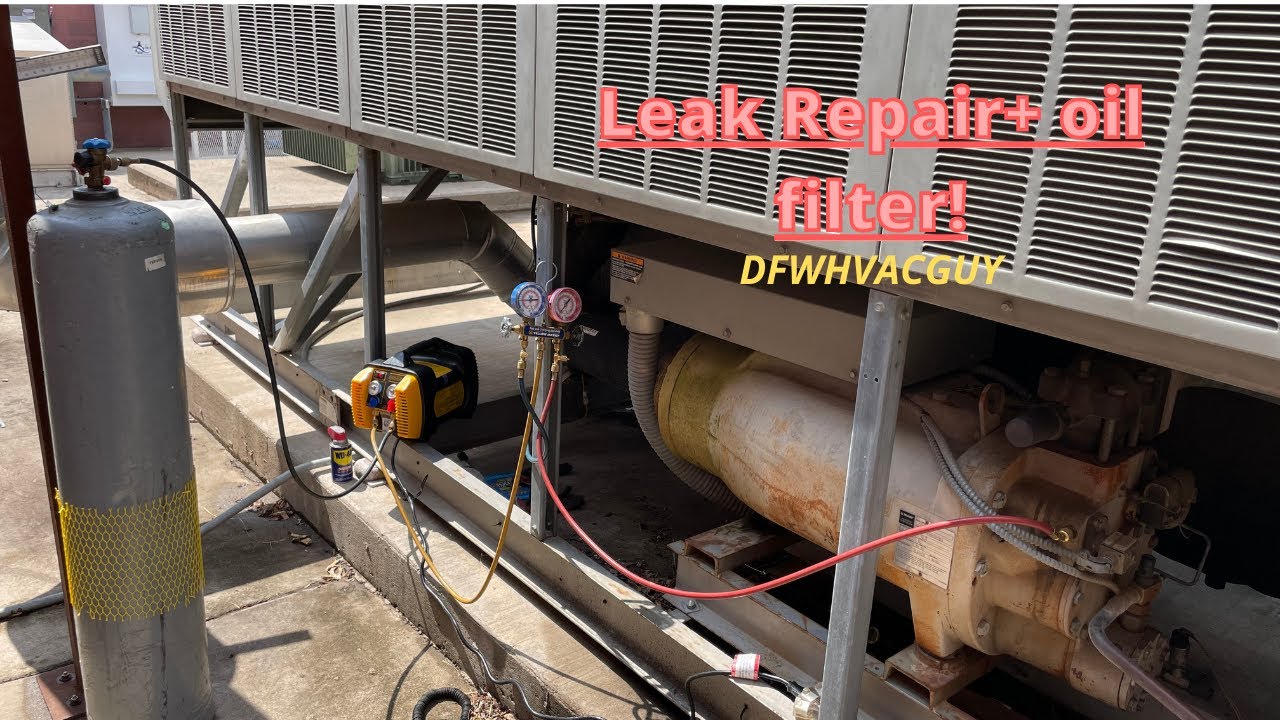
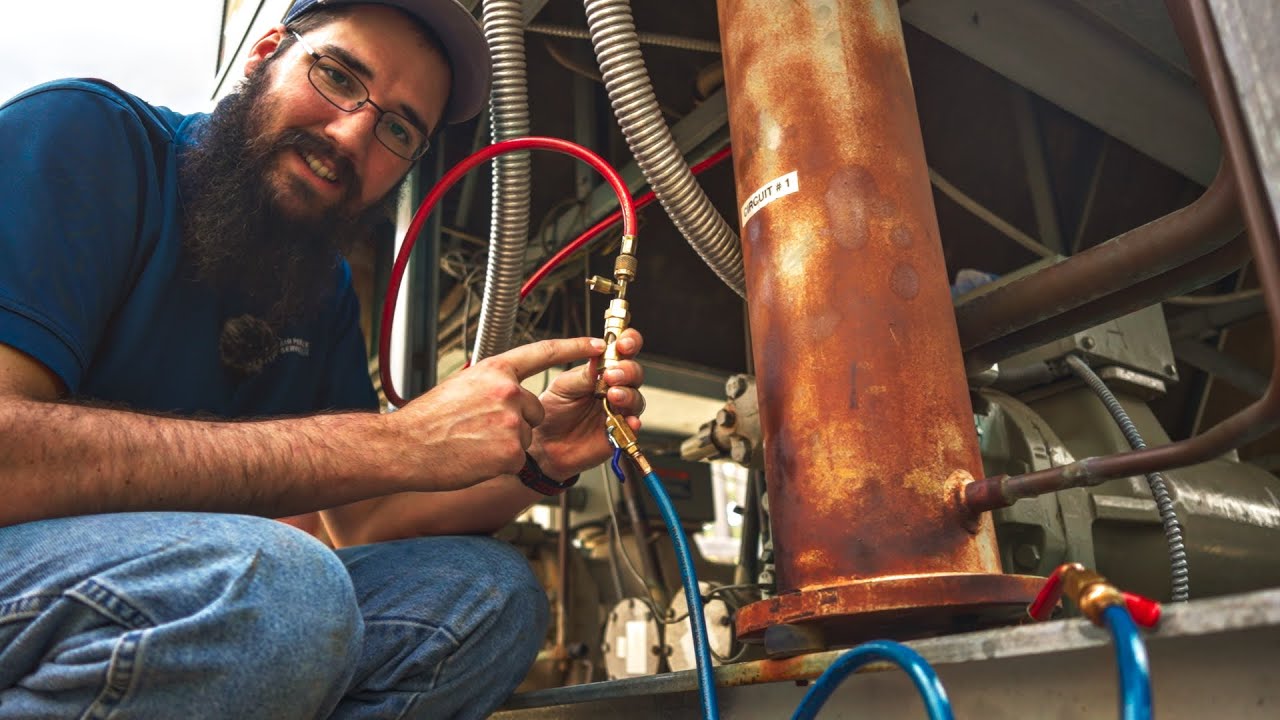
to cinch them down your impact may start clicking and you think it's tight but really you got another three or four quarter turns on each bolt so i just set up the vacuum pump field piece eight cfm i've got a half inch fitting on my half inch true blue hose 3 8 yellow jacket vacuum rated hose i've got the core pulled on the dryer core shell so we're pulling from there and i've got the core pulled right there on the suction line pulling with my half inch so we're going to run the pump through the
gas ballast and let it start to pull down and then we'll switch over to pulling through the oil [Music] i also have the core pulled right there i don't know if i mentioned that or not so we'll see this is my first time using the field piece vacuum pump we'll see um we'll see how badass it is it came highly recommended i went ahead and just put my micron gauge somewhere further down the line so i can get a more complete micron reading rather than just putting it right there close to the pump so i've
got it right here whenever i start pressurizing the system i'll of course close this um close this little ball valve right here keep the vacuum running and then pressurize it so we're going to look go ahead and let this run it is 9 50 a.m right now so i'll keep an eye on the time and check back in with y'all whenever i've reached a suitable micron level this circuit right here is so old and because we have so many intricacies of the pipe work and the compressor itself pulling a 500 micron vacuum is going to
be really tough so if we can get below a thousand and hold under a thousand i'll be really happy with that and of course the lower i go the better but for a system this old that may or may not have some small additional leaks somewhere that we haven't located yet 500 microns is absolute best case scenario so i will check back in with y'all let you all know how it goes also i had previously closed off this oil line when i was doing the repair to prevent oil from flowing back through i went ahead
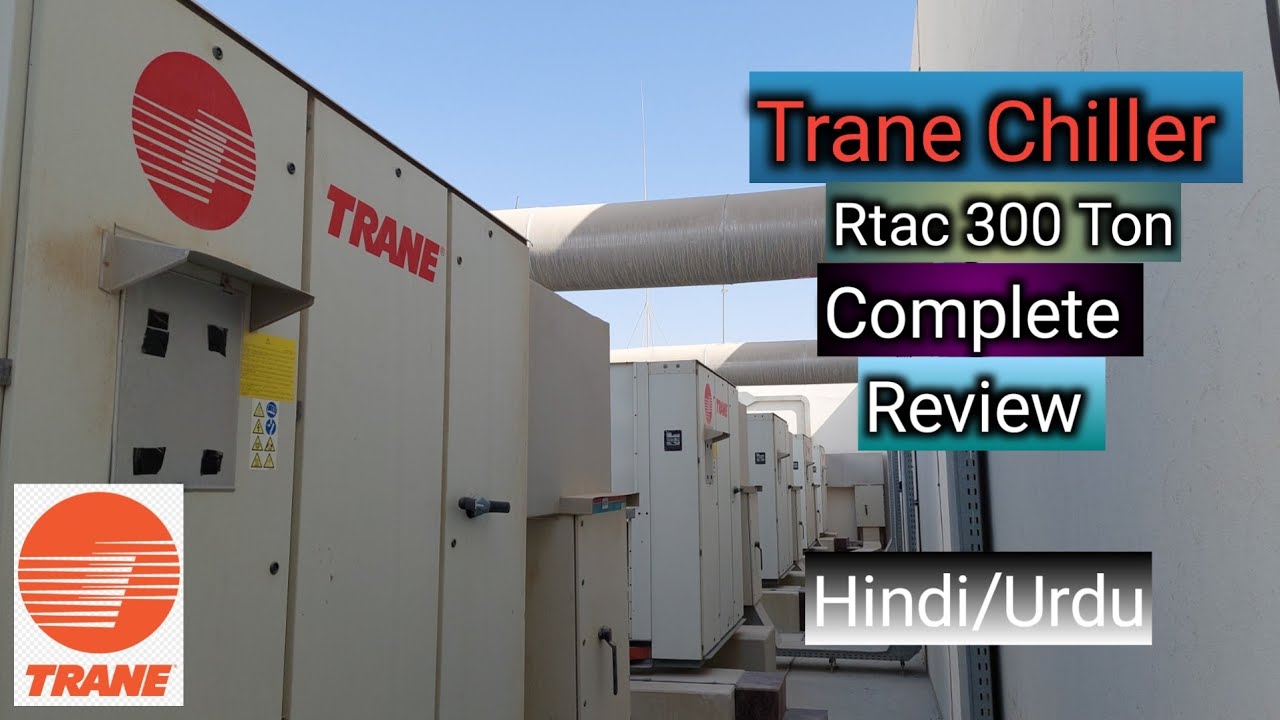
and opened that valve back up so i can pull a good vacuum on the entire circuit all right guys so it's been about 30 minutes pulling through my half inch and 3 8 hose with the core removal tools field piece vp87 this is a 250 ton chiller so each circuit is 125 tons for those of you guys arguing about pulling directly from the pump to core removal tools and still using manifold i still do it every now and then but the the speed speaks for itself it really is more efficient so it's been about 30
minutes on 120 5 ton circuit and we're at about 3 000 microns so the field piece manual states that once you hit about 3 000 microns you should go ahead and close the gas ballast in the back right here and pull through the oil so i'm going to go ahead and close that and then i'll keep an eye on the time and we'll see how long it takes to reach a suitable micron range all right guys so it's been about two and a half hours we are holding steady at about under 900 microns [Music] so
i'm gonna call it um that's pretty good for this 125 ton circuit that's really old on the screw screw compressor i'm going to shut off my isolation valves [Music] make sure everything's closed off um and then we're going to recharge the system i'll start by pushing what we recovered into the liquid line i'll have it sitting on a scale so we can weigh it we'll put in everything that we recovered which was around 190 pounds and then i've got a drum right there to top it off so hopefully it'll take mostly everything pushing it in
under vacuum like that [Music] and if not then uh i'll turn the chiller to auto and we'll push the rest in through the suction side i don't think that i'll need to push it in with a recovery machine it should take most of it if i need to set up the recovery machine i will once again like i said with recovering it's going to be the same as charging on chill water system you can make sure your pump is running so before i get ready to put some charge in the pump is set to automatically
turn on when the chiller is in auto i'm going to go ahead and switch this to hand and that'll run the pump independently regard regardless of the automatic setting so we'll leave the pump in hand i'll put in all the refrigerant that i can i'll switch it off or switch it over to auto and turn the chiller on real quick and i'll check back in with y'all let's know how it goes okay we're currently charging the total drum weight was about 176 pounds for this drum so the drum itself weighs 50 pounds empty we are
at 130 so i've got about 50 pounds in it right now i know i've got pressure so i'm going to go ahead and put the schrader core back in right there i don't like to put the schrader cores in while the unit is still in vacuum i don't want to risk any chance of getting oil potentially trapped in there so what i'll do is i'll pressurize the system make sure that i've got positive pressure and then i'll put the schrader core back in that way we eliminate all risk of any type of non-condensable getting in
so you can see when i swing around right here i still have the schrader core pulled on this dryer port so i'm charging liquid right here uh whenever it stops taking and the pressures kind of equalize i'll isolate this valve again take my hose off and then i'll put the schrader core back in and hook back up with a regular hose at that point so let's see how much it'll take in and maybe i can avoid having to set up the recovery machine and push the rest in try to get this on film for y'all
so i got a new schrader core i put just a dab of nylon right there if you're not familiar with how to use a core removal tool it's pretty simple you're going to slide this up into the top make sure your valve is still closed thread it in like that until it's tight now i'm going to open my valve that's going to push pressure back against my core so i'm going to need to kind of press down on my finger and push against the presser uh the depressor while i'm putting it in [Music] okay it
feels like it's tight i'm gonna pull it back out close this and just to test i'm going to kind of keep my finger on it and i want to make sure no refrigerant is spitting it out when i open this back up because there's not a depressor actually in this core removal tool so you see i've got nothing coming out my core should be in there i'm going to go ahead and unthread this [Music] as you can see the core is back in there all right guys well it took about all it can take without
using the recovery machine so it's pretty simple to hook up i've just got it in reverse order as you would to normally use to pull gas from the system so your inlet instead of going to your gauges is going to go straight to the tank because the gas from the tank is going to go into the machine your outlet is going to go to your gauges and then be pushed into the system so you're basically just reversing the order i've kind of got this tampered down just a little bit because i don't want to slug
the the compressor that's inside the recovery machine so we're going to go ahead and push the rest in [Music] it's moving a lot quicker now check back in with y'all in a minute hey everybody dfw hvac here so i apologize for the lack of footage at the end of the video once those screw compressors got turned on and we started the system it was just so noisy you wouldn't have been able to hear anything that i said so i kind of wanted to touch base with you all on the outcome of the job i wound
up pushing in 230 pounds which was the factory charge of r134a used around 180 pounds that we recovered and then pushed in virgin r134a from some new jugs after that so before i started up i double and triple checked that i had every single valve open especially the oil line discharge line all that stuff when you're dealing with large tonnage equipment and screw compressors that cost thirty thousand dollars to replace before you go starting it back up you have to be sure that you've got everything open or you can really damage the internals of that
compressor especially if you've got some oil lines shut off so we made sure everything was open started the chiller back up in auto mode and uh pressures first of all set point was 44 degree water we were reaching and cycling on that pressures looked really good had somewhere around 36 to 37 psi so that's around [Music] 40 to 42 degree saturated refrigerant temperature i had around 220 i'm looking at my measure quick right here i had around 218 to 220 head pressure now that seems high for r134a but for an air-cooled chiller that has parapet
walls that are 12 feet high that surround the chiller airflow kind of gets whipped around in there that it never really escapes the envelope that it's in and with it being close to 110 degree day in texas 220 is actually pretty good so i think my sub cooling seemed a little high um it was somewhere around 16 to 17 degrees i'm not really too concerned with that though my super heat was maintaining about where i needed to be my metering device seemed like it was doing a good job i had like anywhere from you know
fluctuate 7 to 10 degrees obviously i couldn't get a um a bluetooth clamp on the suction line because of the size the diameter of it so i had my fluke probe on there um pressed on with a piece of insulated tape about as well as i could get it so anywhere from like 7 to 10 degrees super heat 15 to like 18 sub cooling somewhere in that range and unit ran good cycled on set point so i closed out that call it's good to go for the time being thank you all for watching if you
have any questions comments or anything like that please leave them in the comment section bear with me as i learn how to get better at making these youtube videos i'm still a total noob with this stuff and if there's any special requests leave them in the comment section peace y'all