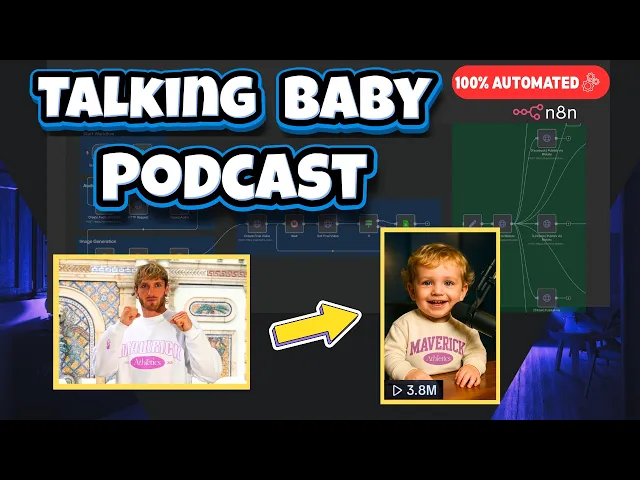
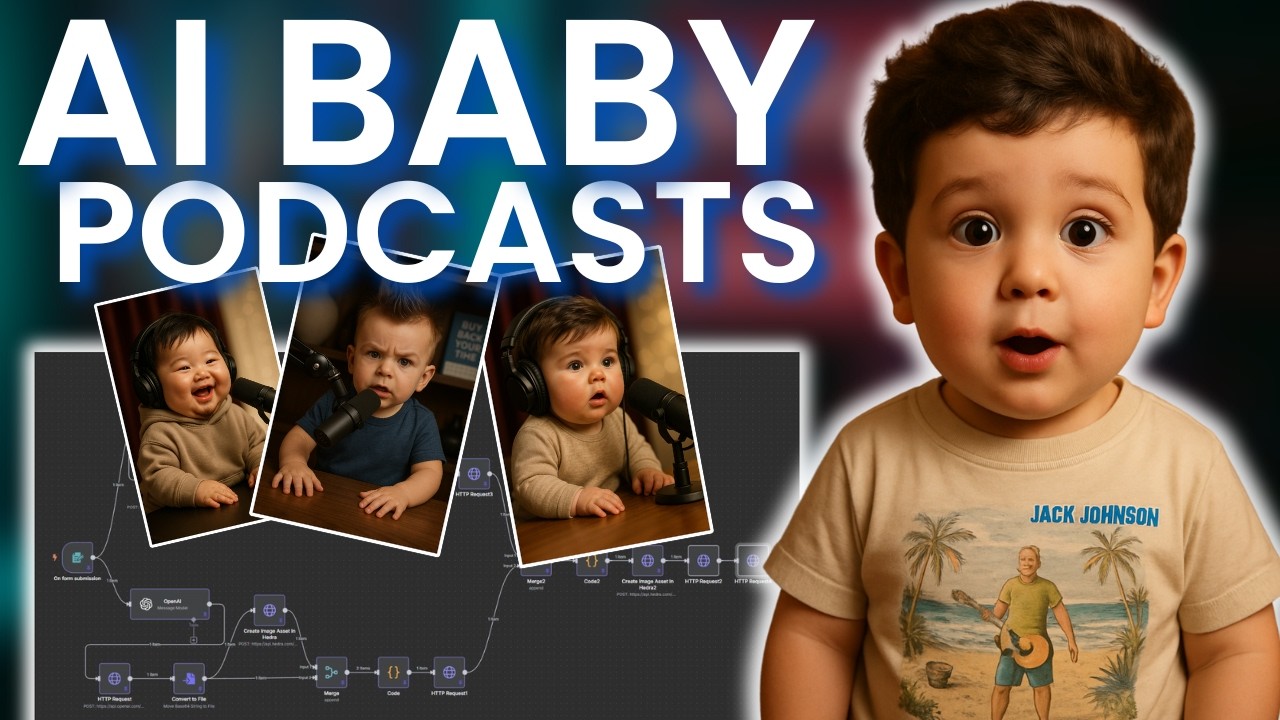
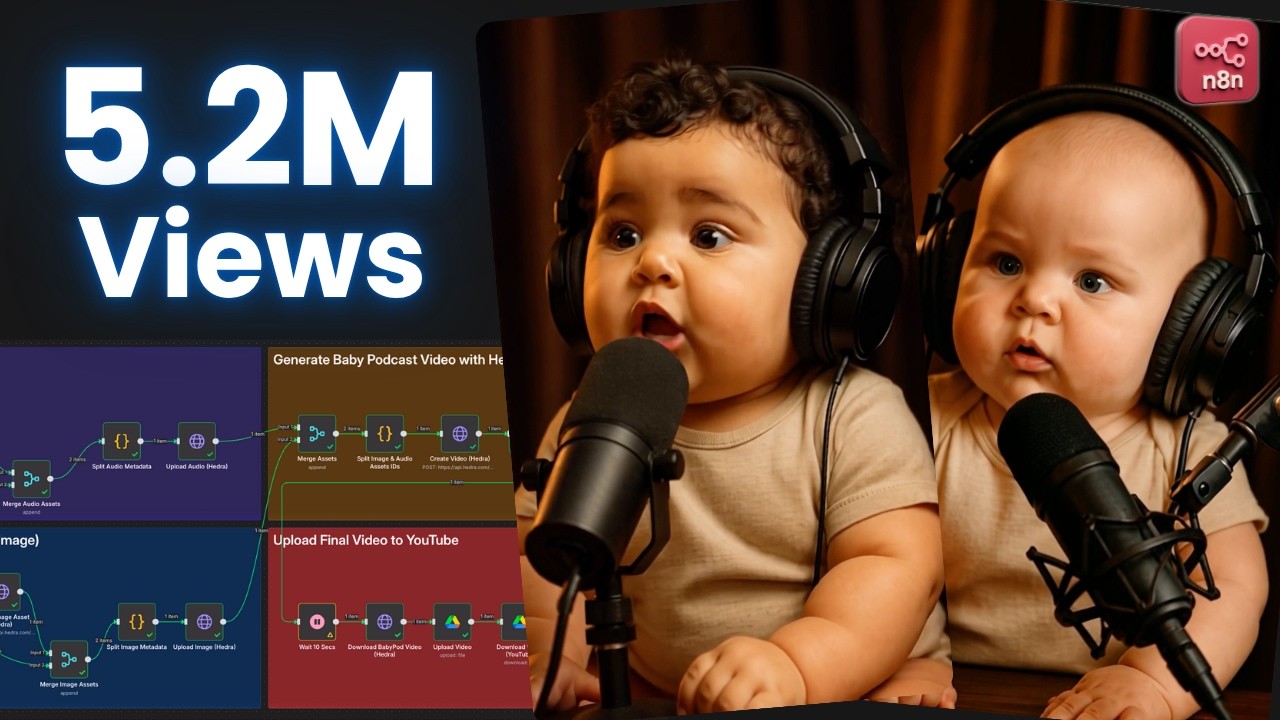
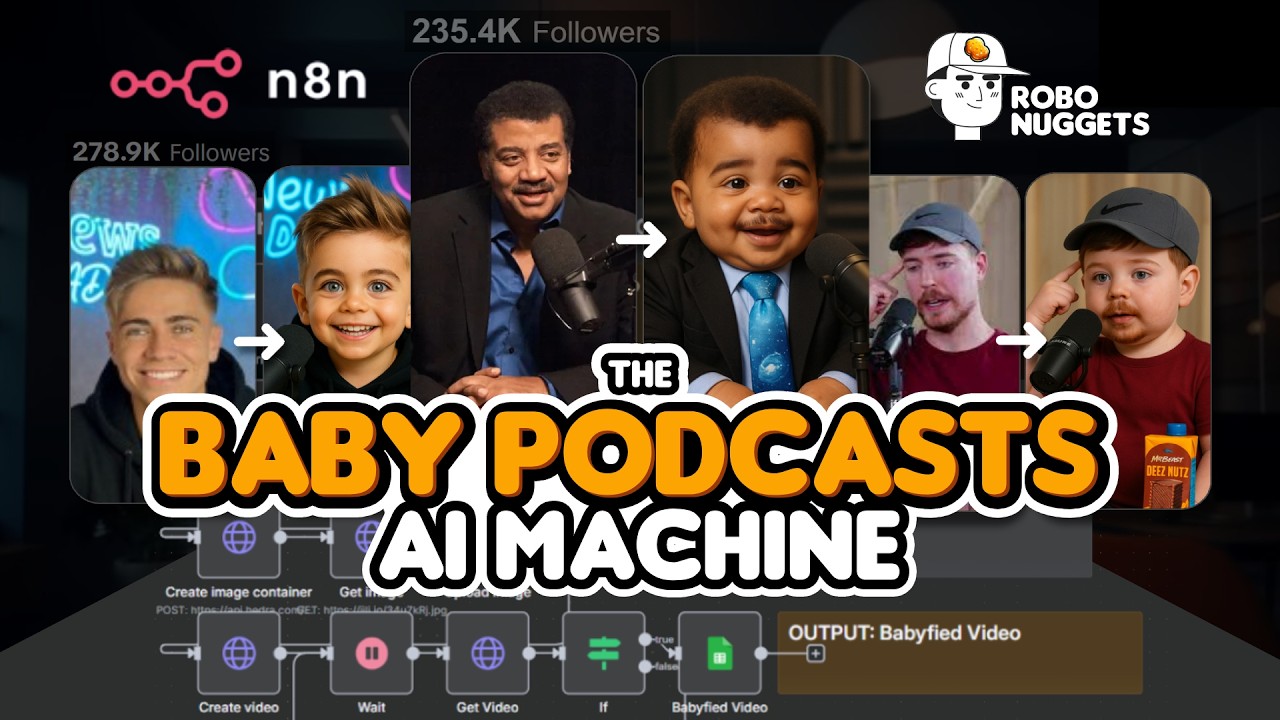
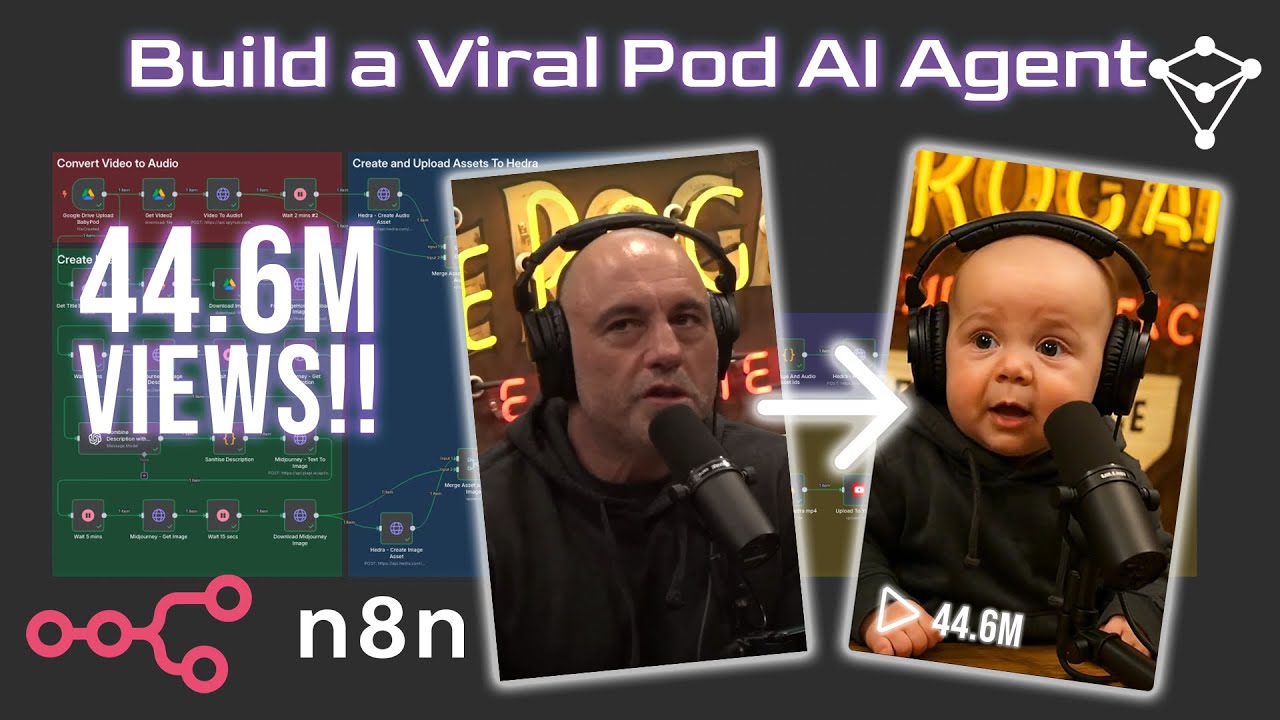
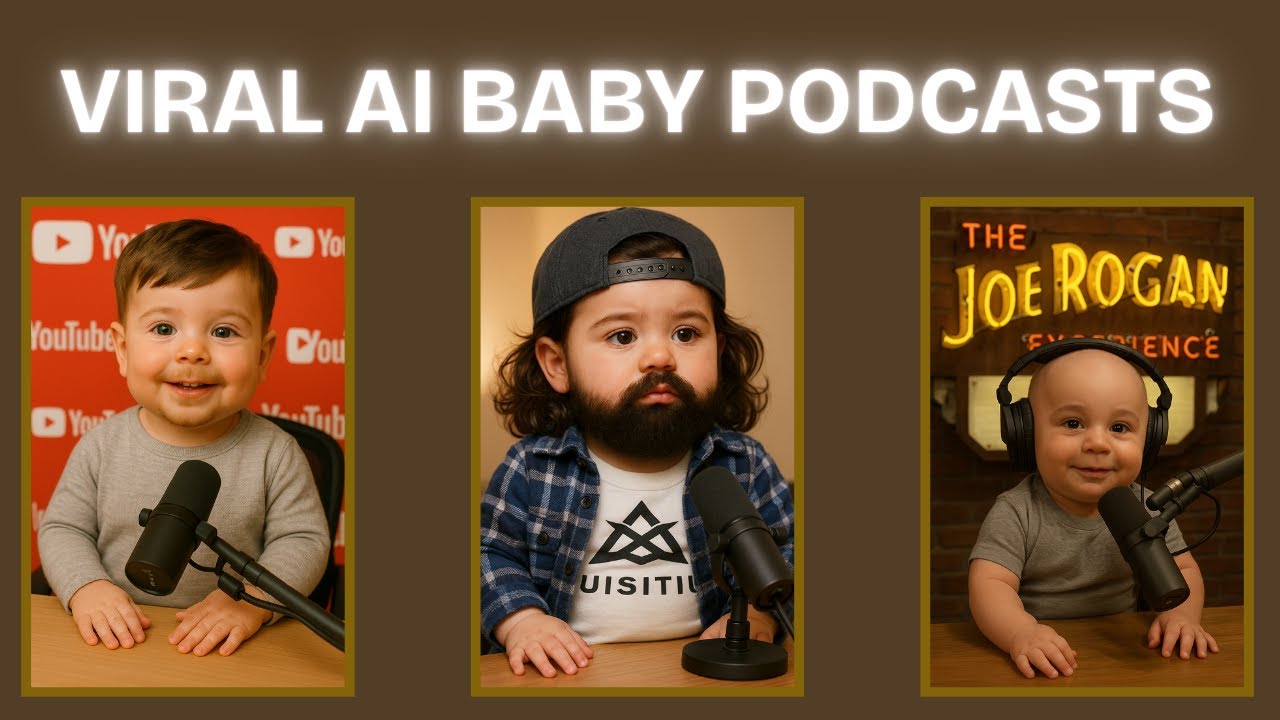
Welcome in. I just created this AI automation system that's going to take your favorite influencer and automatically turn their videos into a talking baby podcast just like this one of Bad Baby or the catch me outside girl do and they never catch me. Ain't nobody going to catch me cuz you're too street wise.
Yep. And all these hoes laughing like something funny. She's talking about the audience or this one of the vaugh and Michael Jackson.
A damn it, man. I wish I did, though. You know, I was what, 10 when he died.
Damn. That would have been the time to meet him. Yeah.
Yeah. Yeah. Yeah, man.
Did you ever get to meet my And this one entire body has a beard. Thanks for being here again. Well, the As you guys can see, these are blowing up on social media recently.
And you can see this one has 546,000 likes. And if we go to this page, they have 275,000 followers. and they frequently get well over a million views.
This one has 10 million. This one has 15 million, 2. 6 million, 9 million, five million.
And as you know, Tik Tok is paying about 50 cents per thousand views. So, this video alone brought in $5,000. All right.
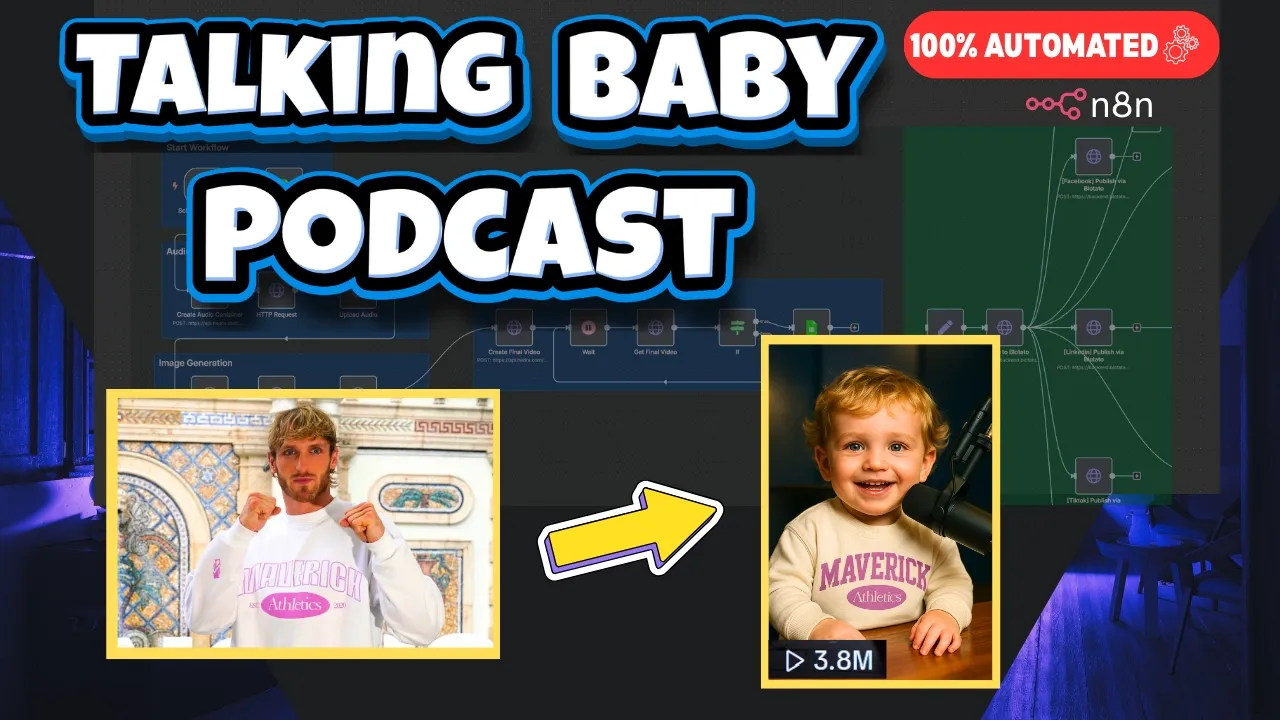
So, if this seems interesting to you and you want to know how you can create your very own page like this one that creates videos like these completely on autopilot for you, then spend the next few minutes watching because I'm going to show you exactly how you can do that even if you have no coding experience or if you're a complete beginner because anybody can do this as long as you know how to drag and drop. All right, so before we go ahead and create this system, I want to give you guys a very simple overview of what this system does. So, this is the viral baby podcast overview.
And all you do, as you can see here, is step one, you're going to pick your favorite influencer. For this video, I'm going to be showing you Logan Paul just because. Step two, this system is going to create a viral baby podcast clip of your favorite influencer.
And then step three, post your videos to any platform of your choice and start earning. And the great thing about this system is that this system will continue generating these videos for you on autopilot without you having to do anything. So all you have to do is set this up once and it's going to run forever and continue creating content for your page.
So let's get right into it. And to make this as easy as possible for you guys, I've included everything needed to create this automation in our community. And don't worry, I'm not trying to sell you guys anything right now.
This community is completely free as of right now, but full transparency, it will be paid to enter very shortly. So, if you want these automation blueprints and many more to come, be sure to join because I've linked it right down below in the video description. And once you're in, you just come over to this classroom tab.
You're going to click on the Viral Baby podcast and everything you need is on this page. And if you scroll all the way to the bottom, you'll be able to download both of these blueprints completely free. That way, you can upload them directly to your computer, and you'll be able to create this entire workflow without having to spend hours and do it from scratch.
All right, so for step one of this workflow, we're going to need to create a Google sheet just like this one. So, if you come over to the community, you'll be able to download this one completely free. And this is a template of that one I just showed you.
But you won't be able to edit it. So all you need to do is once you import it, you just click on this file, make a copy, name it whatever you want, and then click make a copy. And then you'll be able to delete all of this.
And then I'm going to show you in the next step how we can autopop populate this. That way we don't have to type everything from scratch. So, we're going to be creating a very simple AI automation that's going to grab your favorite influencers Tik Toks and it's going to get the caption, the video, the audio, the image.
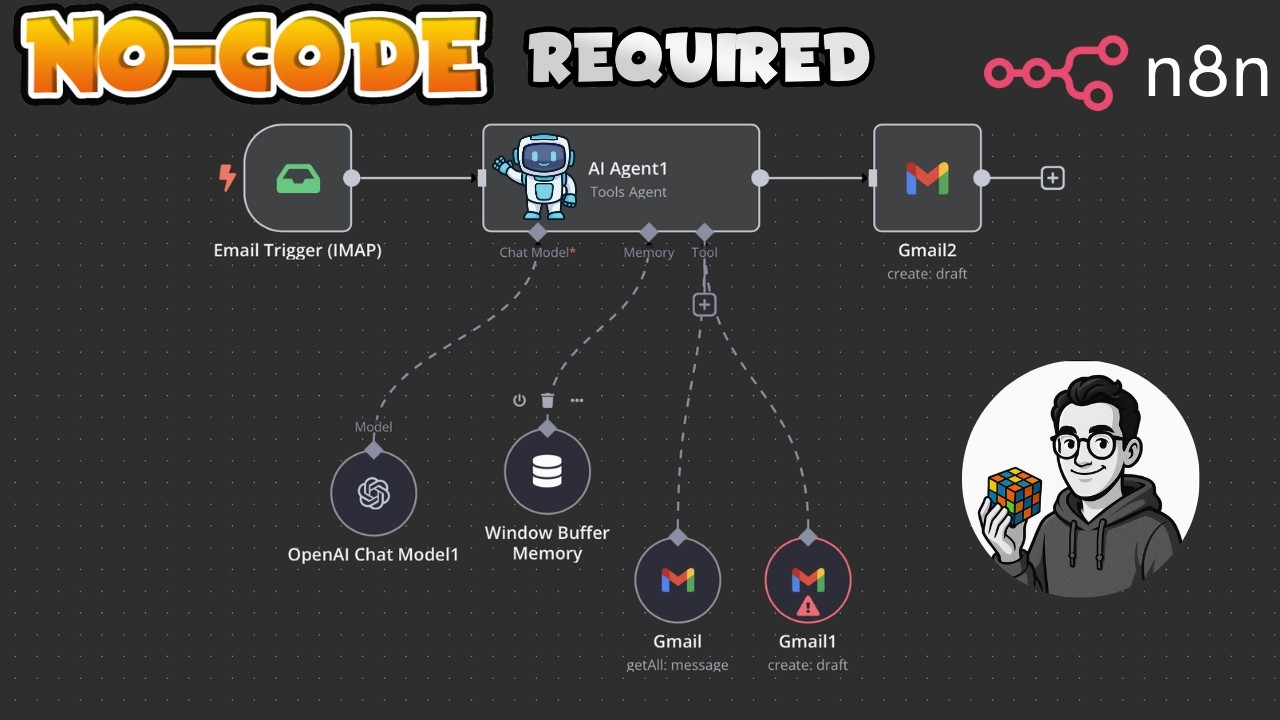
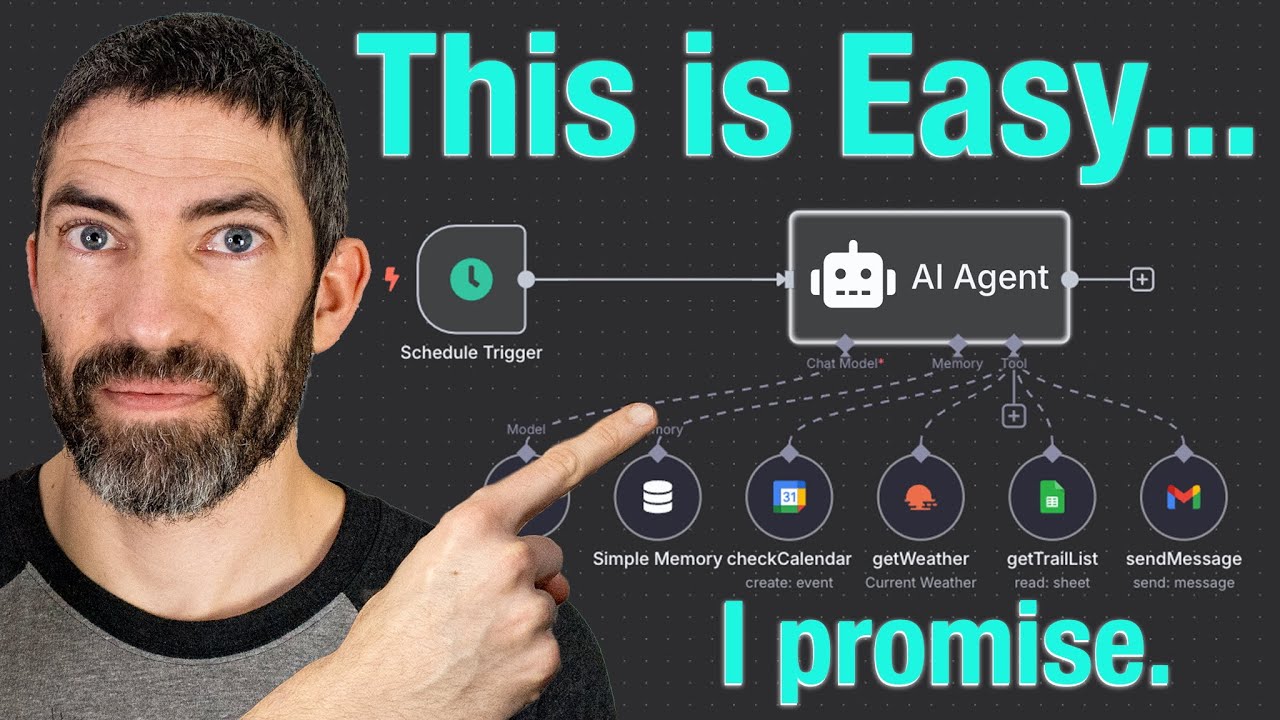
That way, our AI tool can automatically turn it into a baby podcast. So, if you look over here, it's a simple three-step workflow that I'm going to walk you through right now. And now, the tool that we use to create these AI agents and workflows is called NADN.
So, if you come right over to the community and click this link under resources and tools, it'll take you to their website and you can start a free trial. And N8N is really the best AI automation tool as of right now. It's similar to Make or Zapier if you've heard of them, but N8N is much more powerful and you can do way more within it.
So, once you click get started for free, you'll be brought to a dashboard just like this one. All you want to do is come up here to the top right and click on create workflow. And now this is called the canvas.
The first thing I like to do in any project is come up here, click on it, and rename it. And now that that's done, you're going to want to come over here to add first step. And we need to add a trigger that's going to make this workflow start.
So we'll click on that. And for this first step, we are going to do a schedule trigger. And for now, we'll leave this at one day.
And for this next step, we're going to add an HTTP request. And what this allows you to do is get and post information to any website. And for this HTTP request, we're going to set method to post.
And for the URL, we're going to be using a website called Appify. So, if you come over to the community and just click on this link right here, it will take you to this website. And what this website does is it allows you to scrape data from basically any social media platform.
And for this example, we're going to be using the Tik Tok data extractor. So if you come back over to the community, you can just click on this link right here. And that should take you to a page like this.
All we want to do is come over to API, go to API endpoints, and then scroll down until you see this one right here. run actor synchronously and get data set items. All you want to do is copy.
Come back over to the workflow and we're going to paste that URL. Then we want to scroll down, toggle on this send body right here. Keep that as JSON, which is JavaScript object notation under specific body using JSON.
And then in this little window right here, you want to come back over to the community and grab this code right here, copy it, open this up, and just paste the code right in there. So now to break down this request node a little bit, all we're doing is we're sending a request to this Appify website. And the request that we're sending is we want to get this influencers's Tik Tok profile.
We want to exclude their pin posts and get all their posts from the last 30 days. And what that's going to do is it's going to populate our Google sheet with all of this information. That way we can make those viral baby podcast videos.
And now when we click test step, you could see that this output all the information that we're going to be using within our Google sheet. Now for this next step, we're going to click out and we're going to add a Google sheet node. So you could just type in sheet.
Click on that and we are going to append row in sheet. And now if you haven't connected your Google account on here already, all you do is click this dropdown create new credential and then you can just click that button and it will allow you to sign in with Google. Super easy.
And then once we have that, we want to choose the document that will be updating, which is going to be the one we downloaded. So we'll just pick that one. And then we'll pick sheet one.
And now we have to map each column. So if we scroll down, and now for caption, we're just going to grab this text right here, drag it in. For video URL, we're going to come over here to the left to web video URL.
Drg that right in. And then for audio URL, we're going to come right over here to play URL. Drg that right in.
Then scroll down to production status and set this for production. And now you can leave these two blank. All we need to fill out is the image URL and the ID.
To get this ID, we can come over to the community and I've included it right there. You just want to copy that. Come back over and paste that into the ID.
And for the image URL, same thing. Come back over to the community, copy this one right here, and paste it right in. Now, if we come up here to test step, click on it, you can see that it output 13 items.
And if we come back over to our Google sheet, you can now see that we have it fully populated with that influencer's videos, captions, audios, and images. So now step one is completely done. Quick tip if you want to organize your workflows is you can rightclick and then add a sticky note.
And you can just drag this over, make it as big as you want. And then if you doubleclick, you can delete this and type whatever you want. And then if you right click again, you can change the color.
And step one is now completely done. Now that we've created this automation to get your influencers videos from the past 30 days here in this Google sheet, we can now create this AI automation which will read this Google sheet and take the influencers videos and automatically turn them into the viral baby podcast videos for you. just like this one.
I'm sure you are a fan of Miiamoto Mousashi. And to do this, we're going to go back into N8N and come over here and create a brand new workflow. Okay, so this is the workflow where all the magic really happens.
So if we come back over here and look at it completed, this is what it's going to look like. And you could see this is the start of the workflow. Step two is going to be the audio generation, then the image generation, and then for the final output, it's going to get the final video, and then it's going to automatically post it for us.
So, if we come back over, first thing that we want to do is a schedule trigger. So, just click on a schedule. And for now, we'll leave it at one day.
So, we can move this right up over here. And for this next one, we are going to pick a Google sheet. And for this one, we want to get row.
And for document, just pick the same one that we were working on. For sheet, we're going to pick sheet one. And then we're going to add a filter.
And then under column, we're going to pick production status. And we're going to set this for production. And then for the last step, you want to scroll all the way down, add option, return only first matching row, and toggle that on.
And now before we do anything else, we want to click out of this, go back over to our Google sheet. And then if you come all the way down here to the bottom and you click on sheet two, and you'll see this image list right here. And what this is is these are reference images for our AI to use to create those Baby Five videos.
So, if we click in and look at one, you can see we have a baby Logan Paul that I actually got from this picture right here. So, you'll need to create two or three images like this for whatever influencer you're choosing to do. And I'm going to show you right now because it's super easy.
So, what you want to do is come back over to that Google sheet and just select these three rows. Delete them for now. And to get your images, all you need to do is go to Google and look up whoever you want to create these videos of and just pick three images of that person.
I think I picked this one, this one, and one more. But you can pick however many you want or however little you want. You could pick one.
You could pick 15 if you want. And then once you have those images, you want to come over to chat GBT and you're going to insert the original image that you just downloaded from Google. And then you're going to type in this prompt right here, which you can get in the school community right here.
This is the prompt. So, you just want to come over here, copy the whole thing, and then you can paste it into chat GBT just like that. And then we scroll down, and you see we get an image like that, which is honestly really high quality.
It even has the hoodie that he was wearing. So, that's definitely a great image. And just do that for all the images you have and then download them.
And then what you want to do next is come back to the school community and under this right here to get baby images, go to this website right here, free image. host. And we're just going to click on start uploading.
Choose the baby images that you just made. Click upload. And then you'll get these these links right here for each image.
So what you want to do is copy that link. Right click and then go to whatever the website is for you. Click on that.
And then it should bring you to a window like this. You're just going to rightclick, copy image address. Go back into the Google sheet.
And then under image list, you're just going to paste that address. And as you can see, it did update the randomized image. And then you want to go back over to where we just had those links and copy the rest of them and do that same thing for however many you have.
Be sure to paste the links right in here. So, what this is going to do is this is going to randomly select one of the images that you have uploaded here, and it's going to turn that into a baby podcast video for you. So once you have all those uploaded, you can come back over here to sheet one and then we can go right back into the workflow.
So now we can click right into this Google sheet node. And then if we test step, the output should give us one matching row that's ready for production. So we'll test that right now.
And as you can see over here on the right, it did output that row for us. And if we come back into our Google sheet, we can see that is the first one that's ready for production. And just like that, step one is done.
So you can add a sticky note if you'd like. And now if we come back over to our finished workflow, you can see that the next step in this creation is the audio generation. So we'll go back to the other workflow and we'll get started on that.
So, for this next step, we'll click on this plus icon right here, and we'll drag it right over here. And we're going to do an HTTP request. And if we click right up here, we can rename this to create audio container.
So, for the method, what we want to do is pick post. And for the URL, we want to come over to the community. and we're going to grab this one under create audio container.
So, select that, copy it, and paste it right under URL. And we'll scroll down to send body. Turn that on.
We'll pick JSON. Specify body. We'll select JSON.
And then for this window right here, you want to come back to the community. And you just want to grab this simple code right here. Copy it.
and we're going to paste that right into the window. And if you look at the URL that we're using, it's hedra. com.
So if you come over to the community again, then you scroll all the way up to resources and tools, click on this Hedra link, and since I'm already signed in, yours might look a little different, but all you need to do is create an account, sign in, and then come back over to the community. Scroll down and click on this link right here. that will get your API key for Hedra.
You're going to click on it. That will take you to a page like this. You can create an API key and then just click this right here to copy your key and then come back into NAN.
And then under this authentication, what we want to do is select generic. And under generic off type, we're going to select header off. And then for your header off, I already have my Hedra set up, but if you don't, you're going to click on create new credential.
For the value, you're going to paste the key you just got. And for the name, you're going to type this in. X API key.
And take note of the capitalization. Make sure it's correct. Then click save.
And then select that credential. you just made. And now if we click test step, you can see that the output is successful and we have created an audio file with the ID right here.
So now we just click out. And now for the next step, we're going to select an HTTP request. For this one, we're going to keep it on get.
And all you want to do is come over here, grab this audio URL, drag it in there. And if you look at what it output right here, that should match this one right here. And it does.
So that's good. And that's all we have to do for this node. So we can click test step.
And you can see that it did output one item. So if we click on view, look look look at this. Somebody come look at this.
Look at this. Somebody come and look at this. It should be the audio from the Tik Tok in this first matching row, which it is.
So if we go back. So now we want to add another HTTP request node. So now we can click right here and rename this to upload audio.
And since we're uploading for the method, we want to select post. And for this URL, come back over to the And you can grab this one under upload audio. Just copy that and paste it right under URL.
And then for authentication, you just want to click generic again. Under generic, we're going to select header. And then select the one you already connected for Hedra.
And then you want to scroll down and turn on this send body. And we want to select form data. parameter type nadn binary file.
And for the name, you just want to put file input data field name. We want to put data. And what this is is this right here from the input.
So now this is done. We can click test step. And if we look over to the output, we can see that it has successfully uploaded this audio.
So now we're done with this step. And now the audio generation for this is completely set up. So now we can add a sticky note.
And now we only have two steps left. And if we go back to the original file, you can see that all we have left now is the image generation and the final output of the video. So if we go back in and we can start creating this now.
So, for this image generation, all you want to do is come into your workflow, move this out of the way, select all these, copy them, and you can paste them right below. Just like that. And now, make sure to connect this one right here.
Drg it over. Connect it to that one. Then, if we click to this one.
We can rename this to create image container. Now, in this create image container, the good thing is that since we copy and pasted, everything is going to stay the same. But scroll down and we're only going to change this.
So, you can delete that JSON that we have in there. And we can come over to the community and under create image container, copy that and paste it right into there. Now if we come up here and test step, what we did is we now created an image container inside of Hedra.
So we can click out and then click on this second HTTP request node and we're going to rename it to get image. And for the URL, this time we're going to get the image so we can delete the audio. And we're going to scroll down until we see the Google sheet one.
And the image URL right there, you want to drag it in. And now we can just click test step. And under the output, we can just click view.
And this is the image that they're going to use to create that baby podcast. So we can click out of this node for now. And under this node right here, we're going to click in.
And we can rename this to upload image. And the good thing about this one is that everything is going to stay the same. And when we click test step, it should upload this image right here from the previous input.
So the output was successful. And if we scroll down, you can see it did output this URL. And if we go into table format, you can see that's a very long URL.
But we We don't need to do anything to it right now. So, we can just click out. And just like that, step three is done.
The image generation is completely done. We can neaten that up a little bit, add a sticky note, and rename it. So now, if we come back over to the original workflow, you can see that all we have left is this final output, which is super easy to set up.
And we'll do that right now. And now for the next step, we can just copy this node right here. We can hit Ctrl +V to paste it.
Now you just want to drag this one over and connect it to that one. And if we click into this one, we can rename this to create final video. And for the URL in this one, we can go ahead and delete that one.
Come over to the community and we can grab this one right here and we'll paste that right in. And then Scroll down to send body. We can delete what's in there.
Come back over to the community again and copy this code right here. And we can just paste that in under JSON. So now if we open this up, you can see that create image container is red right now as well as create audio container.
So what we can do to fix this is we can select everything that's red. of this. Delete it and make sure you still have those quotation marks.
And for this one, we're going to scroll down until we see create image container. We're going to grab this ID, put it right in there, just like that. Then it should turn green.
And we do have the ID right there. So, we're going to go ahead and do the same thing for the audio ID. Delete that whole thing that's red.
And then we're going to scroll down to create audio container and then just drag this ID in between those quotes. Should turn green and you should have something like that. So if we click out and we test step, we can see that it was successful and now Hedra is hard at work creating this video for us.
So what we need to do is add a weight node. So you just And what we can do for now is we'll set this to one second for now just so we can get the information test and then we can click out of this node. So now we can add another HTTP request node.
We'll rename this to get final video. We'll keep the method as get. And for the URL, you want to just come over to the community, scroll down to get video, copy this, and paste that URL right back in there.
And now for the next node that we want to add, we want to copy this get image. And we're going to paste it right over here by hitting CtrlV. We're going to connect it.
We can open that up. We'll rename this to get final video. And now for the next node that we want to add, we can just copy this upload image.
Come over here, click Ctrl +V, and we're going to connect that. We'll click in. We'll rename this to get final video.
We want to this method to get. And then for the URL, you can go ahead and delete this one. We'll come back to the community and we'll grab this get video URL.
And we'll paste that right there. And then you want to scroll down and turn off send body because we don't need it for this one. And then you can test.
And now if we look at the output, you can see that the video status is complet. And we have a URL right here. And so now something good to add is since we do have a weight node and it might not be done by the time we get to this one, we can just click right here and we can add an if node.
And under value, we want to grab this status right here. And then we're going to put complete. We can test step.
If we click out, we see that it is complete. So, it output true. But if we click back in, if the status came back as incomplete, what this would do is we can drag this false right back over to the wait node.
That way, if the video wasn't done processing, once it gets to here, it will go back and it will wait again until it is done processing. And now, for this node right here, we want to add another Google Sheet node. And we want to select update row and sheet down here at the bottom.
And for the document, just select the one that we're working on. Sheet one. And now we're going to map each column manually.
So if we scroll down for the ID, we're going to find that original Google sheet node that we had over here on the left. So you might have to scroll down a little bit. And for ID, just going to want to drag in the ID.
And if we open this up, what you can do is instead of typing item, you can replace that with fir open close and it will output the same thing. And this just helps because sometimes it might give you an error if you don't do that. So if you want to do it, do it.
And then if we click out of that, we can scroll down to production status and we can set that as done. Publishing status, we'll set for publishing. And now the only other thing that we have to fill out is this remix URL.
And to get this, we could scroll all the way back up to the top. And you're going to want to grab this URL that has Hedra API- video. And then whatever it there.
So you just want to drag that in to the remix URL. And now we're done. So you just want to come up here, test step, and you can see now first row in our Google sheet is done.
It's ready for publishing. And it updated the final URL. So if we go into that Google sheet, we should see that everything did update for us.
So now that we're in here, you can see everything is updated. Production status has been set to done. Publishing status is now for publishing.
And the URL is right here. And just like that, you have successfully created your own AI automation that automatically gets your favorite influencers videos and turns them into a babyified podcast. Okay, so now this is fully set up, but I do have a surprise for you guys.
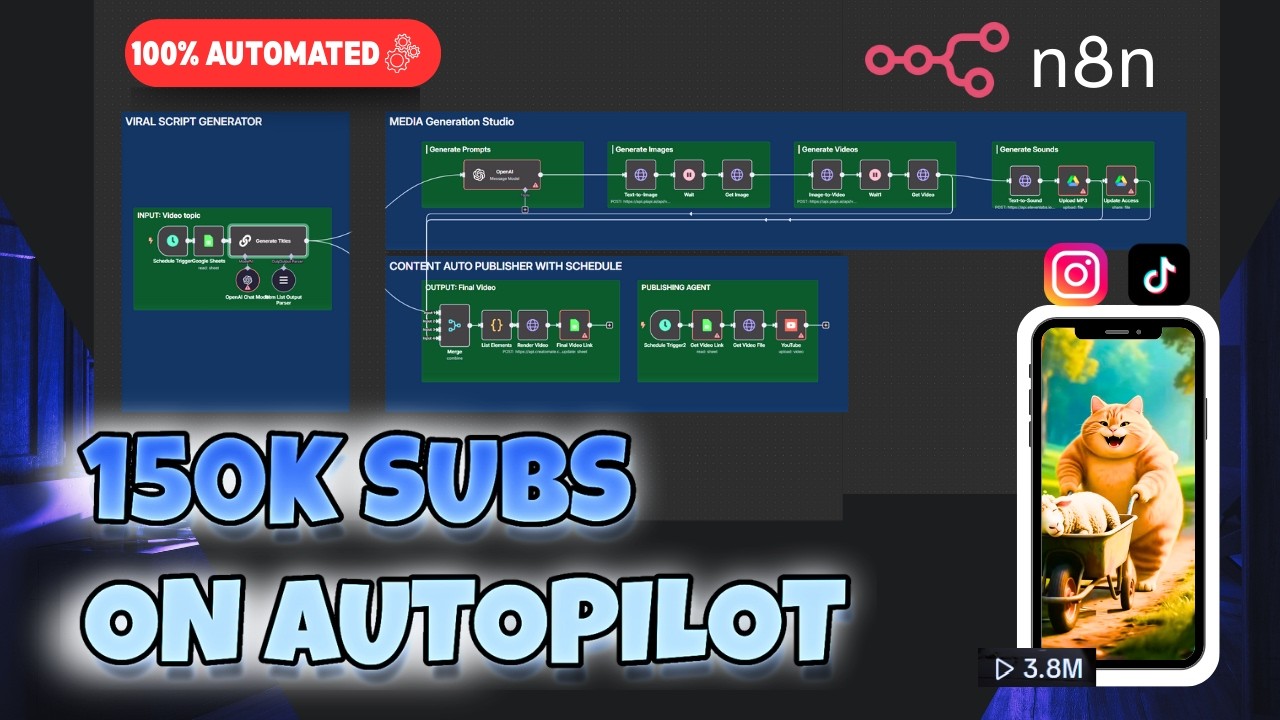
If you want this to autopublish to nine different social medias automatically for you once it's done creating the video, we have created that right over here. So, be sure to like and subscribe because I'm going to be making a video about how you can add this for your own. That way, once the video is done generating, all you do is connect it and it's going to be able to post it to Instagram, Tik Tok, Facebook, YouTube, and any other social media platform that you want.
But this video would have been way too long if I added this. So, make sure you join the community, like and subscribe because I will be posting that update soon and posting this entire course in my community for free. And before you run this workflow, make sure you set it to active.
Make sure you save it. And then the only things you want to change are the weight nodes right here. You want to set this to something like five minutes.
And then for the schedule trigger, you can keep this to every day. Click save. And then come back over to the first automation that we made.
And under this schedule trigger, you're going to want to set this to months and have it run once every month because it's going to automatically grab the last 30 videos. So you can run that once a month and the other one is still going to post every single day for you. And make sure you turn that to active, save, and then you are completely done.
So again, if you guys want to learn more about AI and AI automation, the community is free right now. We have 69 members, but this is going to be a paid community at some point because the value that we're providing in here is worth a lot of money. So if you want to join, hop in here completely free and you'll have lifetime membership for free.
You'll get access to all of these courses that I'm going to drop. You'll get access to an exclusive prompt library. You'll learn how to use single AI tool that's out there the correct way and you'll learn a high paying in demand skill because if we look at these job listings from Indeed, you can see that people who know AI are getting paid top dollar and that price is only going up because companies are actively searching for people who know how to implement systems like the one we just made.
And they're willing to pay you top dollar even if you have no college degree because all they want is results. And if you know how to make something like this, they're going to be willing to you. So, hop in this community and also let me know down below if you like this video.
Be sure to subscribe if you want more like this and I appreciate all of you guys and I'll see you in the next one.