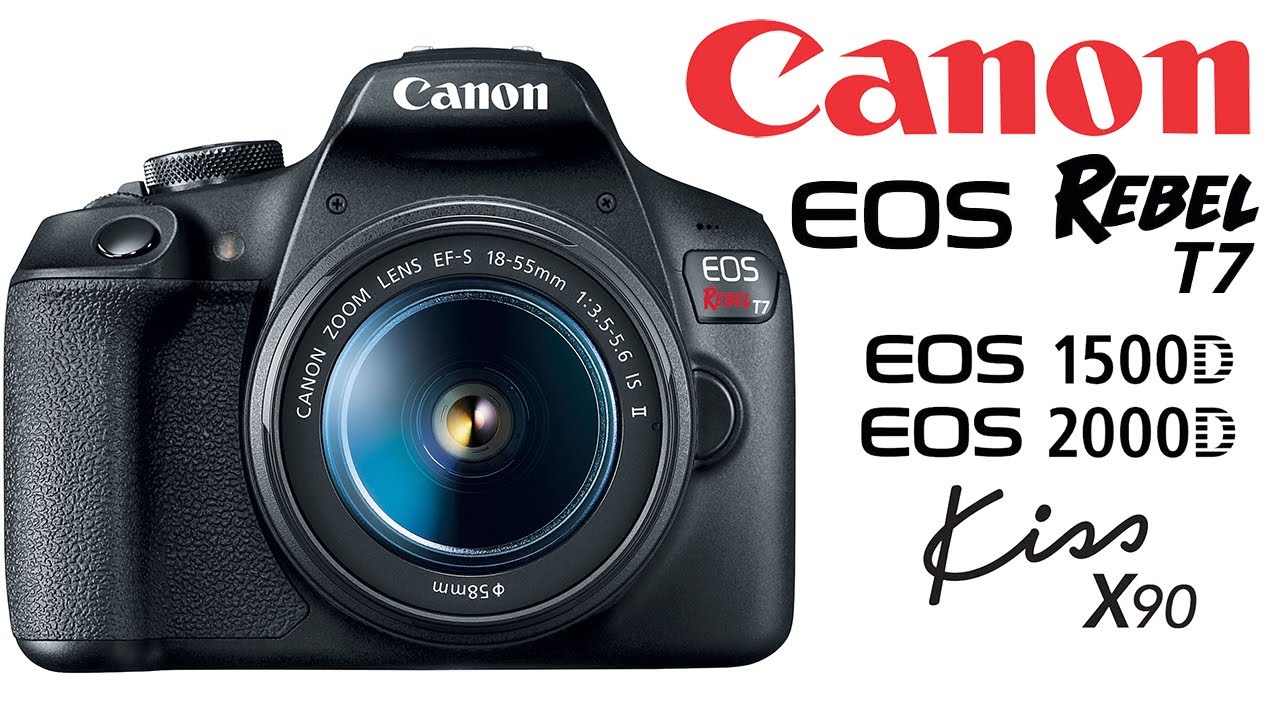
hey guys welcome to t-bones tech today's video is my beginner's guide to the Canon EOS Rebel T 7 or 1500 d in this video we are going to going over all the menus buttons and settings and we're also going to explain me how you can shoot this camera in fully manual mode so you can completely control this camera and get the best possible pictures my full review of the canon t7 is coming to a subscription box near you so if you haven't already done so make sure hit that subscribe button and then to be notified
but every snoot videos to this YouTube channel that being said let's jump into the video first we are going to start out with the basics and that is to give this camera power we are going to place the battery in the battery slot here in the bottom the battery that comes with the t7 is canons LPE 10 battery and we're going to slide the battery in with the Kin logo facing the back of the camera just like so the SD card slot is also located here on the bottom of the camera so we're just going
to slide the SD card and again the face of the SD card is going to face the back of the camera just like so then we're just going to push that in there until we hear a click just like that and now we can close the SD card and battery slot I just giving it an extra little push removing in putting on new lenses very easy we're just going to press down on this button and then twist counterclockwise to pull the cover off then we're going to do the same thing with the lens were going
to twist it off counterclockwise and then we're just going to line up the white square on the lens Indy white square on the camera body and then we're going to twist it clockwise until we hear it click then we're just going to remove the front cover of the lens and that's again very easy we're just going to pinch like that I'm just gonna come right off now we're going to turn the camera on and start taking some sample pictures and get into the menus and functions of course to do that we got to turn the
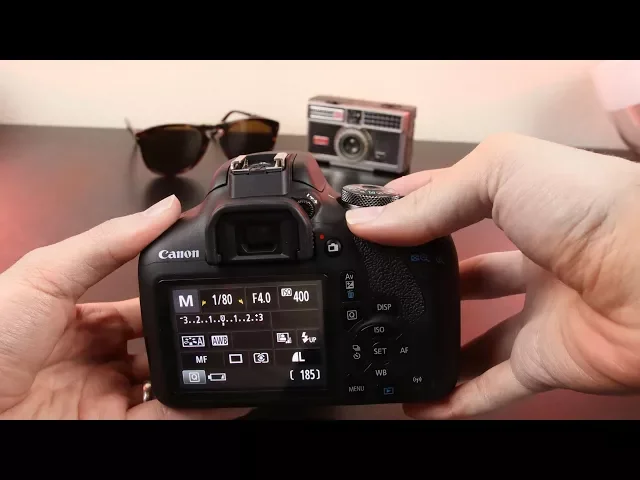
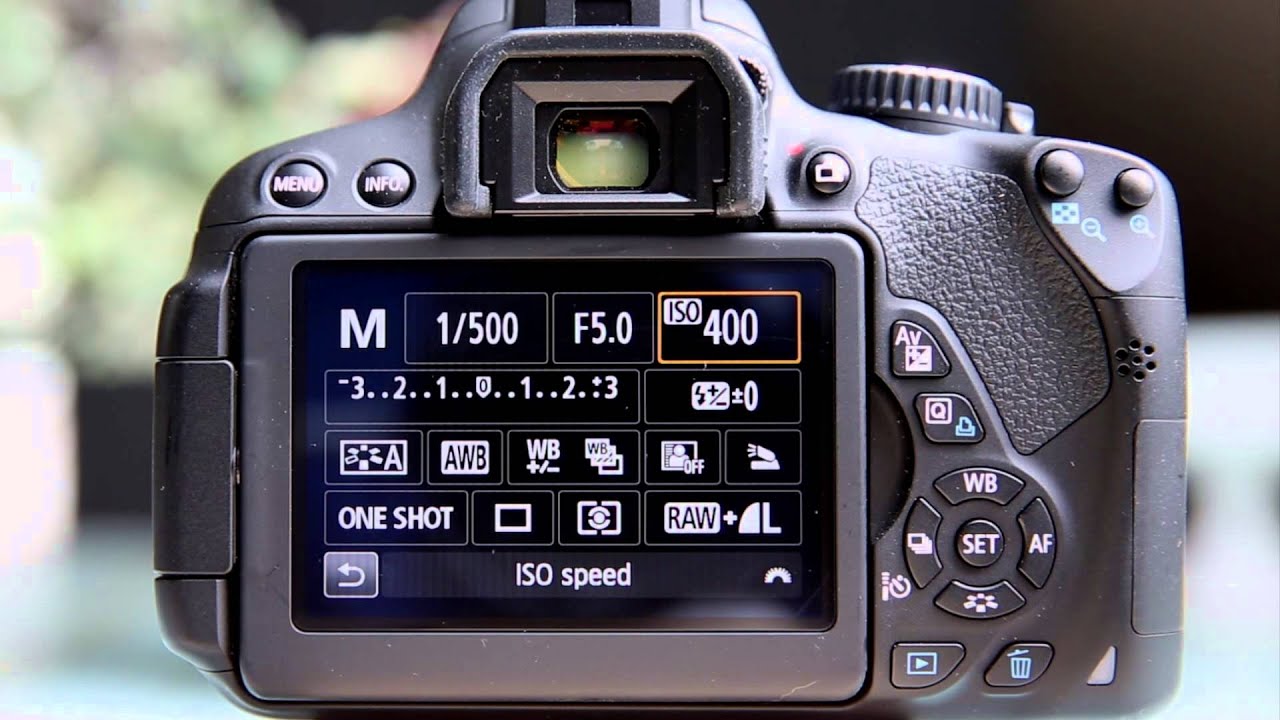
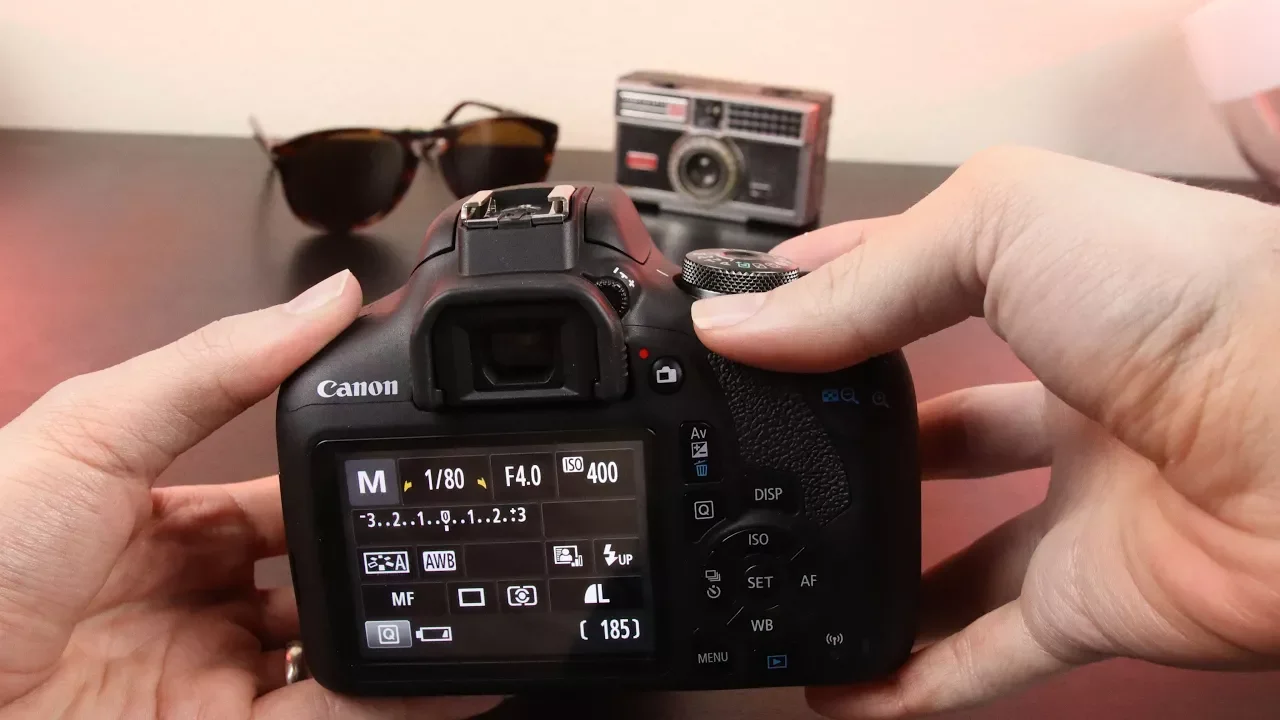
camera on we're going to press the on/off switch to the on position and now we are in fully manual mode here we can control our shutter speed our aperture and our ISO to change any one of these settings first we have to hit the Q and then we can toggle over to any one of these settings and ease change it some of these buttons do have shortcuts like the shutter speed button we're just going to move the dial just like this and as you guys can see I am changing the shutter speed now if you
want to change the aperture we press down the AV button while moving the dial up here and that's going to change the aperture so we're going to take a couple of sample pictures but first we're going to put this camera into ISO 400 as a good baseline the first thing we're going to do is meter the light so we're going to do a half press on the shutter button just like this and then it's going to pull up our light meter as we can see this picture is almost properly exposed so we're gonna take a
picture and see how it comes out and that picture didn't come out bad at all to preview pictures that we've already taken we're going to press this blue play button just like this and now we can see the pictures that we've taken if we hit the Display button we can find out more information about this picture we can see our histogram right here we can see what ISIL we shot I over here we can see our shutter speed and our aperture in a lot of in-depth information just by simply hitting that display mode now of
course we want to check in make sure that this picture was in focus and to do so we're going to hit the plus magnifying glass right here and from here we can zoom all the way into the picture and really see some of these fine details it looks like this picture is definitely in focus so to zoom out we're going to press the negative magnifying glass just like that now we're going to go back to take some more pictures we're just going to press down the shutter speed half and it's going to bring us back
to the menu now we're just going to play around with a couple of settings so first we're going to shoot at a faster shutter speed right now we are shooting at one 100th of a second we're going to change that one stop up to one 200th of a second and we're going to take a picture and see what that picture looks like and we can see that this picture is one stop darker than the first picture that we took so using a faster shutter speed is going to give us a darker picture I'm gonna demonstrate
that one more time by shooting yet another stop darker at 1 405 a second we're gonna take this picture and this picture should be considerably darker than the other and as we can see it is one stop darker and it is very dark sometimes when shooting fast-moving subjects we're going to want to use a faster speed like that but as we saw the picture was way too dark so we're going to have to go in and change our ISO by hitting the ISO button just like this we're going to increase our ISO 1 - stops
- ISO 1600 that we are going to take the picture again and see what this picture looks like so as you guys can see this time the picture again is properly exposed now the last element we're going to talk about here is our aperture so we're going to dial back our shutter speed down to one two hundredth of a second and right now you can see that we're shooting at f5 which is the fastest available aperture when zoomed out - I believe it is about 40 millimeters so we're going to take one more sample picture
shooting it at f5 and as you guys can see the picture is properly exposed now to change the aperture we can hold down the AV button just like this and move the top dial and now we are shooting at a slower aperture we're going to stop down our aperture to f/8 and now our pictures are going to be considerably darker because the aperture or if you want to put it in human terms the iris of this lens is going to get smaller as we change our F number to a bigger number so if all these
settings the same except for our aperture being a higher number let's take the picture and see what it looks like it should be much darker and let's go preview this picture by again hitting the blue play button and as you guys can see the picture is definitely much darker when shooting it at f/8 instead of f5 that's cool we can change all of these settings but it's actually a really cool mode on here called live view so we press the screen button just like this we can actually see a live representation of what we are
shooting and as I change my shutter speed and make it slower we can see the screen actually gets brighter and if I change my aperture to let more light in we can actually see again that the preview of the picture is actually getting brighter so live view is a really cool mode where you can completely change all your settings and play around with them it's great for beginners because you can really see how changing your aperture ISO and shutter speed really is going to affect your pictures and you can easily do that anytime by shooting
in menu mode and then by pressing the display right here so let's a quick run-through with menu mode now let's check out the 13 other different settings aperture priority mode allows you to take control of the aperture first priority so you're going to change the aperture and then the camera is going to control your shutter speed and sometimes your ISO so by just turning the dial up here without pressing the AV button it's going to change our aperture then we have TV mode which is shutter priority mode in that again is a mostly automatic mode
but by changing the upper dial we're going to change our shutter speed and as we can see as I changed my shutter speed the camera is going to adjust all the different settings to properly expose the pitcher then we have our program mode in our automatic mode in automatic mode the cameras going to make all the decisions for us so if I take a picture right now it's actually going to pop up the flash and take a picture because that's what I thought we needed auto mode definitely does seem to be a little bit flash
happy and that's why they created a no flash automatic mode so flash off mode is completely automatic but it's not going to pop up that flash then we have our creative auto mode where you can tell the camera what type of pictures you kind of want to take and then the camera is going to adjust the settings based on that next we have our portrait mode and again all these modes are completely automatic but basically you're telling the camera what you're trying to take a picture of the camera is going to try to make better
decisions by that next up is landscape mode which of course is great for taking landscapes then we have a close-up mode then we have a sports mode and in sports mode the camera is going to use a faster speed in continuous shooting mode so it's gonna take a lot of pictures in a row just like that then we actually have a food mode here which is going to be best for when taking pictures of food then we have a night portrait mode in then lastly we have a video mode this camera can shoot 1080p video
at 30 frames a second if we want to start a recording all you have to do of course is put the camera into video mode and then we're going to press on this button right next to the red dot and now we are recording a video you can tell because of the Circle right here and also this light is going to start flashing again letting us know that we are now recording video next up we're going to jump through some of the menus here at anytime we can access the menu by just pressing the menu
button just like this and it's going to pull up our menu now the many is going to change depending on what mode you're in so if you are video mode the menu is going to be catered toward shooting video but if you're in a photography mode it's going to be catered for of course shooting photography so here we can change our image quality 99% of time we're going to shoot enlarge but the two modes are going to want to stick to is raw and large raw shooting mode is better if you are planning on using
post-processing such as Lightroom or when using other software it's easier to bring up details and if you did miss the exposure it's easier to bring up exposure and bring up the shadows when you're shooting in RAW mode in post if we go over to the right we can see our exposure compensation so for some reason any one of the automatic modes our camera keeps seeming to overexpose the pitcher we can actually change our exposure compensation there is a ton of settings here and I'm not going to go through all of them here but one of
the other important ones is definitely the brightness you can change the brightness of your screen here by going over to the second wrench and you can just adjust the screen brightness just like this this camera is also equipped with Wi-Fi and NFC and you can enable it here in the third wrench here in the menu two men we focus the lens we have to simply just push the dial on the lens from AF to MF and now we can start manually focusing our scenes so going back to live view as you guys can see as
I am twisting the focus ring it is changing the focus now to get the best possible focus we're going to want to zoom in just like this and from here we can finally adjust our focus until we have that perfect spot on key focus and then you can take a picture this camera does have an input for a wired shutter release which is gonna be great for our time lapsing eye shutter release is gonna cost about maybe fifteen dollars on amazon and you can easily take some great time lapses with that it's also going to
be great if you want a wired remote so you can use a remote and press down like this if your camera is on a tripod you don't have to worry about actually pressing down and shaking the camera while you're trying to picture ten should be causing camera shake next here we have a mini USB so you can plug this camera right into your computer to transfer pictures if you don't want to take the SD card out then we have our HDMI out right here which allows this camera to output signals to a TV or to
an external monitor but that's pretty much my beginners guide to the t7 if you guys think that I missed anything big that you guys wanted me to talk about make sure to leave me a comment in the comment section down below letting me know what I missed and I'll make sure to give that a favorite so more people can say hope you guys enjoyed this video if you did definitely make sure to give us a do a big thumbs up down below and of course make sure to subscribe to this channel then be notified when
I release new videos to this YouTube channel again thank you all so much for watching this video and I will catch you all in the next one you