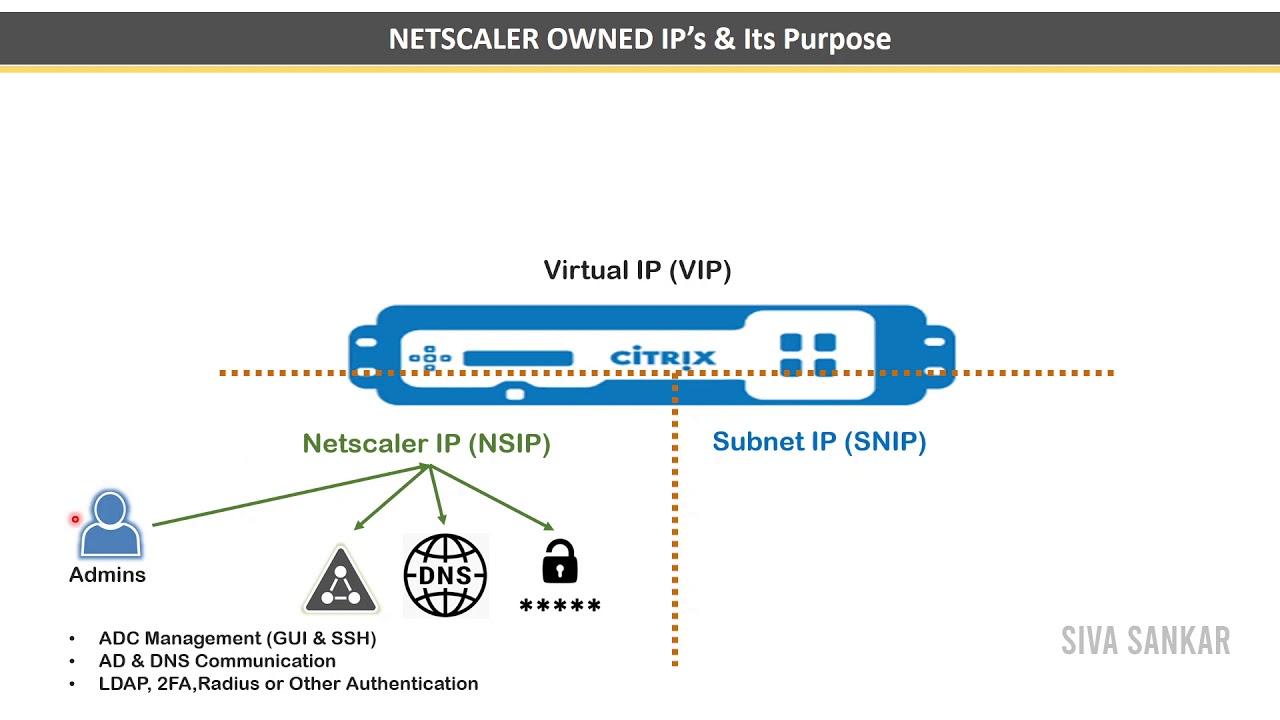
okay VPX setup so in order to set up our VPX we need a software we need our license and we need our IP address okay so now let's go and deploy our netscaler Appliance and we'll see how it is working uh so for that I will take an IP address Okay so 192 168 181 Dot 235 this is the IP address I will take for my primary Appliance okay and this is the snip okay management IP and then we need our snip 168. 181 Dot 230 8 I'm going to take snip this is for the backend communication okay and then one into 168. 181 Dot 236 so this is for the I have one more Appliance ns2 this is for high availability so I will take this okay so the subnet mask is 255 255 255.
0 this is the subnet mask and 192 168. 181. 1 this is the Gateway default gateway okay so now if I go to my plans so see I have a uh I have deployed let me explain you about my lab so I have a virtual machine in Azure okay which is uh where is it source I have a virtual machine in Azure which is d86 V5 this is the specs of my Azure Hotel Machine in that Azure virtual machine I have installed VMware Workstation so here I deployed two servers this is vm1 vm2 this is for my demo purpose and I have a domain controller and then now I am going to deploy a netscaler in this particular Appliance okay so if you have a laptop with high configuration you don't need to go through all this you just deploy your VMware Workstation on the laptop and you can create it so I have downloaded the VMware sorry I have downloaded the setup which I'm going to be you know configure now so I'm going to deploy 13.
1 build 37. 38 so if you see my folder I have here the build which is 13. 137.
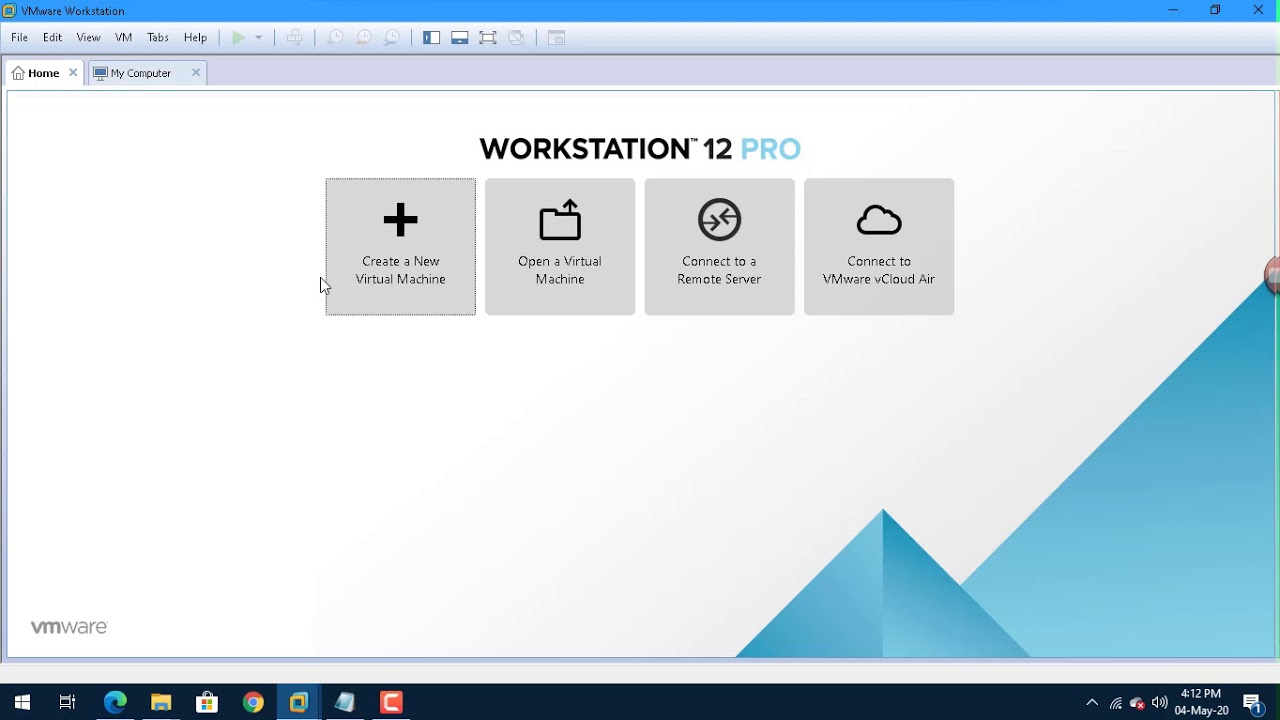
38 so I'm going to extract this I'm going to click extract all okay so now you can see over right sorry overf open virtualization format so what you have to do is you just right click and you'll have option called open with VMware Workstation so if you have a vcenter console then you have you know you know the procedure right how to import the ovf so you need to follow the same but if you are trying in a lab so you just right click and click on open with watch VMware Workstation okay it will directly deploy to your VMware Workstation so I'm going to new give a name NS hyphen lab hyphen01 so this is the path on which you're going to store so I'll keep as a default which is C drive I'll click on import okay so it will take uh a bit or just to import that ovf over here so yeah it is uh imported successfully so now I am going to do some changes over here I'm going to give the memory as 8 GB or 4GB is also enough okay and I'm going to keep the processor to vcpu and network adapter I am going to change it to net because this is as per my requirement so I'm using uh you know net in this lab okay there is no particular reason you can use your one so I'll click ok and now I'm going to power on the appliance okay so this will take time so this will take some time so parallely I'm going to deploy one more Appliance this is uh for the later exercise okay just to save the time I'm going to do this see the net scalar configuration is completed over here I can you can see right so it is now saying that enter uh Citrix ADC IP address so we need to enter the IP address so you remember earlier we have you know uh collected some IP address over here so we need to enter the IP address which is a snip it is 235 okay I'm going to enter 192 Dot 168. 181. 235 so this is the IP I'm going to assign then it is asking net mask which is the subnet mask Wi-Fi Dot 255.
0 Gateway which is 192. 168. 181 Dot one so now it is saying that save for sorry click enter 4 to save and exit so we need to click 4 and we need to save the configuration so now see it is assigning all those IPS to the relevant interface Etc and then it will be ready now while okay so parallelly uh I told you right I have one more Appliance to deploy for the ha purpose so I will go ahead with that as well so I'm going to the open or NS hyphen lab iPhone zero two I'll click on import I'll start this apply I'll configure this also I'll go I'm going to give 4 GB and then I will change this to net and then I'll turn on this Appliance see this Appliance it is uh up and running now so we can access it and let's see the behavior so I'm going to open the browser so I'll enter 182 168.
181. 235 if everything is fine this let's killer Appliance will be accessible so perfect so see my my net scalar is up and running so by default there is a username and password which is NS root so this you have to use to access your netscaler okay so once you enter it will ask you to change so earlier it was not there now this is a good thing they did so I'm going to enter the password I'll click on change password so now I have given the new password to my Appliance so it is saying new password and volt not matching so let me re-enter foreign it will ask you to configure the some things which is subnet type unit address subnet type as I mentioned this is the backend IP address which uh you know let's kill see it is they have mentioned very clearly subnet IP it is a communication from Nets color to the backend so we have our sheet over here so I'll take this IP address which we identified and I'll paste over here and I'll click on done okay now it will ask for the host name so I'm going to give a name as NS hyphen lab hyphen01 DNS I have a DNS server which is 192 168. 181.
129 I believe so if you see this one right so where is my domain controllers yeah this is the domain controller so in this domain controller I have the uh DC rules also so this is 120 I'm not sure about the IP address so let's get the IP address finally we will fill the other details so time zone I am going to select my time zone Dubai so ntp server I don't have anything any ntp servers so let's confirm my domain control IP address it is 192. 168 181. 128 so I'll number here 128.
so then remove this we don't need this uh you know ADM integration click done okay so it is asking to reboot so I'm not I'm saying I will reboot later now the license so here we need to assign the license okay so if you click this you will see something called Mac ID or host name so this is the one you need to take this ID and you need to generate the lessons accordingly see in Citrix virtual apps and desktop you're taking the host name of your license server right similarly here you need to get this uh Mac address okay this is the MAC address of your netscaler and you need to submit this to the Citrix portal and they will give you the license so if you have a license you click on browse and for example I have some dummy lessons I'll just show you that uh here so if I this is the license format so I'll click on open oh that's fine it is giving some error but that is how you are going to uh do the licensing okay so that's it so that's it how we are going to configure so click save and see somebody is asking about travel license Etc right if I go to my license see by default it is a freemium license so here some features are allowed some features are not allowed see you can do load balancing you can do SSL offloading you can uh you cannot do Citrix Gateway you cannot do gslb so what are the tick mark you can see here this is comes with the standard Express license okay this is for the I know or some 30 days I believe it will be there okay so basically you can try the basic things such as load balancing SS offloading Etc so let's reboot so to reboot we need to go to the settings sorry system and here we have an option called reboot so similarly we'll set up the other appliance which is uh we identified for the lab so here it is asking so the IP address which identified like I have identified for the other appliances 192 168 180 1. 236 okay so let's assign that also 236 255. 255.
255. 0 Gateway which is 192 168. 181.
2 and I'm going to select 4 and I'm going to save the configuration okay so this Appliance also will come into the picture so now you guys know how to deploy the netscaler uh if it is a VPX Appliance you need to do all these things but if it is MPX Appliance all these things will come in default you just need to connect your cable to the laptop and you need to assign the IP address okay so you may have a question how I can access my up accept plans after connecting to the laptop so by default any VPX sorry MPX Appliance physical times comes with the default IP address which is 182 16800. 5 okay if I am not sure if I go to Google and if I search here Citrix MPX default IP address it is somewhere around yeah it is 180 to 168 100. 2 so what you have to do as I mentioned I'm here so once you do the rack mount right so if I go back to my this connectivity so once you do the rack mount you connect to one cable from one end to your laptop and another end to the management IP sorry Management Port and then assign uh one IP address to your laptop which is uh what you can assign to your laptop is uh 192 16800.
3 you can assign to your laptop and 100. 2 will be assigned automatically uh in the net scale itself so then you can open the browser on your laptop and you can access the net scaler through this IP address so the moment you type this IP address you will be landed in this page which is nuts color ADC pH and then you can log in and you can you know configure your nsip you can change from 192. 168 at 100.