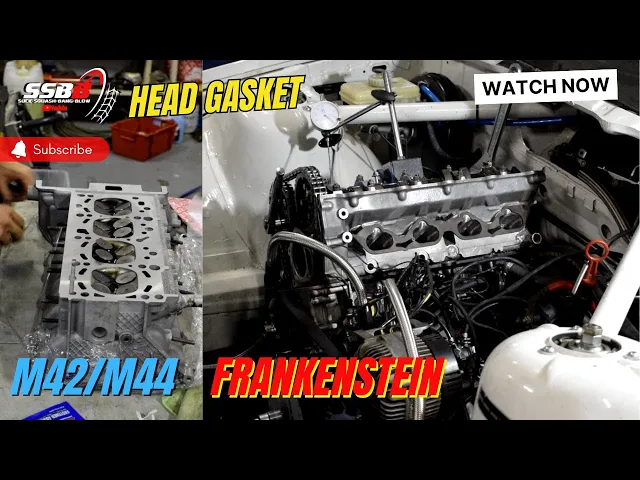
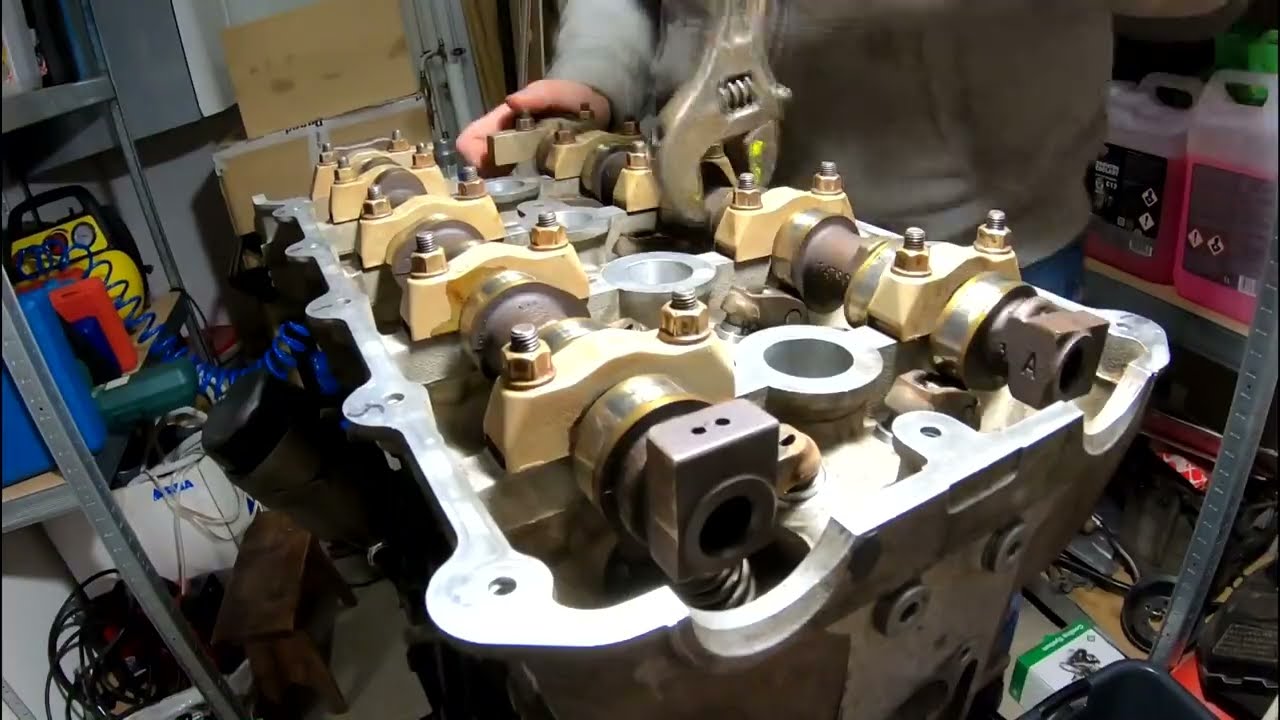
[Music] [Applause] [Music] [Applause] [Music] you can see the milky oil that means that the water is mixed with the oil so yeah let's see what it looks like okay so here's a top tip for you what I've done is I've loosened I've loosened all the caps on the cans so you can see the valves the the cams are not pushing any of the valves down same on the exhaust side that's so that if you take it off and put it down the valves again aren't sticking out and you don't have risk of bending it so
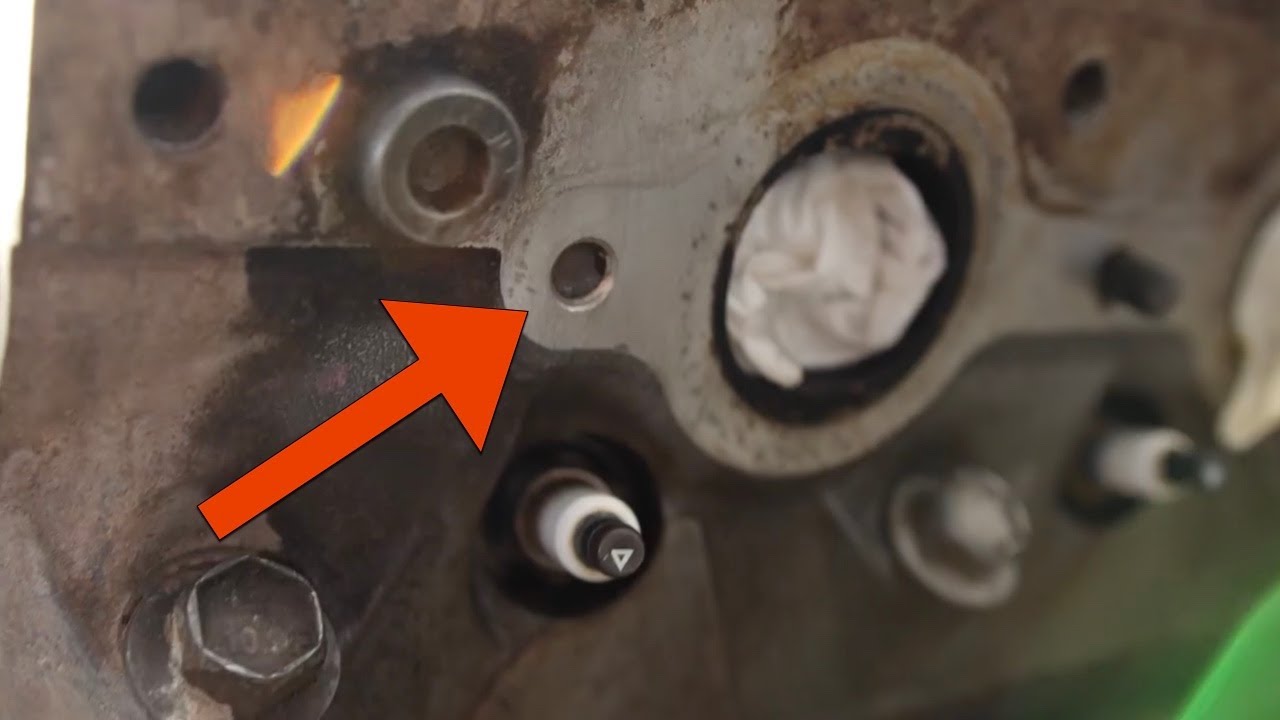
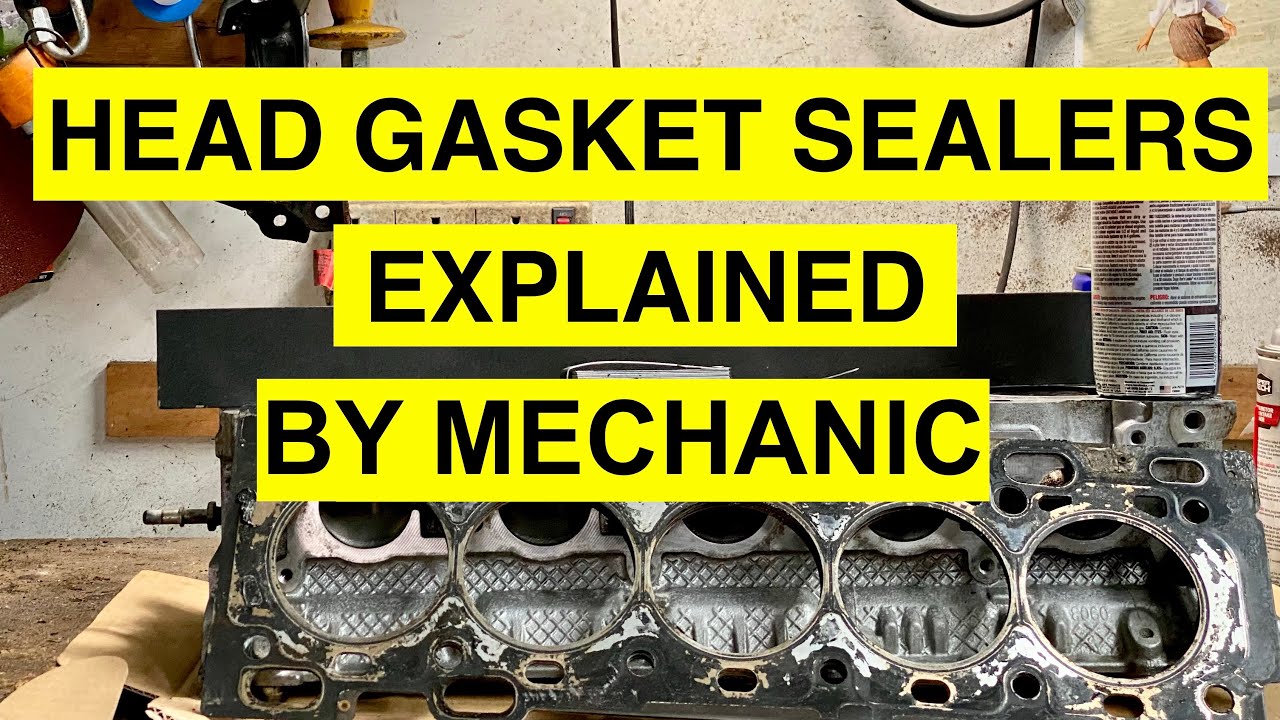
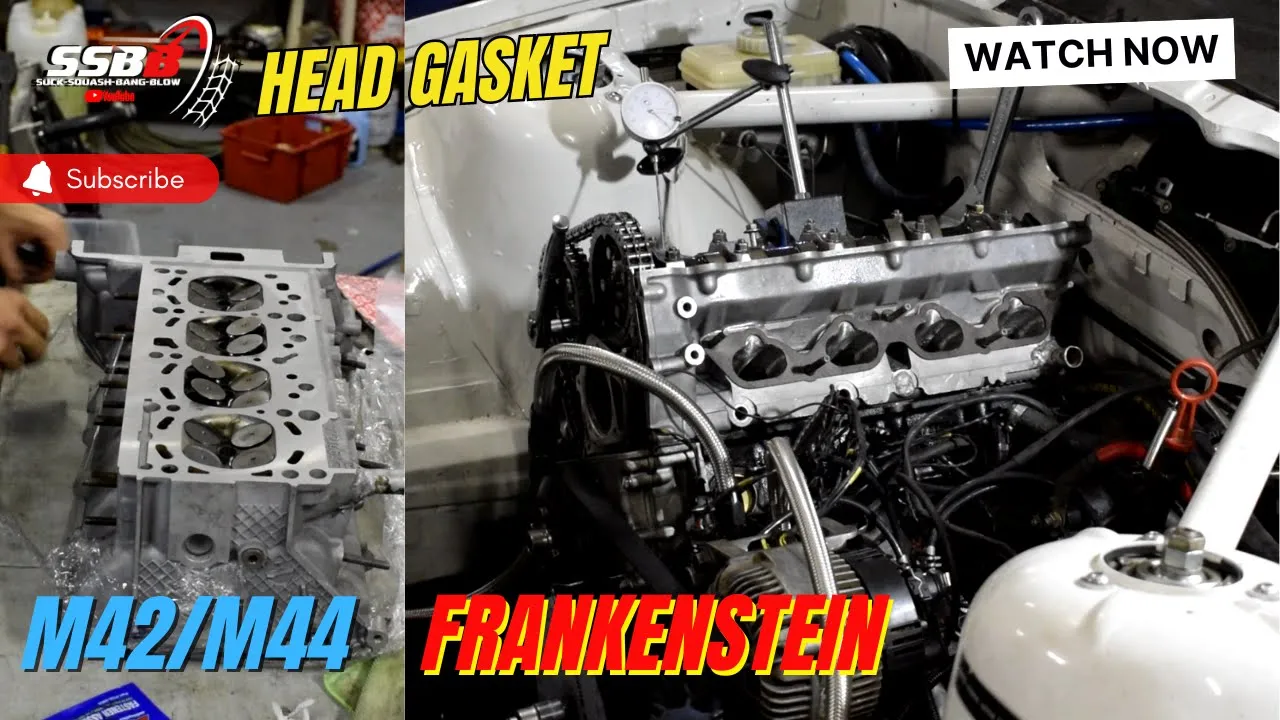
let's see if we can get this head off hopefully I've got on again exhaust is still attached so and we've got to figure this chain story out so let's just see oh all the water there we go stop recording [Music] all right so we found the culprit managed to get the head off and I'll show you there hold you up please so everywhere else it looks okay in fact you could see it was running quite well but this cylinder is quite clean in comparison and here right at the back you can see it blew in
between the uh it looks like the um combustion chamber and um the water Port so there must be an oil Port here but essentially it blue there you can see how it's pushed out the gasket over here as well the gaskets deformed here so um nowhere else everywhere else it looks okay except for here so could have also mixed here so what we got to do let's just check so here you can see as well it was mixing there it was blowing through there blowing into the um cooling system so somewhere we have to just
see where it has uh mixed with the [Music] oil all right guys so we are back busy with busy with the m44 we're going to put the head back on today I've just got it back for from Machining uh we've got oil we've got the gasket we've got new bolts um we've emptied out we've emptied out the oil cooler that's busy draining so whatever milky goo is in there we're trying to just get rid of the most most of [Music] that when we start it up we're just going to use a basic oil um and
just try and flush it a bit so for the most part what we're doing just cleaning the surface um cuz we used this Copp compound just to help um the head gasket seal so we're cleaning that surface then we're going to kind of just prep it put the head on bolt it down and then go through the motions of doing the cam timing which is going to be quite a story in the meantime we're going to catch up on another couple of tasks on the car so we got a couple of other things we're going
to do so I've got all hands on deck we've got Yan over here works for Craig yaku helping us over over here and then johannas johanes is busy cleaning the uh valve cover so it's a busy one tonight uh we are racing this weekend uh so when this video comes out um we'll be racing um we're also going to change the seat in this car I'm going to put my old seat back in my old seat is much lighter um so we've already we've already done a bunch of weight reduction but uh either way we're
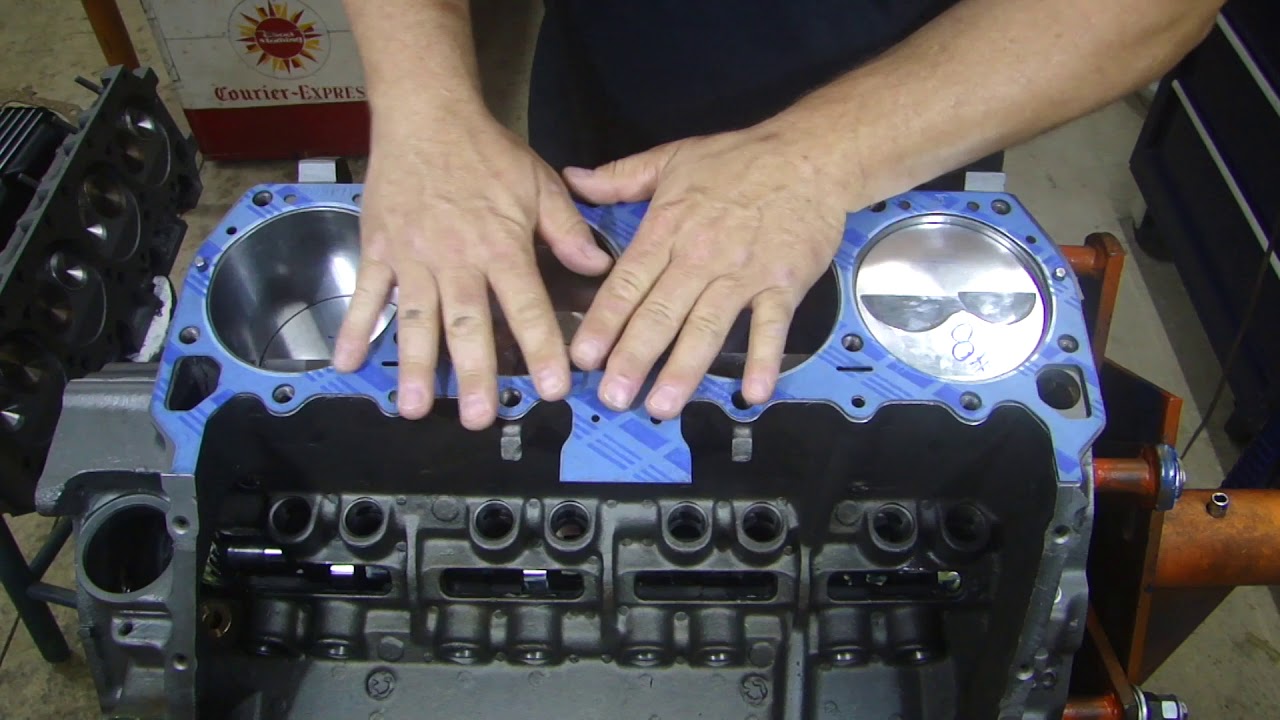
just going to try to get some more and yeah touch would we make it that's it from there I just started the process of lubing the head bolts this is quite a process but just take your time I used ARP assembly lube and uh the r rule of thumb is basically under the head of the bolt that is in between the washer and the head of the bolt and then on the thread I then opened up the new earling head gasket these earling head gaskets are really high quality and even though it is still a
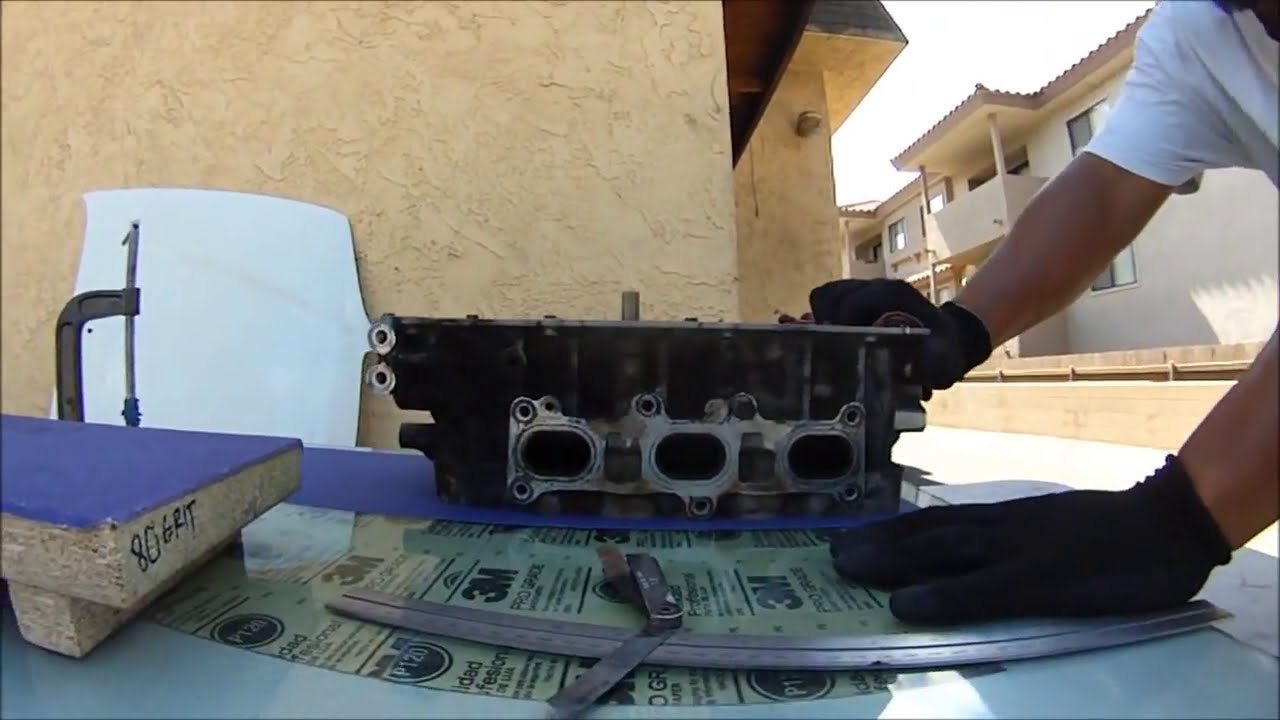
fiber gasket it is very high quality gasket I still used copper um gasket Compound on the base of the gasket just because the block didn't get skimmed however it was going to be good enough um I then opened up the cylinder head now the cind CER head I sent it off for um checking we did a pressure test on it there was no problems with that and then we also resealed that water jacket that was a potential issue causing it to uh overheat so everything was good on the cylinder head we left the valves then
it was just a matter of installing it again this is quite tricky because the cylinder head itself is actually quite heavy on this engine so juggling between getting it onto the Dells and then lining up the timing chain so that it doesn't snag on the water housing is quite an issue and uh it's it's a juggling act you just have to take your time feel it around and try and get it done and also make sure you don't catch anything under the cylinder head like wires or in this case it was the exhaust headers that
were fing the head then it's a matter of just getting the head bolts into the head without taking the cams out and uh the slow process of getting them all in there is quite tricky as well so I use this magnet and just kind of put the washer in first and then slowly guard the headbolt in and then um just send it in with the impact now I don't actually send them Tor them down with the impact I follow the instructions and then use a torque wrench 30 Newt M and then 90° 90° if you
want to see some more of this kind of content please consider subscribing just click on the Subscribe button hit the bell and you're good to go from there I just started with the cam timing was a slow tedious process to get it right um I went for the same cam timing specs as before and then afterwards just double check that uh it is all correct as per the manufacturer specifications and then talk it up double check the intake again and then rotate the engine to make sure that there is no contact oh there we go
all right so cam timing is done um what I have to do now is put this front cover on there quite a process to putting this front cover on to make sure that the bottom gasket seals especially in the corners um Yan is busy with the exhaust that is also quite a process so it's taking a bit of time to get the exhaust back on uh that's the headers and then the rest of the exhaust and so from here um H is obviously torqued I've done the cam timing got to put that front cover on
put the itbs on um we've cranked it for oil pressure so we're good on the oil pressure um and then cooling system on get it started get it up to temperature and then drain the oil put the good oil in let's go one of the things is you need to make sure that the corners where you're going to apply the Silicon these Corners are free of oil so that the Silicon silicon rinzo seal whatever you want to call it can Bond um that is important so we just cleaning these out and then obviously get rid
of all the old silicon just take a little bit of this stuff put it in the corner and in the corner again cuz this is where the edges of the gasket go and I'll explain that to you right now I find this works well now you see the gasket that goes onto this face here has these little stoppers on the end now those are supposed to slot in a little Gap there but it's really tricky to get them in that's why I put sealer over there because the chances of it not sealing is quite good
trick here is you've got to obviously keep pressure on the gasket make sure the gasket doesn't doesn't pop out of its location and this steel gasket needs to seal as well and get all the holes lined up and then apply downward pressure also the trick is don't tighten any of the bolts just yet you tighten the bolts right at the end one by one so you first get all the bolts in then you get someone to press down on this face all right so just going to Snug them up that's done from here we'll do
the water the uh valve cover button up the intake we'll get you when we're ready to start all right like I just said we are pretty much ready to go we've got the cooling system set up the new bottle is in place itbs on throttle caes not on so we got to do that all right so it is about 10:00 Wednesday even evening um I've just uploaded the cting map we are about to start car to see if it runs for the first time so let's see my man Johannes is busy topping up with water
he's going to be ready with the water and let me just do this throttle cable we'll be ready to go all right guys it's the moment of truth let's see just uh let's just check underneath so it has oil it has water let's go 3 2 1 so we need some jumpers what's going on let's try again yeah it's on the [Music] exhaust yay all right so the one thing we need to do now is obviously just make sure it bleeds properly so we're going to start it up run it all the way up to
Temp get it through the heat Cycles try and Bleed it properly cuz apparently that's quite a thing on these engines and the six cylinders so we'll just go through those motions but all in all it's successful so far no leaks down under so yeah looking good all right so we've just put the ravenol in drained the uh startup oil everything was fine there so let's give it a go see what our oil pressures are like oil pressure good oil pressure at five more but that's going to be a wrap for today's episode from here we
just have to get it on the track do a couple laps and make sure that the thing is uh the cooling um is good so it is Wednesday today Friday is the practice that's going to be in a different episode with the race the next race in this car so once again thank you for watching it was successful and uh we'll cover the race next episode and once again thank you for all your support we'll catch you next time CIA bye [Music]