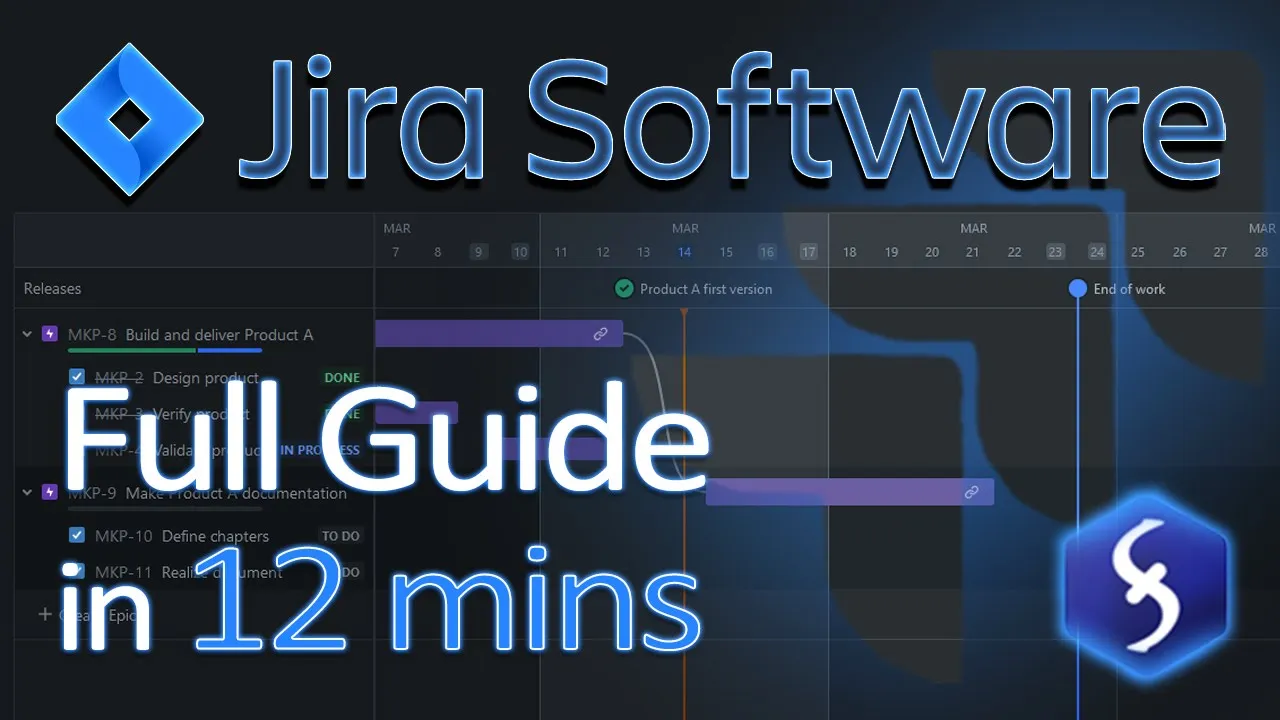
<font color="#00FFFF">Hello, welcome to this video on Jira,</font> <font color="#00FFFF">one of the most comprehensive</font> <font color="#00FFFF">project management platforms by Atlassian. </font> <font color="#00FFFF">With Jira you can plan your tasks,</font> <font color="#00FFFF">track issues, manage projects</font> <font color="#00FFFF">and guide your team properly to your goals. </font> <font color="#00FFFF">In just 12 minutes we are going to cover Jira Software entirely,</font> <font color="#00FFFF">focusing on team-managed projects,</font> <font color="#00FFFF">without getting into the more complicated business projects.
</font> To get started, sign up and create a Jira site to manage your projects, under the atlassian. net domain. At this point create your first project for example a Kanban one.
Upon opening a new project, you'll find a blank Board section with a light theme. To switch to a dark theme, go to your account icon and then to Theme. A Jira project is made by several Issues, which can be items, tasks, or bugs that need tracking and control.
Create any by typing under the To Do column and applying with the Enter key. You can add others under the In Progress or Done columns, depending on the current Issue status. You can customize any status by clicking on its title and use the plus button to add others.
You can also set a maximum limit of Issues for each status and delete any if needed. Initially, you are the sole member of the project. To invite others, click on Add people at the top.
All members have full permissions as administrators, unless you own a paid plan allowing you to define distinct roles. Each Issue comes with its unique ID key, made of the project ID plus a number. You can click and drag any item to change its position or move it to a different status.
Click on any Issue to add any description, comment or check its history. Above, you can attach files or add a child Issue such as another item that causes or is related to the current one. To do this, create a new Issue or search for an existing one, and then set its status on the right.
Click on it to add more details if you need and come back to the main (or Parent) Issue from the top. Go to Link Issue to create dependencies between the current Issue and others. On the right, set status, the assignee and the person who reported the item.
In the top right corner go to Actions to manage or delete the Issue. If these options are not sufficient, head to Configure in the bottom right corner to specify other Issue types (like bugs), shown as icons next to each issue ID. You can also set which kind of information to gather for each issue, such as a due date.
Return to the Project settings and go to Features to enable Estimation. This allows you to assign a time effort to each Issue, expressed in a generic unit called story points or in minutes or days. All these tasks that compose your Board can be also checked and reviewed from the Issues section on the left, check it out!
Now let's understand the Timeline! This workspace is designed to track your major tasks over time, called Epic Issues. Drp an Epic title, apply it with the Enter key and click on the timeline to place it in time as a colored block.
You can click and drag it to move it and adjust its duration by dragging from its edges, therefore editing its Start and Due dates. Click on the Epic block to change its color, attach files, set its status, or assign it to a project member. You can also remove any Start or Due date if these are undefined, shown as greyed-out block edges.
Go to Actions at the top to manage or remove the Epic issue. You can also create dependencies between Epics by hovering over any edge and dragging the link icon on another block. These connections are also shown under Linked issues when you open any Epic issue involved.
If any connection becomes red, the dependence is no more respected. Click on the link to get more details or remove the connection completely. You can also visualize all the Issues contributing to an Epic goal on the Timeline.
In this case the Epic item is the Parent task of the other child Issues added within it. To add these use the plus button or open the Epic item and Add a child issue, as seen before. At this point the Epic item displays a progress bar based on its Issues statuses.
You can also place the child Issues on the timeline by clicking on it, and drop blocks assuming the same color of the Epic item. If you can't do this, make sure to go to Configure Timeline on the right and enable Child-level issue scheduling. You can also add versions to your project, used to identify further product releases or phases but also to set project milestones.
Enable versions by going to Project settings, Features and toggling Releases. This shows the Releases section where you can create a project version with a name and a Release date. This is shown on the timeline on a dedicated row, where you can click to check details or highlight it better on the timeline.
As long as the version item does not include any Issue, you can use it to fix a general milestone. Whereas, if it is intended as a project version, you can click on it and assign the Issues to be resolved within its release. These same Issues will show the project version under Fix version.
On the right side, you can Archive or Release any version. If this has linked issues, you can set how you want to manage them. Use the Backlog to handle independent or urgent Issues.
You can show it from the Add view list. Here, drag any item from the Board list to the Backlog below, and arrange them in the correct order of priority for your team. Make sure to adjust status, story points and assignee as needed.
From Projects, View all projects you get the list of all your Jira projects to manage and delete. Whereas go to Create project to start with a new one, taking any ready-made template based on four different Jira products. On Jira Software we have just covered the team-managed Kanban project, ideal for keeping continuous control over issues and project flow.
Now, let's see how to work with a team-managed Scrum project. The Scrum project is made of iterations called Sprints, which help to focus on a specific scope or repeated goal rather than on the overall project flow. It also allows to break down a complex objective into simpler steps to learn and improve.
To fill the Scrum project switch to Backlog and define a Sprint, which is a group of Issues to be addressed within a specific deadline. Define any task, bug Issue or a story Issue if it is a non-technical item and apply with the Enter key. On the right, set status, assignee, story points to quantize the effort, and click on the Issue to add more details.
You can also create other Sprints, especially if you manage multiple teams. As seen for the Kanban, you can move Issues to the Backlog list to keep track of urgent items. When Issues are set, go to Start Sprint to review its name, duration and then launch it.
The active Sprint opens in the Board section, with all its Issues shown. You can also switch between active Sprints at the top. Return to the Backlog to edit, delete or complete any Sprint.
In Scrum projects you still have the timeline to drop Epic issues with dependencies. Here the Sprints are shown in a separated row and kept independent from Epic items. You can also extract reports from your projects!
Go to Project settings, Features to enable the Reports section and choose the report you need. You can also go to Dashboards at the top and then to Create dashboard to build your own custom dashboard to collect data from all the projects you are working on. Go to Change layout to set how many gadgets you want and drag and drop the ones you like from the right.
From Apps at the top you can access the Jira marketplace to install powerful extensions for your management. Check Free above to browse for free applications and install these right away! This is all you need to know to start using Jira!
<font color="#00FFFF">Thank you for watching this tutorial</font> <font color="#00FFFF">and explore more by checking out our YouTube channel and website,</font> <font color="#00FFFF">where you can continue learning about project management!

![Microsoft Access - Tutorial for Beginners in 12 MINS! [ + AI USE ]](https://img.youtube.com/vi/HDbGw1TInPk/maxresdefault.jpg)

![Microsoft Project - Tutorial for Beginners in 14 MINUTES! [ COMPLETE COURSE ]](https://img.youtube.com/vi/ei5xUlksV7o/maxresdefault.jpg)

![Trello App: Full Trello Tutorial for Beginners in 2023! [A-Z Guide] 💻](https://img.youtube.com/vi/lfMJ-NeoUGM/maxresdefault.jpg)



![How To Use Microsoft Project | Hands-On Training | Beginner to Pro Tutorial [Full Course]](https://img.youtube.com/vi/9rAW74Kg0N0/maxresdefault.jpg)