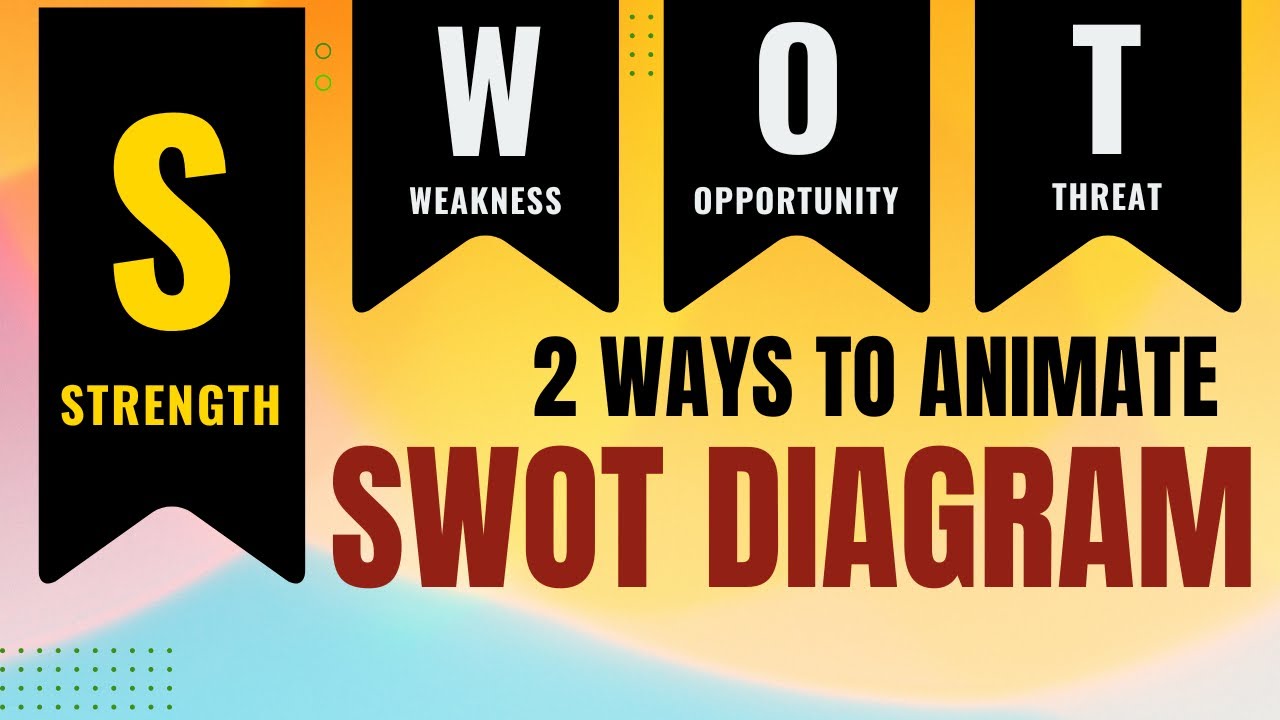
let's learn how to create this beautiful and creative way to present your acronyms in PowerPoint this is a very simple technique to learn and it'll definitely impress your audience the best part is you can extend the idea to make it look as complex and yet intriguing like this I'll show you how to do all this from scratch right now before that I'm Ram gopal from presentation process.com we help professionals like you create engage ing presentations here I am on a new slide and this is the acronym that I want to present the first thing you
require is two sets of characters I wrote These individual characters using separate text boxes like this I made sure that one set had text fill like this and the other one just had the outline if you want to know how to do it it's very simple take a text box and let us write a character let us say p and let us use a thicker font in this case I'm going to use two c empty condensed extra bold and let me increase the size so you can clearly see what I got here and I want
to make a duplicate of this by pressing croll D and keep it next to it and for this I'm going to remove the fill by going to shape format and here you can see in word art styles you have this option you can go here and use whichever colored outline that you want I want to keep it the exact same color as the fill so I'm going to choose just the black one and I'm going to have the fill to be no fill and I can increase the thickness of the outline if I want to
so by going to waight and increasing the thickness to one and a half points I can make this character look very visible so that is exactly how I made sure that I had these two sets of characters and I finished the acronym now let me delete this the next step is to create a space where the filled character would land and then you can write your text next to it for that all you need is a simple rectangular shape you can go to rectangles and then draw a rectangular shape like this and you can give
it the color you want in this case I'm going to use red color and remove outline you can have this as a box if you want to you can have this as a 3D platform how you want to Stage the individual characters is completely left to your imagination for now I'm going to keep this box out of the area this is going to be our opening slide let us right click and duplicate the slide for this I'm going to apply Transitions and use morph transition and the duration is going to be for just 1 second
so whenever I create duplicates of this from here on every one of them will have morph transition so that is the basic idea now I'm going to introduce this to the scene and let us keep it somewhere over here it doesn't really matter I'm leaving it to you to make the choices first I'm going to move this to the place where it needs to be now to ensure that there is consistency in the placement of the individual characters we are going to use guides so I'm going to right click go to grid and guides and
use a vertical guide and I'm going to move this guide right here so it is in the center of this character so that allows us to place it exactly where we want then we will write our explanation here in this case the explanation is join then right click duplicate the slide this time we want to keep this character back in its original place and then move this character to the new place and now you can see that I have this guide to help me place my character exactly where I want it then I'm going to
replace this with the explanation for p in this case it would be photographic I repeat the exact process for the remaining characters as well and the job is done now I'm going to write the full expansion of jpeg right click duplicate the slide and place this back to where it belongs then I'm going to move this out of the scene using my left Arrow key so it goes out smoothly and then I'm going to use this to write my text and make sure that it is placed centrally you can use your Center alignment to ensure
that it is placed properly when I go to the first slide go to slide show this is what the audience sees then I introduce the first character give my explanation about what that character means and then I keep explaining each one so that the audience continuously stays with me throughout my presentation and once it is done I have my final explanation shown so that is how this particular method works now I'm going to show you how I created the more complex version but before that I've got something useful for you if you are into making
educational presentations then I've got a free 5-day eour that you can sign up by clicking on the link in the description box below the video just enter your email and sign up and you'll be taken to this 5-day free ecourse which will help you to turn your lessons into engaging interactive experiences with PowerPoint there is no need for you to code so as I mentioned it's useful if you are into creating educational presentations now let's get back to the method that I was talking about this is the acronym that I want to give explanation for
for each of the characters the explanation is given here in individual boxes it's fairly easy to create these boxes and the text inside I ensured that these boxes are of the uniform size so I created one box I wrote this text using a separate text box so it is easy for me to align the text within the box once I completed one prototype with one box and the internal text I duplicated the box to ensure consistency and I just replace the text with the relevant explanation so that is how I created these four unlike the
earlier approach where we created everything on the Fly here you need to ensure that everything is pre-made so that means you need to spend your time to visualize how the final output would look so that is why I created this right at the beginning first I ensured that everything is distributed horizontally then I used vertical guides to Mark the position for each of them and then I wrote the explanation for each of the characters like this and made sure that they all are consistently aligned and then I drew a horizontal guide to ensure that we
are able to place these characters exactly where we want them and once I had the final picture ready I started duplicating the slide and kept only the essentials on each slide and moved the rest of them out for example in step one I removed all the characters and just ensured that these boxes are in place then the first slide was created by moving these four boxes out of the scene using my down arrow and this was created let me zoom out so you can see that all four are right below and now all that the
audience sees is just this blank slide then I used my up Arrow to move this box to position since I already have this horizontal grid it makes it easy for me to position it exactly where I want and then I moved character R to its original place and then I used this text box to finish the word then I duplicated the slide and then moved the relevant text box for the second character and completed the word and I did exactly the same for the next one and the next one and I applied m transition to
all but the first slide and then let us go to slideshow so you can clearly see what I got here on a click the first text box comes from below this character moves to its relevant place and then this rest of the text appears again on a click box comes from below second character completed and the third character completed and the fourth character completed to complete the animation if you like this tutorial then you will really like this other one which I created where I used a very simple custom animation to present acronyms in style
this video is called stylish acronym reveal animation effect in PowerPoint it's a type of text animation I will leave a link to this video right here on your screen you can click on the link and watch that video next I'll see you inside that video


![All about PowerPoint Slide Master [Basic to Advanced]](https://img.youtube.com/vi/qxvIUhFOdrs/maxresdefault.jpg)