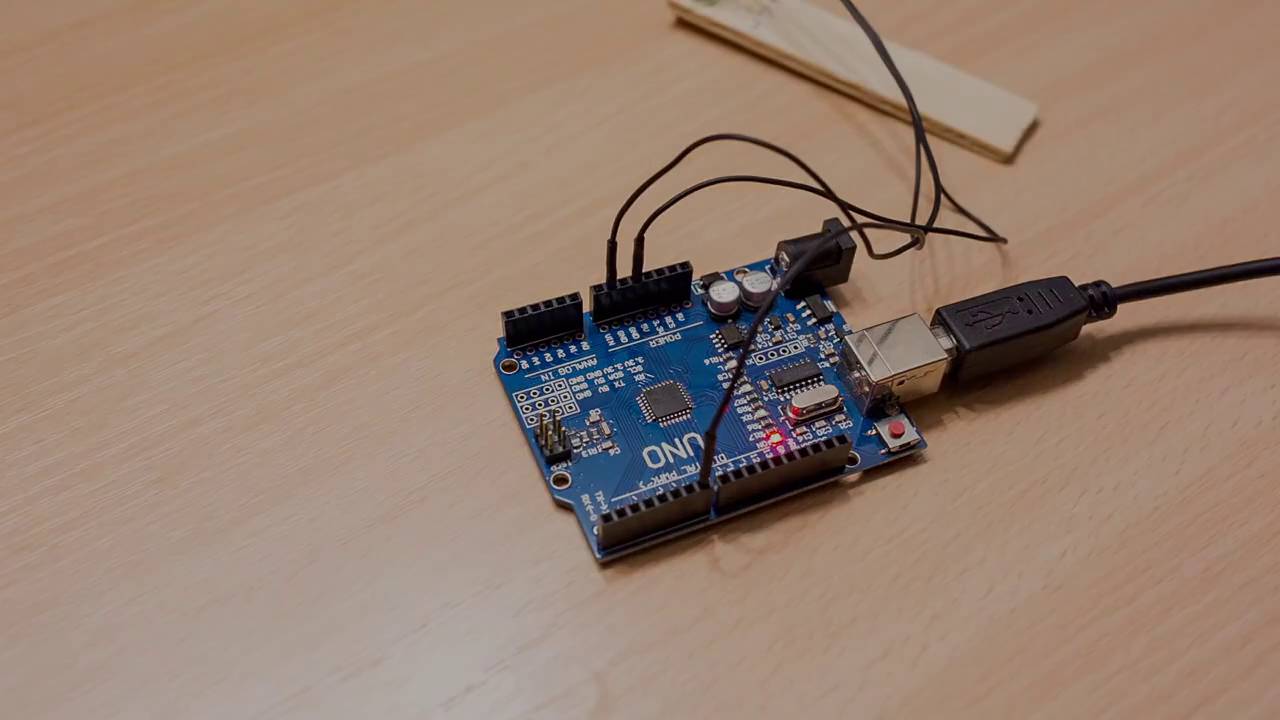
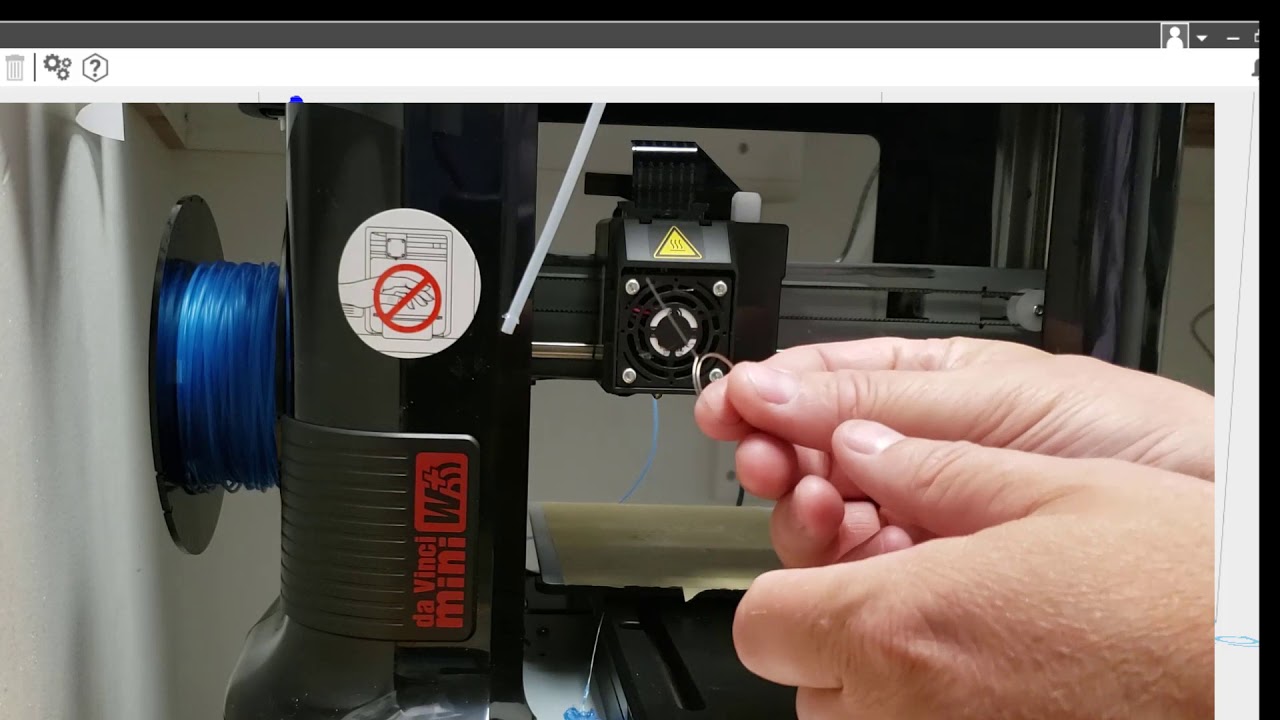
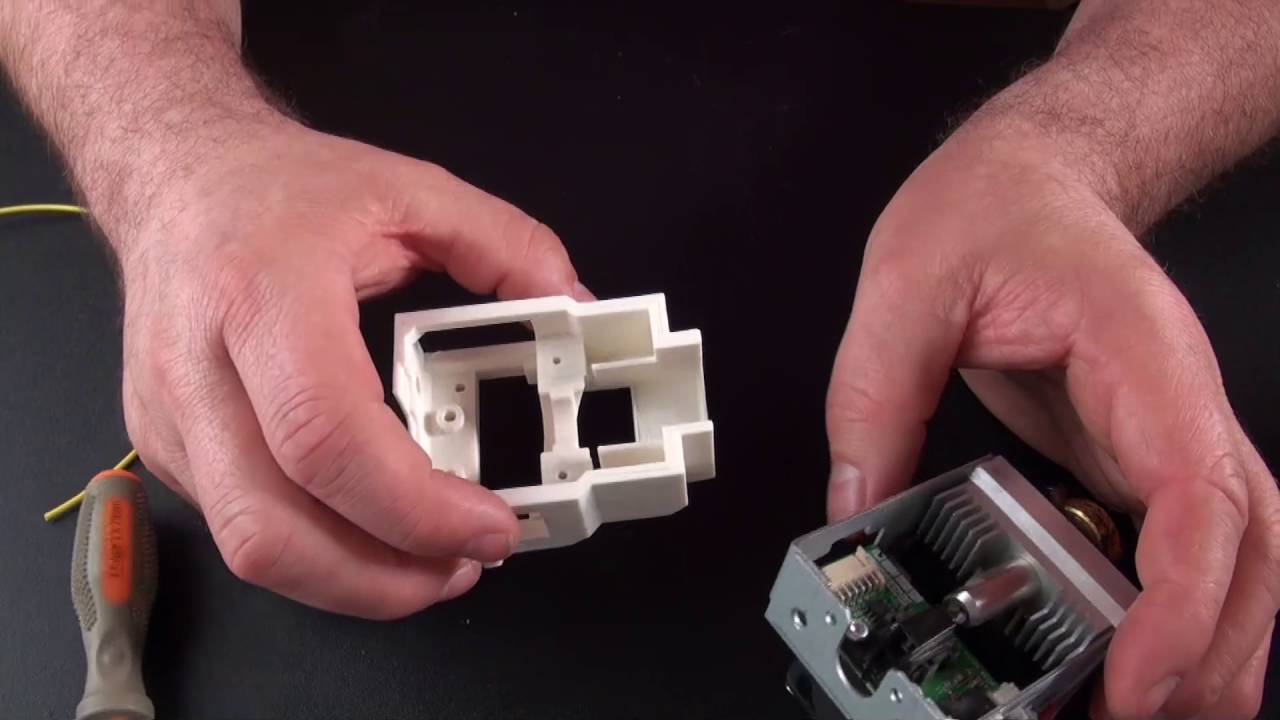
when trying to figure out how to get cura working for the XYZ da Vinci Pro I found lots of two to three year old forum posts where it sounded like a couple people had figured it out but ultimately most people still hadn't so to demonstrate that it is indeed possible here's the normal XYZ startup sequence for printing [Music] and here's the new startup sequence now that I'm slicing with Kira for those of us running XYZ da Vinci printers we are limited in two key ways first unless you're using a pro printer you can only use
XYZ branded filament however there is a hack that will bypass that the other limitation is which slicer you can use and no not that kind of slicer the default XYZ slicer isn't horrible but why settle for only two in fill patterns when you could have a dozen also when you're using support material you can have the flexibility to only have support come off the builds plate rather than the top surfaces of the object you're building that's a nice feature not present in the XYZ software and I could spend 20 minutes going on about vase mode
tree support fuzzy skin being able to preview each layer before it starts but I'd be here for about 19 minutes beyond the average YouTube viewers attention span since getting ultimate cure cure to work for my XYZ Pro I have not once gone back and used XYZ where to do any slicing that is because if you want to download the prints to the printer over USB or Wi-Fi you will still have to use XYZ we're just long enough to transfer the file to the printer unless of course you wanted to get adventurous and take the micro
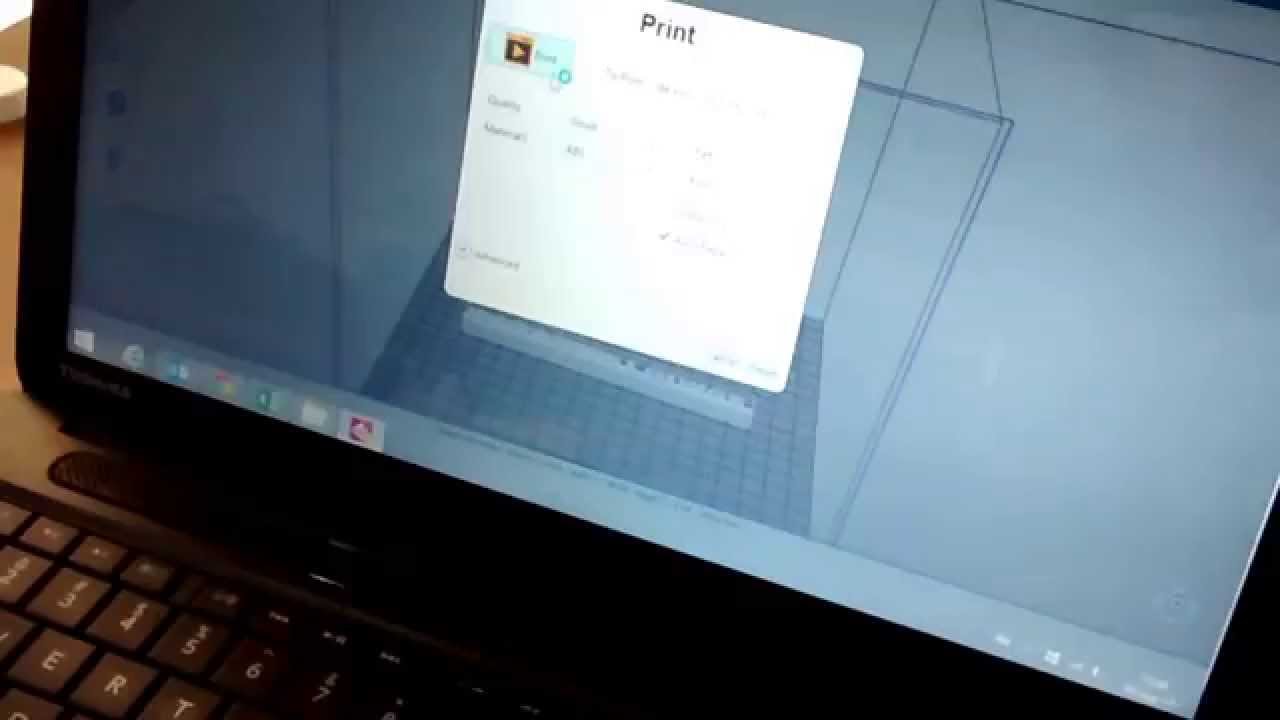
SD card off the control board and overwrite the sample g-code file installing cura is as basic and easy as installing any other program out there until you get to setting up for your specific printer but just before I reveal the numbers you're going to type in at the screen do stick around for the next full 60 seconds of the video because your speed and extrusion settings will also be totally different as you're about to see so here are the settings i typed in at the printer setup screen for my DaVinci Pro if you have another
DaVinci printer just change these settings highlighted here to reflect the build area of your printer if you want to quickly punch in some speed settings here's what I'm using to get some basic up on working prints these speed settings that I've come up with are just basic fail-safes if you want to print faster you can adjust these numbers as you go but just know that if you use these numbers things should work out for most people out there with the internet so I can't make any 100% guarantees someone will find a way to screw it
up one important thing to note is that if you're opening XYZ where you need to close Keira before you open xyzware because cure will tie up that USB connection to the printer so xyzware is gonna have a hard time talking to it a couple other things you do lose you lose the ability to see a progress bar or time remaining on your prints not that the XYZ printer had anything close to a reliable estimate for time remaining anyway the first print I tried with Keira I did use the same settings I used in my XYZ
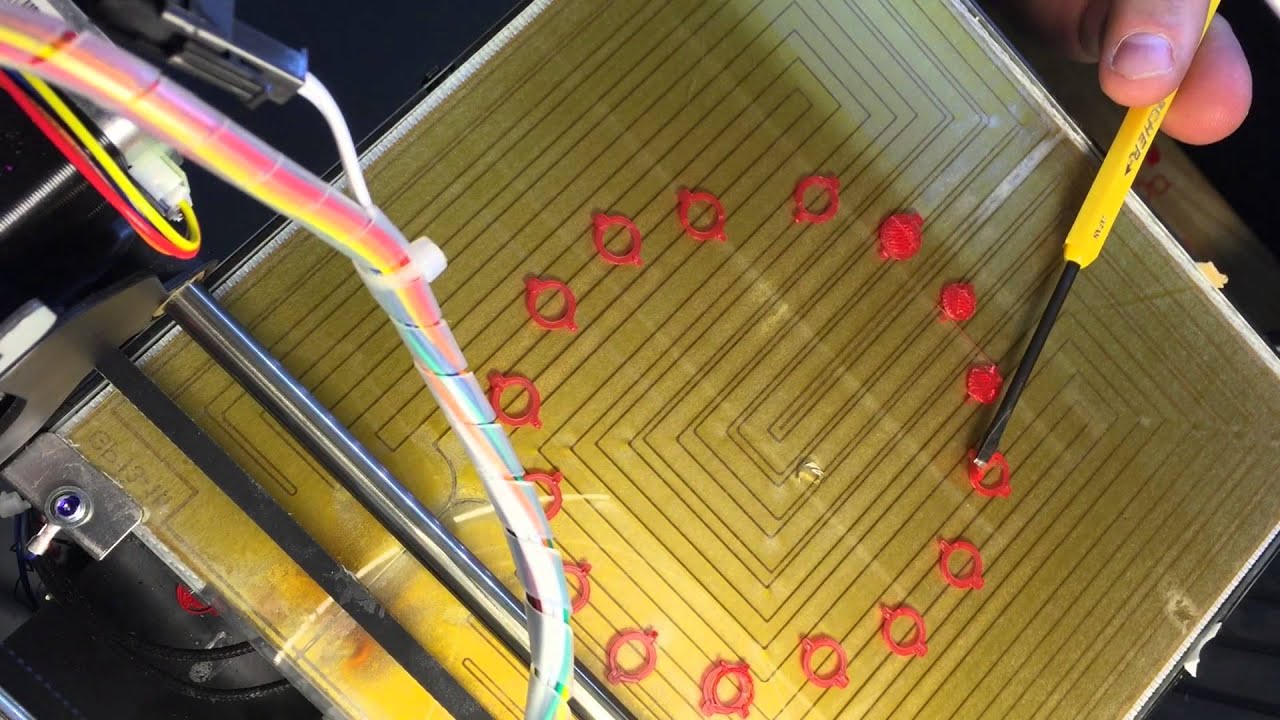
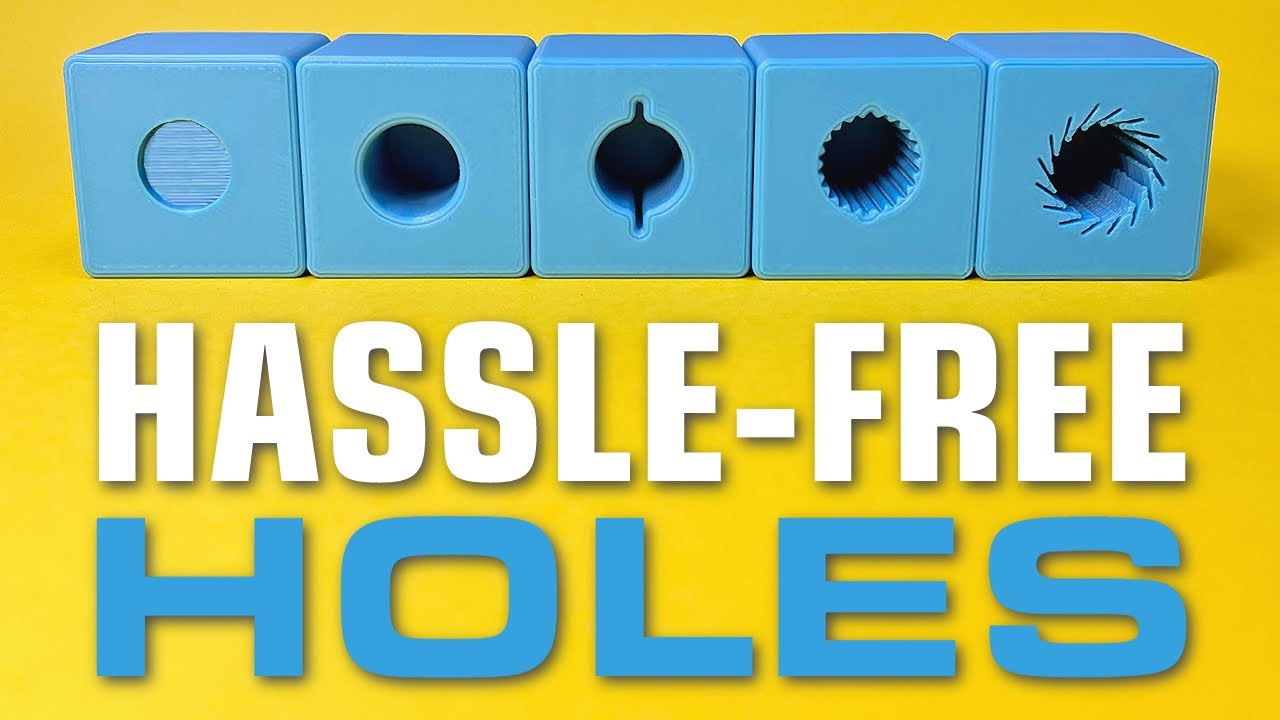
wear and things did not turn out good at all as you can see here definitely not enough material being extruded and you can even see on that second layer the individual passes did not stick to each other so thinking that it was going too fast which it definitely was I dropped the speed from around 60 millimeters a second down to 37 instilled the bottom layer passes were not sticking together dropping the speed down to 25 millimeters a second and cranking the flow up to a hundred and 1% again still not enough material although it did
look as though the bottom layer was sticking better together dropping this bead to 22 millimeters a second and a hundred and 25 percent flow we can see that things are actually starting to go in the right direction they're not there yet but they're getting there going back up to 25 millimeters a second and a hundred and seventy-five percent flow we can see that the infill is getting there I'm printing this without walls but there's still some gaps in the infill curious to see if this is just infill not getting enough fill or if walls would
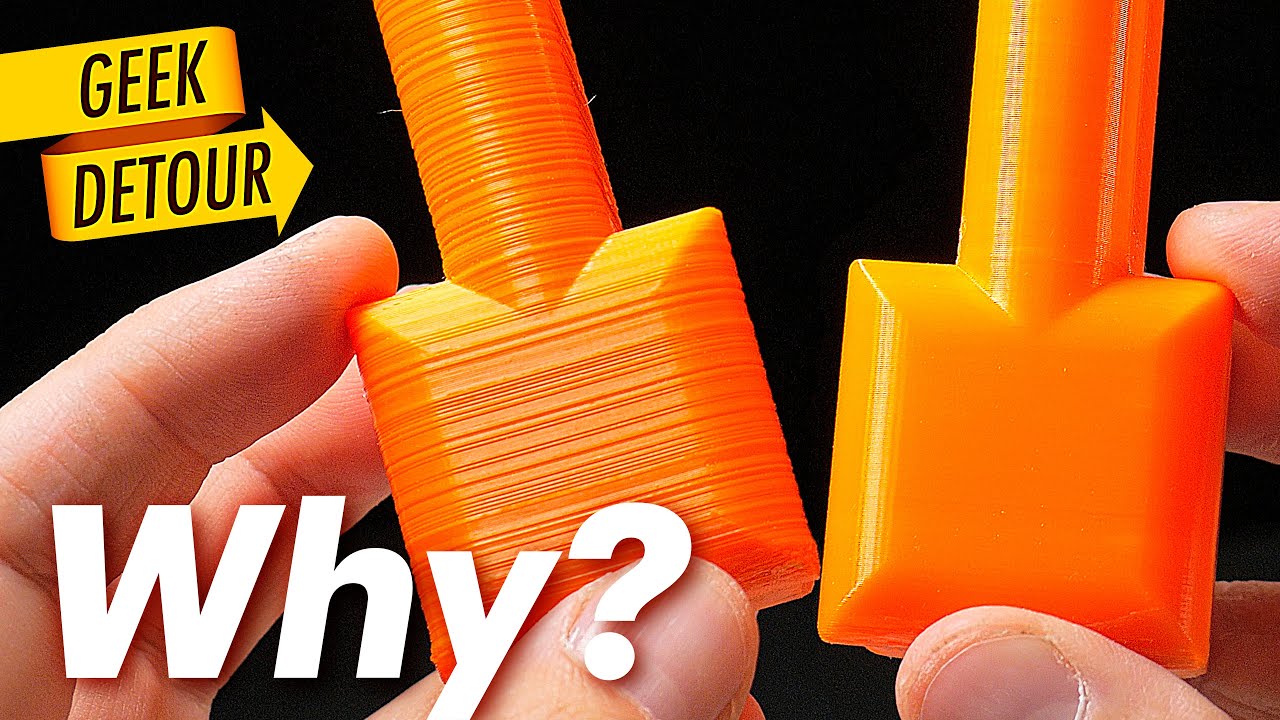
suffer from the same thing same settings but I printed with a wall so next up is another block with one wall 25mm a second this time with 205 percent flow and this layer height same as all the other previous prints is at zero point three millimeters and there are some gaps in the wall but it's only in specific places next to certain sections of infill and for my last test piece 25 millimeters a second two hundred and five percent flow to walls at 0.25 millimeter layer height and finally there are no gaps in the wall
now subsequently I've been able to bring the printer speed back up to where I'm printing about thirty to thirty-five for any of my walls or anything that shows on my prints now things seem to be working out okay that's it for this video like share donate or download a free mini ITX computer case if you're a reviewer or a journalist please include my dogecoin address and channel name and make sure to check out these other videos about computers and 3d printing over here I'll see you guys in the next one [Music]