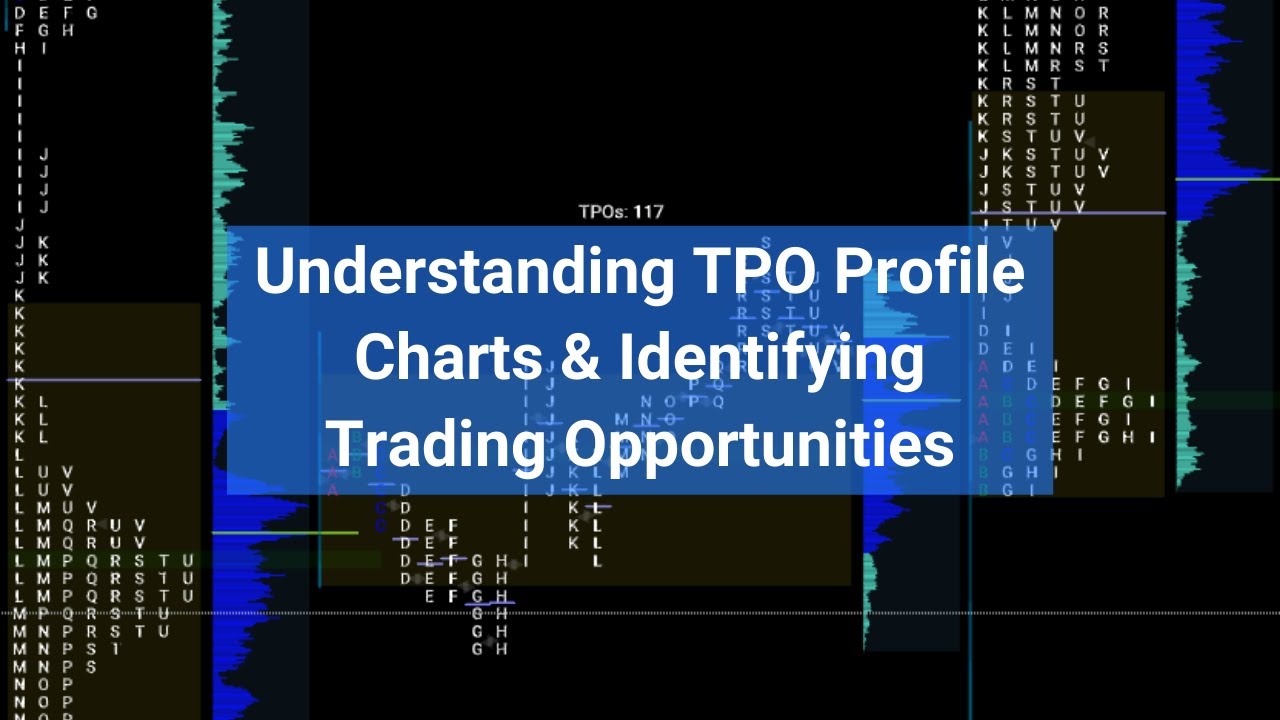
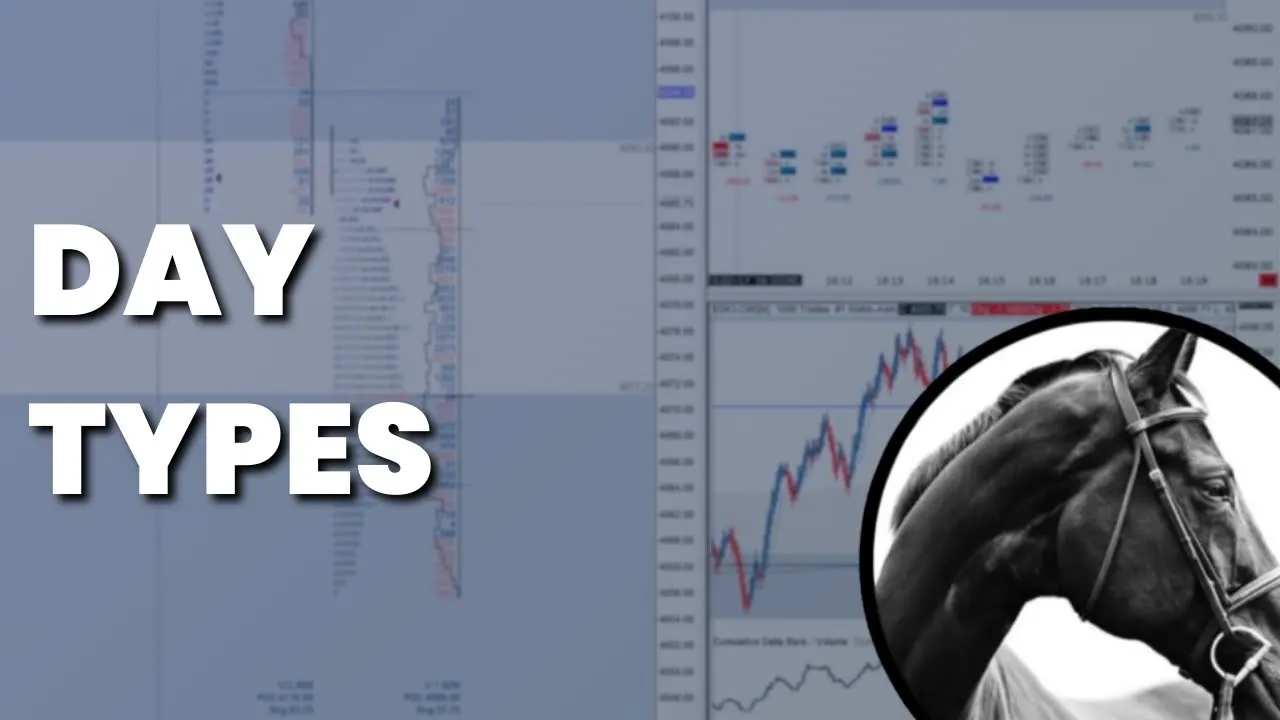
all right guys what's going on this is Ryan AKA Kenner and Clark and in this video we are going to cover TPO day types all right so again TPO chart being a Time price opportunity chart cover this in the first Market profile video and before you get into this video if you have not watched that one uh like we said in the beginning of that video you need to watch all of the first material that we put up in the order flow roadmap so most of the content in the beginning of the order flow roadmap
was derived from what I had pulled from Trading with Market profile you know as far as auction Market Theory goes so it's really important that you have a firm base of understanding with that material first before moving forward so let's get into day types alright so there's basically six day types or six structures that make up all of the small more nuanced versions of those within Market profile okay so there are six main structures and then obviously you're going to have slight deviations from those okay so just to cover it really quick again all right
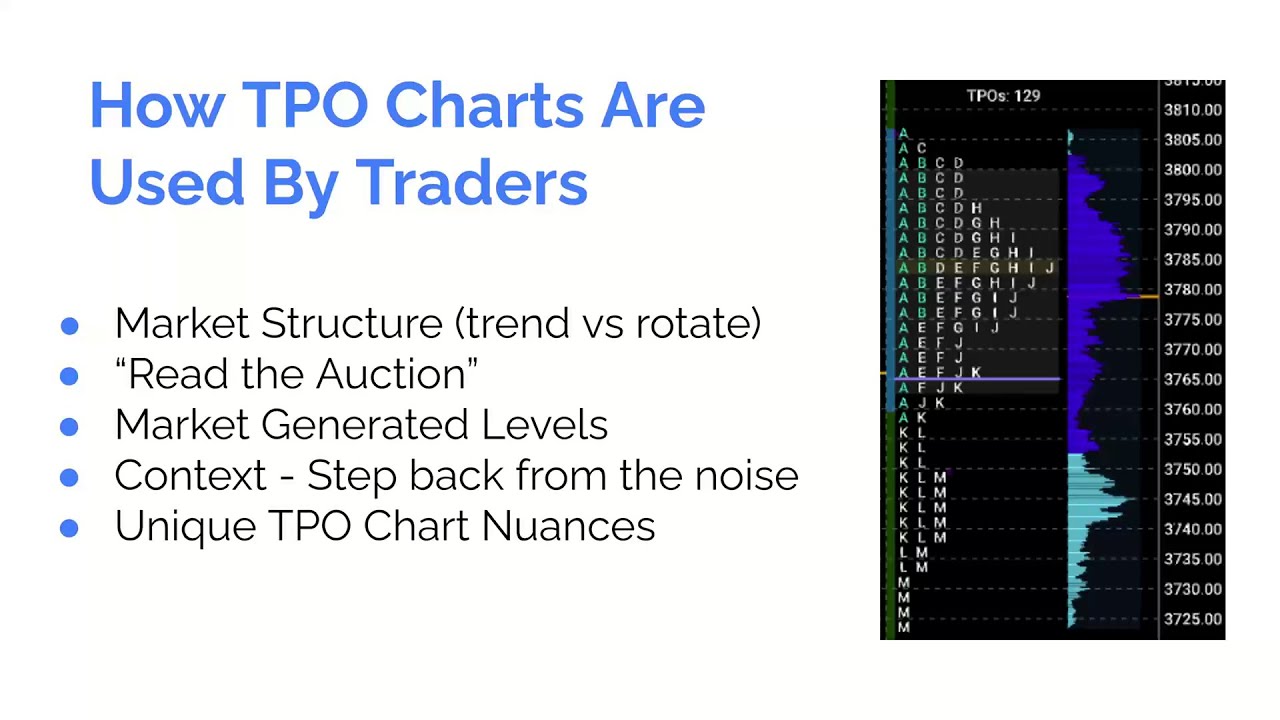
Market profile helps us organize Market generated information in a very a very efficient manner so basically we could take a whole day's worth of rotation right or you know the rotations during a day and we can compress it all and look at it in the same way that we would look at you know a bell curve when we're trying to identify uh where this where a certain distribution has been okay within you know given sample or in this case um you know where price was okay over time so with Market profile where we are able
to see pretty quickly with this information being compressed we're able to see pretty quickly how either balanced or imbalanced the market is okay it gives us a very this helps us build a very contextualized picture of the current auctioning environment okay so to start I want to talk about initial balance because initial balance is going to be one of the more important parts of how we Define or how we start to interpret maybe what type of structure we're seeing you know as far as what type of day type we might be seeing might be seeing
play out okay because again remember that when we're looking at Market profile right now we're looking at completed days all right so we are largely going to be there's plenty of Trades that we could take around these completed days all right around what type of structure that we're seeing um especially if it's a series of really balanced days and we take a composite of that profile but the initial balance is going to be an important part in determining um how we might consider you know the way that the day can unfold okay the initial balance
is where the market was for the first hour period so for the first two periods um on a market profile chart you know each of them is a half an hour long so basically the first hour after market open and this is way more important in a market where there are opens okay so in crypto it's not nearly as important so you'll see that um you know if you're trading this is going to be really good because this will help you in traditional markets as well all right so having a firm understanding of these day
types and what type of initial balance we see that typically precedes how they unfold that's going to be important especially if you're trying to take this rather these tools into other markets but with crypto it's going to be less about the initial balance and more about the overall structure okay more about the overall structure how we're trading in relation to previous structure and so forth okay so I just wanted to get that out there real quick because you know a lot of the times we could have a certain day type but we don't really have
the same type of initial balance that it might normally warrant if we're talking about trading traditional assets with a normal you know Market open okay normal Market open and market close right so the initial balance is again where we're trading within the first hour all right this is where typically you'll see Floor Traders will search for the range okay for the beginning range and you know a lot of times if there's a wider initial balance this is can be thought of as more of a you know a wider base a stronger base and more likely
to contain prices and if there's a narrow initial balance you could typically assume that um this is a weaker base and therefore it's going to be difficult to contain prices so weaker initial bounce will more often than not lead to more impulsive moves or just further exploration throughout the day either to the upside to the downside and we're just talking about range range extension it could be in both directions right so most of our attention is going to be on trying to identify balance and imbalance brackets or Trends who is it control and are there
any structural anomalies anomalies to trade around and we touched briefly on structural anomalies uh in the first video but we're gonna have a separate video just covering those because there's plenty of ways um that they're you know but there's plenty of of anomalies that we could pick up on and no two are the same all right or rather there are you know multiple times when they're anomalies that are similar to each other but there's plenty of different times when um it's so nuanced that uh it's worth having a separate video for these entirely put it
that way so there's six day types okay normal day normal variation neutral day neutral extreme Trend day and double distribution now four of these the first four so normal day normal variation normal day normal uh neutral day neutral extreme these are more balanced okay these are more typical of ranges or ranging environments um the trend day and double double distribution day these are both Trend days period so a double distribution is a trend it's just a different type of trend okay so what we want to do is study these day types and then hopefully by
studying them and and remembering how they typically unfold you know when we're looking at a day that is currently opening uh we might be able to better discern how that day will unfold okay based on what has occurred in the past right so we're always looking for patterns it's just not always necessarily the patterns that many that maybe initially come to mind when you think of trading you know a lot of times when you hear patterns you just think of patterns like triangles and heads and shoulders and flags but the types of patterns that we're
looking for are patterns in Behavior over time right that don't necessarily you know essentially this Market profile what we are saying is that there are certain structures that look similar so I guess you could say there's pattern there but what you want to do is be able to memorize the pattern in which way the day unfolds so that you can hopefully better you know whether you say make a more educated guess or better predict um how the current day your current environment is unfolding all right based on that hopefully that Rolodex that you build up
that is filled with previous days and and you know just experience right so just having screen time and seeing this occur multiple times over and over again right so that's why it's so important to study these things so in order of directional conviction right and basically just think of directional conviction and you know how much one side is a control and think of continuation right so obviously a trend is going to be at the top of the list and a normal day is going to be at the bottom so if you're thinking of from bracketing
environments to likelihood to be explosive and continue trending this is the order we're going in we're going from normal neutral neutral extreme double distribution and Trend and I think I left out one okay I left out what did I leave out normal variation so it's actually normal variation after normal between neutral so to start off a normal day okay normal day again appears to be pretty balanced with the exception that the initial balance is pretty large normally okay that's a lot of normals in one sentence so the initial balance is typically you'd say that it's
probably 70 of the entire profile okay there's Swift one-sided action in the beginning so you can see down here in this profile the green is indicating where the market opened so that white line is actually indicating where the market spent the first five minutes all right again the initial balance is where we spent the first hour all right in the beginning of a normal day we'll typically see Swift control in the beginning from one side and that will result in the other side stepping in and cutting off any further directional movement so you'll see that
the initial balance represented the first hour so we likely moved up rather quickly and we were swiftly rejected okay you can see that as this was unfolded right within the first quarter of this rotation of this day period we had moved to the upside okay not much of a swift rejection initially or you'll see that there are there's no single print right here so we've spent a little bit more than the minimal amount of time here all right with this specific rotation upward this results in a pretty balanced profile okay there is a defined Edge
right or rather it seems like they're defined Tails it seems like a pretty balanced profile looks like your standard bell curve even distribution and again because this is a more balanced environment this is going to be something that appears like a range right so this is the daily on the half hour chart 30 minute Candlestick again this is the daily this is the daily being compressed into a TPO chart and this is that TPO chart basically unraveled so you see that the market opened down here quickly moved up settled in a little bit moved up
was rejected and then rotated for the rest of the day okay rotated from low to high to low to high all right and finally closed within the center of the range so it's it is pretty balanced all right and we're doing a separate video on how to trade these different uh structures when we are you know opening up for example following one of these types of structures rather so let's say that you know the current day this day has been finalized and we're currently now opening up within this range so this is a normal day
this has the lowest level of directional conviction all right so this is more likely to stay balanced to bracket or to range so here's a normal variation so this is similar to a normal day okay it has a smaller initial balance all right and has more immediate range extension okay there's greater directional conviction to begin with so you'll see that when we look at an actual trending profile this is similar to a trending profile with the exception that it's a little bit fattier it's a little bit chunkier right so the market spent more time in
certain areas than as if it were a trending market so there's an initial response in this case off the low all right you can see that at the bottom here there's an actual previous point of control and a value area high okay that's what's indicated by this previous dotted line and the solid line we came up pretty rapidly again Market opened down here five minute within this area one hour within this area this initial balance is small relative to the entire structure but that's because we had immediate range extension now range extension remember is movement
outside of the initial balance okay so greater directional conviction to begin with but our response is immediately cut off at the top so we essentially run into something that abruptly cuts off any further movement and then we move more into again sort of that normal profile where we have a more balanced distribution more balanced range so in this case we're cut off okay we come back down and come basically back down to almost where the initial balance was and you see we have this rotation downward and now rotating back upward and it's a pretty balanced
distribution at this point again in terms of directional conviction this is on the low end of things more likely indicative of a ranging bracketing environment more balanced environment again so there's going to be excellent trades that we could take when we have multiple days like this lining up in a row or multiple days let's say of a you know normal profile normal variation at that point we're painting a pretty clear range or pretty clear bracket the profile and I'm going to show you how if you're using something like Sierra you could actually create a composite
when you have a bunch of these so that you could Define a composite high low point of control and so forth so normal variation again it's a it's a more balanced profile still so a neutral day is somewhere between that normal day and a let's just say it's it's way more balanced than it seems way more balanced than anything else okay there's no directional bias um but we have really strong initiative at lows and highs all right so it is very balanced you can see that this looks like uh this sort of looks like a
distribution with really high kurtosis okay so if we're looking at a distribution this large Spike right here right really high kurtosis so again a very balanced profile all right high probability for distribution between a range right low probability for a breakout now the initial balance is pretty centered in this case all right initiative being at the highs and the lows meaning that we saw an immediate response okay an immediate rejection at the high and at the low and again this was initiative so we're seeing buyers bid it up at the low before any type of
previous value let's say if we're looking at a previous profile and we're within that range uh if we're seeing that we're still coming down and we're still within it we're seeing that bidding From Below we're seeing buyers bid this up initiatively sellers walk this down initiatively as well but we are very balanced okay again so when you have multiple days like this lining up in a row it really helps you to paint a really defined range with those days by creating a composite so you could take either rotational trades at the extremes whether we're talking
about mean reversion trading so that's what's great about these types of profiles is well one we're seeing this after it's painted so it's not like you got to see this happening before it did but the idea is we want to be able to see that you know let's say we have two back-to-back days where we're within a range really defined edges we see really aggressive action at the extremes well with these firm rejections okay when we have other time frame participants selling the highs all right someone buying the lows and I don't just mean someone
as if it's one to entity this is a good place to take any type of meaner version trade all right so when you have let's say we are within this range the following day and for example these areas have still been respected it's a good opportunity to take a mean reversion trade within now remember there's no real Market close so there's no settlement day there's no um there's really no use for the initial balance from the following day because it's not like we have a market open where Floor Traders are determining the range again so
if we're a 24-hour market and we open up within this period there's no reason to not respect you know the high and the low in this case Okay so a very balanced profile so if we're opening up within this structure Uh current day let's say this day is completed we're opening up within the structure there's great opportunities to take mean reversion trades whether we're fading the low or the high okay and again if we are talking about trades outside of the range we're looking for acceptance and any clear acceptance outside of a day like this
typically has a high probability of resolving positively at least initiatively okay at least initiatively you get some type of first leg on the acceptance outside of this you know in some case it might come back as a deviation but you'll typically get that follow through so this is a neutral day now there's an exception that's a neutral extreme so in a neutral okay and I basically I clipped this chart to have both examples so in a neutral day a normal neutral day you'll end up closing in the center of the profile so you can see
we opened here we're going to be closing in the center I don't have the clothes on this I actually took it off the chart it would have been a red triangle now in a neutral day extreme there's a little bit more directional bias conviction because we typically close at the extreme of one profile alright so we are closing towards either the low or the high all right and this is you know worth noting because it's a little bit less balanced in that case the next two days are going to be your trending days okay or
Trend uh Trend day types again these have high directional conviction okay so your Trend day all right looks like your normal um it sort of looks like this day right here right so it sort of looks like your normal variation as I said but again it's a little bit thinner the market spent a little bit less time in between because this is indicative again of a you know more fast moving Trend it's going to spend a little bit less time in areas before continuing movement upward so again there's High directional conviction in this case all
right the other time frame participant is in control so typically we'll say that you know or as it's defined we'll say that when we move out of the initial balance so when we have range extension let's say that we open up and we move above the initial balance we have range extension to the upside well what we're going to say is you know based on previous profile that the other time frame participant in this case the other time frame buyer is in control all right so they've moved the price out of the initial balance where
again if we're talking traditionally this is where your Floor Traders are going to be determining the range or trying to determine the range all right again this is a pretty wide initial balance all right and we had extension outward okay to the upside the other time frame participant in this case is a buyer in control so this is pretty one-sided from the open right so the open is down here at this Green Dot you can see previous structure if you see that there's a little bit of a dotted line included this looks like it would
be a value area low a value area high so it looks like we closed at a Valley area low of the previous day here's your point of control you know this might be a naked point of control from a previous day I'm not sure because I cut this off but we had a movement with conviction to the upside and a trend draws other participants into the market right so an upward Trend you want to see that other other participants whether you call them greater fools come in to sustain the movement and if you're in a
downward Trend and you want the trend to continue you're going to be looking for those greater you know not greater sellers in that case but I don't know what the term would be honestly uh let's just say greater fools again but you want to see more participants come into the market right for a trend to be sustained so this is where volume is going to be really important right because with Market profile we want to see that volume is confirming where we are within the market right so we want to see the volume profile and
the TPO Charter confirming each other so as a trend progresses if we're looking at the the volume histogram at the bottom we want to see an increase in volume to the upside we want to see that volume is maintaining this movement up so the last thing we want to see is that we create this pattern up here and we start to have a more thin profile right compared to the previous high volume node so this is similar again to the normal variation but it's a little bit less it's a little bit less clunky it's a
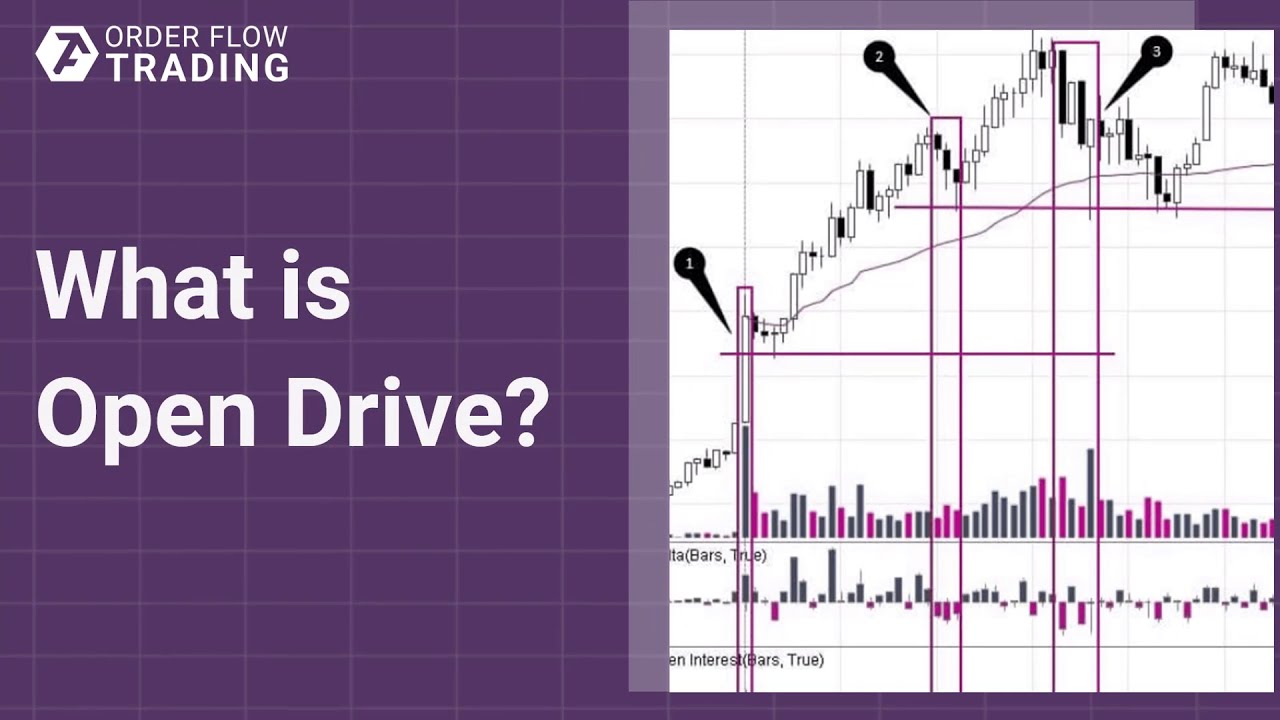
little bit uh slim down it's been on a diet all right this is referred to if you've ever heard of the if you've ever heard to a market be referred to as a one time frame Market okay meaning one time frame is in control all right the other time frame buyer in this case is in control because all we've had right from the initial opening drive and we're going to go over types of opening drives because that's going to be really important the only case right now is we haven't had any turnback the initial opening
drive has been all Drive upward the other time frame buyer in this case has been in control the entire time so this has been a one time frame Market or other I was referred to as a one-sided Market and lastly okay another type of trending day but it has a little bit low rather less conviction or less confidence in terms of follow-through so this is your Trend that really is a dump right now there is an exception to this and what negates it is well I'll get into that at the end and it's it should
remind everyone of the BART pattern okay so a trend day all right being that we have this profile that is similar to a trend but you can see there's two periods where it's pretty balanced right so balance shifts abruptly so we're initially you know we open up here here's our initial balance okay initial balance sitting within what looks to be like a neutral day forming right so we have um in this case there's no real rejection at the low yet there's really no real rejection yet until the until the pattern starts unfolding um but for
the entire top portion of the structure before this single print right here which is right here when we unfold it uh it's looked pretty balanced right so the beginning is marked by inactivity okay it's balanced it looks neutral and then aggressively we shift to a New Balance area and there's really no Trend there's really no um series of lower highs and lower lows in this case it's a very Swift aggressive move okay so that small initial balance you know normally you'd be paying attention that in traditional markets because that's our base we are abruptly moved
out of this really narrow base and this results in a new area of balance to be determined okay so this is often characterized or described as you know two balance profiles it's separated by single prints okay and a single print is anytime that you get a structure like this where there's only one row of tpos all right so this is a low volume area low volume node this is a high volume node and this is a single print all right or rather these are single prints okay so the market didn't spend any time here so
there are two ways that we could actually approach this in the future so we have this area that is still maintained and has not been filled this anomaly has not been filled in the case let's say of a weekly you know what we can do is treat this area as a potential area where we'll come into in Reverse so if we see price approaching it from the upside there are some opportunities that we could take for fading this because we'll see price WIC into this area and since buyers and sellers were not interested in this
area previously we might see the same response we might see price immediately reverse but if we get acceptance through this area we'll typically see that price moves rather quickly so in this case you know here's your structure looking at um you know and I noticed I didn't go over the trending structure all right I don't think I even went over I didn't I don't think I even talked about the neutral days candle profile but you see what it looks like right so this is your neutral day everyone knows that a trending day looks like but
we're all with crypto familiar with what this double distribution day looks like because it always rather sometimes it ends up in resulting rather ends up resulting in a Bart pattern where you get this Swift breakdown okay it's another area of balance that forms all right so area of balance implying that there is a second value area right so buyers did not agree up here buyers and sellers could not agree and maybe they agreed down here now all right now maybe one side of the market is setting up to overwhelm the other maybe in this case
with the market moving sideways we'll pay attention to something like order flow we're looking at Delta we're seeing that this is still being aggressively sold but the market is moving sideways right so in this case we see a Bart pattern that typically happens right so this area is aggressively sold but it doesn't break down and what we get is we start to get this attempt upward again and here's where this single print area matters because once we start getting acceptance into this area where the single print exists all right once we start getting acceptance into
this area you'll typically see that we're going to resolve this structure by moving back up through it so any type of anomaly all right any type of thinness in this structure um you know over time we're going to look for these areas to be filled okay and if this is immediate and we start to see that we're getting acceptance into this area where there's really no volume that's transacted there was no really nothing occurred right that's what we're looking at with the volume profile it's we're looking at the TPO chart we didn't spend any time
there we didn't really transact any volume there when we're reaccepted into that area that's when we could get those really rapid movements back upward so this is something you really need to pay attention to again this does represent an area that's alleged that could be potentially faded but at this point you should really Define your risk tightly because the last thing you want to do is see price get accepted into this area Because by the time it gets accepted into that area you only have a little bit of time to enter into the trade or
if your short cover before price moves rather rapidly through it so these are the different day types all right and again if I look at if we take the market profile chart right now and I'm just going to expand this so it's the same size as the window that I have open because I have a specific window size open for this video I just want to make sure that this comes across properly we could see that this is a daily this is a daily right now so we're looking at Daily rotations and now we have
a bunch of different cases that we just talked about right so we have this pretty normal day okay no clear rejections at the low at the high all right here's your trending day all right here's your normal variation all right again more of a normal day balanced some of these might even you know this is more centered this might be considered a neutral day okay but again some of these day types are also going to be indicative of Longs covering and shorts covering so patterns like this the B so this is known as a normal
variation but these B structures right here right here and also patterns that look like a p so they look like this but the inverse this would be what we would often look for for Longs covering this type of structure and the opposite would be the case if we're looking for shorts covering we'd see a lot of Mass on the top side of this and a lot of extension to the downside with really just all tail right so single print tail so in this case again I mentioned how we're going to talk about how to trade
when you have a bunch of these lined up like this right so things that we can do because we have a bunch of you know we have one trending day right but we have a high that's put in we have now we've taken the liquidity from this high so how I traded this the last day all right was what I did was I took these profiles and I merged them because again a lot of these are representative of ranging environments they're balanced right so they're balanced they're bracketing so what I did was instead of looking
at them individually being that we were in a bracketing environment we took the highs I made a composite so I took all the profiles that were balanced and I formed them into one okay now mind you we had a deviation to the upside but again we mostly spent a majority of our time between 9250 and 94.50 So within that 200 range we spent most of our time so now I have a value area low and a value area high of this balanced structure which gave me the proper setup to take when we were accepted outside
of this value area so I told you last night in that trade rather in that setup that I talked about which I took a short trade that I was taking a little bit prematurely because it looked like we were gaining acceptance below what it was a previously defended area so value area low gained acceptance you could see that when we get an acceptance we came back up to test we didn't get that full test upward but initially we came back up tested and were rejected again so this is something that's really valuable that you could
pay attention to order the to Market profile for or that you can gain from market profiles and be able to see what type of environment we're in right so where you could take these higher probability breakout trades all right we have a little bit more confidence because you see the Market's been kind of stuck in this range for quite some time so that's that guys hopefully that has been informative Our intention is to merge all of these right in the same way that I trade merge all of these the order flow portion and the market
profile portion to make you guys the best possible Traders all right so hopefully this has been informative this is Ryan AKA Kenner and Clark as always exercise proper risk management and trade effectively