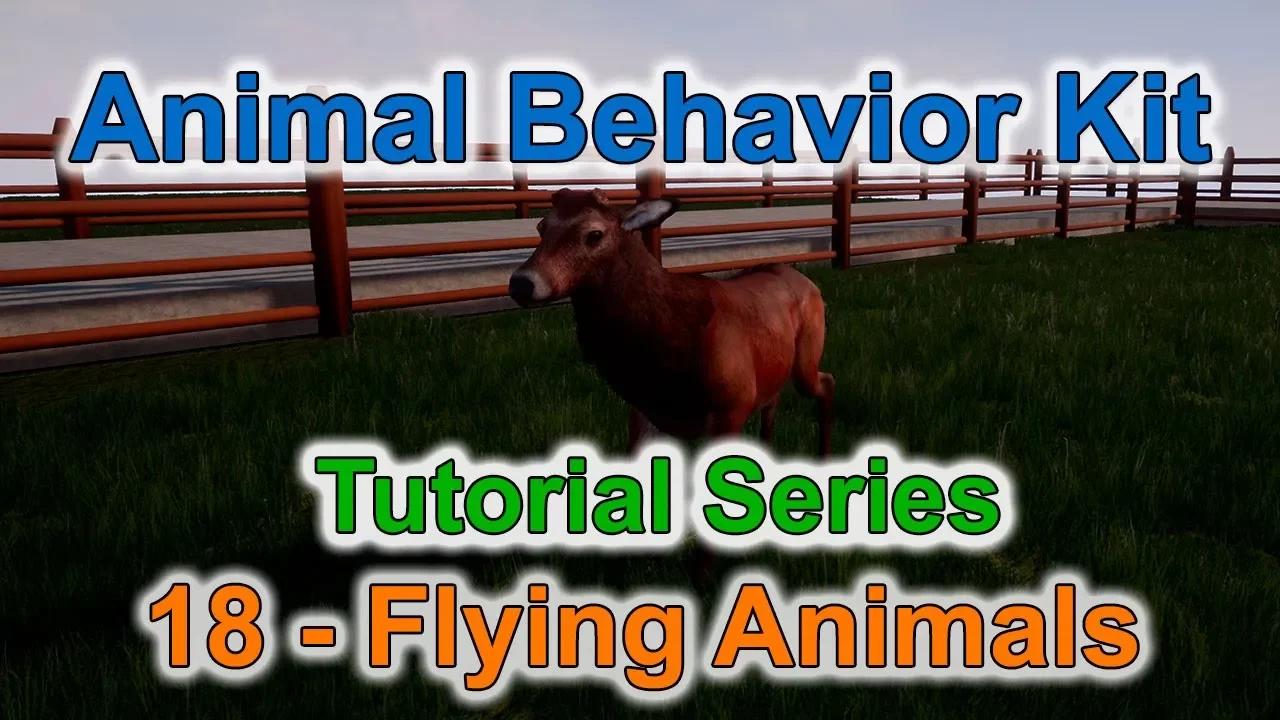
hey guys and welcome to the tutorial series for the animal behavior kit in this video we'll be taking a look at the flying animals or the birds and we're going to look at how to set up the bounds these are going to be the volume where the birds can actually fly around and we're going to look at two different fly modes a solo flight and a Boyd or group flight for the birds so if we go ahead and jump into unreal you'll notice that we're still here at our tutorial level we're actually for the first
time not going to look at our ground animals we're going to be setting up our birds and if you've been following this sequentially in the previous video we looked at companions and we built a little course so what I had done before the video is I just went ahead and cleared out that the the the cues that we had there I said kind of little obstacle course so if you want to follow along exactly go ahead and clear that off and make sure that your animals your ground animals here are staying in place and ignoring
that means that there are gonna be basically idling there so we they don't interfere and the first thing we want to do is we want to set up the area where the birds can fly we always want to have control of where the birds can go we don't want them going anywhere in the map so you have the ability to restrict their movement in some way so if we go over to the top-level folder we go to blueprints and here we're gonna go to AI and we go to actors and we go to flying AI
right and then we see that we have a few classes there the first one is called AI flying bounding box we're gonna grab this and drop it in the world you can kind of race it all the way there and this is gonna be again the volume where the birds are going to be flying so let's make this Bay let's say something like I don't know 500 500 actually maybe that's a little too big let's let's make the location 0 and 0 for the X and y and instead of 500 us make this 400 by
400 that's a little bit better and even then that's maybe too much let's say 300 by 300 there you go so the air is gonna be just right above in between the mountains there and let's make the Z value 50 that's pretty good so the birds are gonna be within this volume and notice that the burst cannot go lower then obviously at this point here so if you want the birds to be able to fly low you can just obviously make this lower here and then the birds will have that option or you can make
this value higher to give more latitude right so that's pretty much it right let's keep things organized and let's go ahead and move this right click and say move - and we're gonna create a new folder and I'm gonna call this six birds and again it's just to keep things organized and just click on save and now we have a volume here for our birds so now we're going to go and grab our bird so go back to blueprints but in this case now wood of character animals flying animals and we have BP simple flying
animal and we're gonna go ahead and drag this guy here outside and you can place them anywhere in the world but let's go ahead and put them kind of in the middle here and we're gonna we're gonna first look at the sole of flight options that's the very simple one and if we press F it'll focus on the animal you'll notice that it is very very simple it's actually using vertex animation this is not skeletal animation so it is with a little animation that makes the mash go up and down that means that it is
very very efficient but not very pretty right so the birds and in the fish at least for now are meant to be very simple AI right they're not meant to be complex they're meant to be put in the level to add life to your level right the birds are supposed to be flying above so they're more like an accessory right now they do have obstacle avoidance but but besides that there's no other system right so all of the systems that we looked at so far breeding system companion all those things are now specifically targeted on
to the ground animals the birds right now are just very very efficient so you can have a lot of them in your level that may change in the future but at least for now that's where we are all right so right here we have our bird selected again like pretty much everything else we have the option to have the bird be active or not so we're gonna leave it there the next option is do you want the bird to have a random size and usually you want the answer to be yes and then you have
a main and a max scale and remember these are percentages so this is basically a minimum size is gonna be 70% of the original size and max scale or max size is gonna be 200% or twice as big as the original size and this is really nice because if you duplicate this as we're gonna see here in just a second then the birds are gonna be slightly different in size so we can make this as wide as we want to add some variation then we have fly mode and you can see here that we have
flock and solo flock it's in parentheses s is heavy right it's very expensive performance wise or solo which is very light so we're gonna keep that solo and now we're gonna go to the solo flight section here and we're going to select our reference for our bound so if you click here at the drop-down you'll see that we have the bounding box that we just added which is this guy right here but again if you have a really massive level and you have several bounding boxes meaning you want to keep certain birds restricted to certain
areas right maybe you have a biome you may have you probably will have different bounds so you may want to choose the correct bounds here for your bird then you have some options here like velocity solo flight velocity and we're not going to touch this for now I just want to get the bird flying then you have new location threshold this is the distance that the bird will consider to to basically be success or when it reaches its new location so basically what's gonna happen is that the world will be flying at this speed a
thousand unreal units and it's gonna pick a random location within this volume and it's just gonna fly towards the location and then when it's in this case at least 400 units from that location it'll basically consider that the location was reached and it will pick a new location and it'll then go to that new location then you have the option of having this guy avoid obstacles and it's on by default if you want to squeeze as much performance as possible you can disable this and that's one less collision check that this is doing right so
if the birds are really high in the sky and there's no no reason do we ever check avoidance right they're never gonna have any kind of obstacle you can uncheck it you can have waited destination in seconds right it'll reach its destination it will wait in this case one second and then leave and get a new location you can make this zero you can make this ten seconds whatever you want then you have the option of having it active on proximity so the birds even though they're simple they still have their own proximity system to
the player so what we're gonna do here is that we're gonna continuously check to see for close to the player and we're gonna check for a distance in this case it's a radius remember this is the same as the ground animal we're gonna do a sphere straight of sphere trace and the radius is going to be 40,000 units with some massive sphere trace and we're gonna do this check every 10 seconds right so the reason why it's so massive is because if you have the bird really high up in the sky you need to make
sure that the trace is hitting the floor because usually the player is gonna be on the floor right if you make this distance really small you may see the bird kind of be stuck in the sky without moving we're gonna test this in a second home base we're not gonna take a look at this right now this is gonna be part of the day/night cycle video we're gonna do later and then these are some debugging options here and then we have it what we call it tick frequency and we're actually not using tick we're using
a timer to move our actor but this is the frequency of how how frequent do are we going to update the the actor so point zero one five is very close to about 60 frames per second right if you want it faster you can certainly make it faster but this is kind of the default of how how much is going to update the actor so right now if we click on play you see that I'm kind of looking up you'll see that the bird is just gonna be flying around and this is gonna fly around
and when it reaches his destination let me just eject here whoops so we can kind of follow the bird you'll see that it's just gonna go to its new destination within the volume and when it reaches its destination it'll pick a new location alright looks like looks like the location was pretty far there you go see it weights one second and then it goes to its new location it kind of turns around that's what I wanted to kind of show you guys so obviously one bird not a lot going on here so let's go ahead
and actually move it to the birds folder move to birds and now we're gonna go ahead and duplicate this guy so if you focus on him press alt and we're going to drag and you can see that now we have more birds actually let's space them out a little bit more so they have some space and now I'm gonna select all of the birds and I'm going to duplicate duplicate duplicate duplicate duplicate and now I'm gonna go ahead and select all of the birds again in this case we have 24 and I'm gonna duplicate them
by pulling them down once and pulling them up once so we have 72 Birds the reason I want to do that is obviously because I want to show you that it's really possible to have a lot of birds here so again let's go ahead and select them one more time all the way down and pressing shift you can select them all and I'm going to duplicate them one more time here and now if I press play I'm going to maximize so you can see that the birds start going all over the place and if I
show my fps you can see on the on the top right corner that we are pretty close to 120 frames per second so these birds are very very light on performance they're actors which is the the most basic class they're very simple and their movement is also very simple all right we're just doing a global offset on a timer and when they reach their destination they just move around right now you saw it you saw that bar there they have obstacle avoidance but again if you wanted to make it really really as performant as possible
you can disable collision on the mesh and take avoidance out and then you know there's no no collision avoidance but you can see they're just flying around within the volume all right remember that we have a proximity number here so if we spawn all the way here for example I'm gonna eject they're still flying around I think that the distance is a little too much so let's go ahead and select all of the birds here just want to show you that for a second and we change the distance from 40,000 to maybe like 10,000 that's
obviously much much smaller trace now if we spawn all the way here and we each act you can see that the birds are literally standing still they look like they're moving but that's just the vertex animation they're still in the exact same formation as they were before even though we're at runtime so again I'm gonna start getting close you can see even from here that distance is still bigger than 10,000 but as I get closer and closer you'll see that now they're move again right because I got close enough so play around with that distance
maybe 40,000 is too much you know if you really want to squeeze performance make that number slightly smaller but just keep in mind that you don't want to make it too small because then the player may actually see that transition between the birds just standing still and then starting to move right and even here you see that the birds that are nearby here are working but the ones farther you can see are still standing still so clearly ten thousand is way way too small on number so you need to definitely increase that number to something
a lot bigger all right so that's the solo birds I'm going to actually delete all these guys except for one for now because now we want to look at the group behavior or the boys right and we're gonna go back to the original guy here and basically Boyd's are this is actually a an algorithm that was created by somebody I forget his name Reynolds I think is this last name way back in the eighties and it basically tried to describe how birds or flocks of animals move around in a natural way so what I did
is I actually try to implement the actual algorithm in unreal but because I'm doing blueprints it was very very slow so I actually had to get creative and I did something a little bit different so even though I call it voids they're not technically pure boys they still have the same principles as far as automatic avoidance but instead of being completely autonomous they all share one common target and if you look at the sky you look at birds usually they'll be flying together but they'll be flying towards the target and also there's gonna be some
trickery in in how I'm updating the boys and you'll see that in a second here to keep framerate high so let's go back to animal behavior kit the top go to blueprints AI actors flying AI and we're going to grab the BP fly Boyd manager I want to drop this guy right here in the middle and this blueprint is basically the manager for a specific group of birds or Boyd right let's move this guy to the birds folder and this is very similar to the group manager if you've seen that video before right if you
want if you have a group of animals using the group system there is a manager and that manager helps them share behaviors etc so what this guy is doing is it keeps track of all of the voids that have been have registered to it and it gives them a common target and it updates them individually so the first thing we'll see here is in under setup general again whether it's active or not you have to select the bounds we're going to select the same bounds here we have target update frequency and stationary time this is
basically again this manager is going to pick a random target within the within the volume and it'll start moving the target from its current location to the to the new location and then when it gets to that location it'll wait for in this case one second and then it will update the target again you know every four seconds so in this case every four seconds it'll pick a new target it'll move the target from its current location to that location wait for one second and it'll constantly be changing the target and you can see the
target which is this this purple ball here or you can hide it by having the target visible boolean then you have some other settings here but before we do that let's just go ahead and click on play so you can see this guy moving around so click on play oops and you can see that we have this target that's just moving around in the level this guy is again moving smoothly within the volume that we have set up earlier and you can see that it is picking a target there before seconds it waits one second
and then it chooses another target that's all it's doing all right and you saw a little message flash something about the day/night cycle and that's because on the active settings we have by default sorry under on the day cycle settings we have by default used a cycle so we're gonna disable that because we're not gonna use that system in this video we're gonna do that later and now if you hit play no messages is found right alright so now that we have this set up we're going to go back to our bird our flying animal
here and here we're going to say actually instead of flying instead of being so low we're gonna have a flock which is more heavy and all of these settings you can leave them as days but all of these settings then will be disregarded and now we actually have a component right here called comp boyd and if you click on it now you'll see that we have some options under setup the first option is what's your flock manager click on the little arrow and select fly board manager again every single Boyd group needs to have its
own manager so in this case we're only have one group we're gonna select that then we have some options like random velocity we're gonna select a random velocity and we're gonna have the initial velocity to be about 8,000 in the S axis and then Max and min we're gonna have velocity between 6000 to 15000 and an awareness radius of 300 now we're going to clone this animal so let's go ahead and select it again and we're gonna clone it wanna clone it again and then we're going to clone it to this side and clone it
to this side and then we're gonna grab the last three and we're gonna clone them and pull them like this and now if we hit play notice that the birds are flying together Orr's their target oops so obviously you want to make sure that the target is not visible in the game but this is more of an illustration and you can see that the birds are automatically doing obstacle avoidance they're moving all of them towards the target but they're using the principles of Reynolds's Void algorithm which means they're all gonna try to keep a specific
distance from each other let's go ahead and eject here who's this click play and eject so you guys can see this a little bit better here you can see that they are moving around all towards the target and this is not you know this is not exactly scripted they can actually change positions after moving around so there's no set position they're all organically changing positions as they go to their target there you go and notice that my frame rate if I click on process it's still pretty good it's still close to 120 frames per second
and the reason for that is because what I'm doing here is actually updating every single void member one at a time and this is what you have here as the void update rate every point zero two seconds this manager will grab one of the members of the void and it'll update its position towards the goal and what this is doing very very fast it's just basically cycling through all of the voids one at a time and moving them that is why you can keep the frame rates so high if we have the voids all updating
at the same time and we have a big enough group the frame rate will actually drop significantly I have a 1070 which is a pretty decent graphics card and with two or three boy groups in it scene I was getting drops for like 10 to 15 frames per second just having the birds in the scene so this is a in my opinion a pretty clever workaround you can you can make this even faster if you want to like every point one second so if you want to make it smoother but honestly because they're gonna be
far away you're not gonna notice that they're actually moving one at a time because it's happening so fast so let's go ahead and create a new group real quick to drive the point home I don't want this video to be too long so let's just go ahead and clone the Boyd manager we're gonna have a second void manager here same settings as before and we can clone we're gonna grab one of these animals here and we're gonna clone this guy we're gonna move them to another location here and we're gonna make this guy a little
bit slow I'll lower and here go to the comp Boyd component and we're going to change the reference to the second Boyd manager which is this new one you remember there are a new group so they need a new manager and we're gonna do this exact same thing we're going to clone them at the last three whoops last three animals here we're gonna clone these guys here and we're gonna clone them again we're gonna make this group a little bit bigger and now press play and notice that you have two different groups of birds these
guys are going all over there and these guys are following their own target notice also that the birds have different sizes and that's because the random size option was selected and look at these guys going over there in my opinion of keeping the group size relatively small works best it's probably better to have several different boy groups in your scene as opposed to have Matt in like one massive group as far as performance so you can see there alright let's drive the point home and let's grab these two managers and disable or hide the targets
and now let's grab one animal here and we're gonna clone him and here we're gonna make sure that we go and select solo flight and we're gonna clone him many times and now we have two individual groups there that have their own managers and then we have a bunch of other birds that are solo flying and now when we play now we have something a little bit more interesting because we have some birds that are flying individually so you can see there and some that are flying as a group and now when I hide the
targets you can see that now we have what appears to be a bit more natural behavior right and these guys are kind of standing still because I was too far away I forgot to change the number there but but you get the point right the birds are now either in groups or they are solo flying and that's pretty much it that's how you start up your birds is fairly simple again this is meant to be a very simple system but you can see by the frame right here that it's very very efficient in the future
video we're gonna be looking at what the heck this is a home base and that's gonna be when we look at the day/night cycle so that's pretty much it for now guys thank you so much and I'll see you in the next video