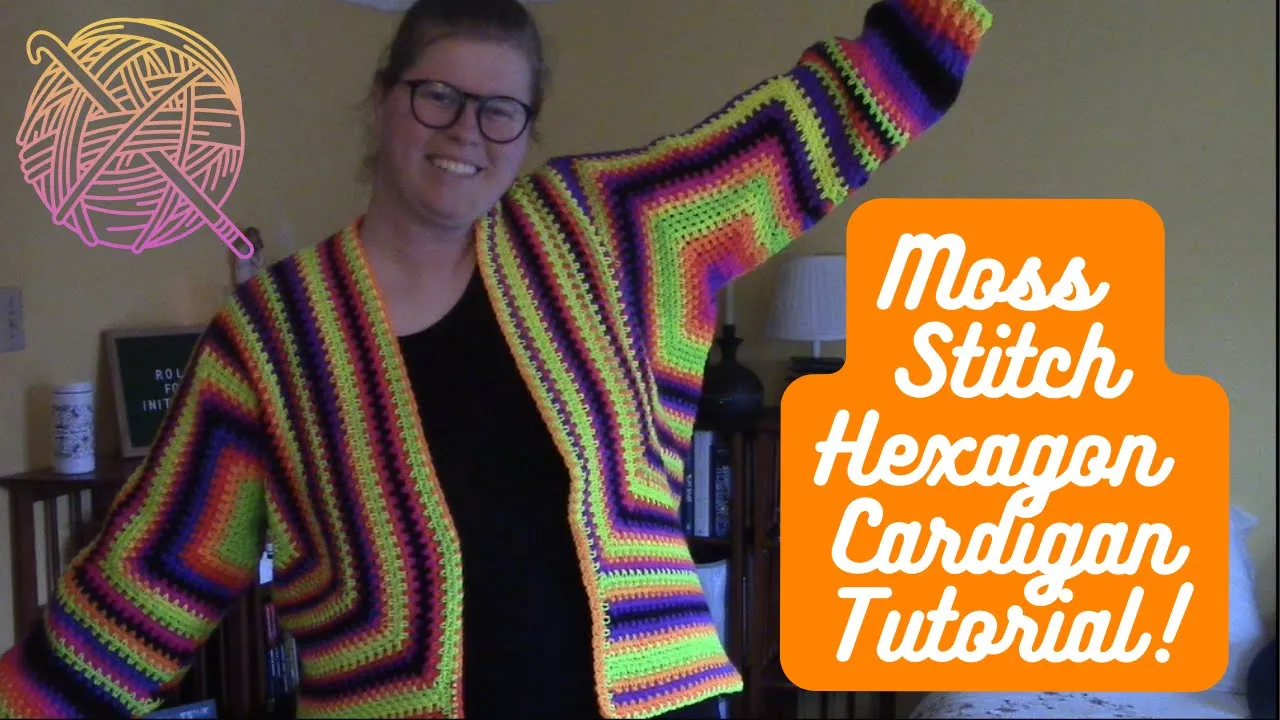
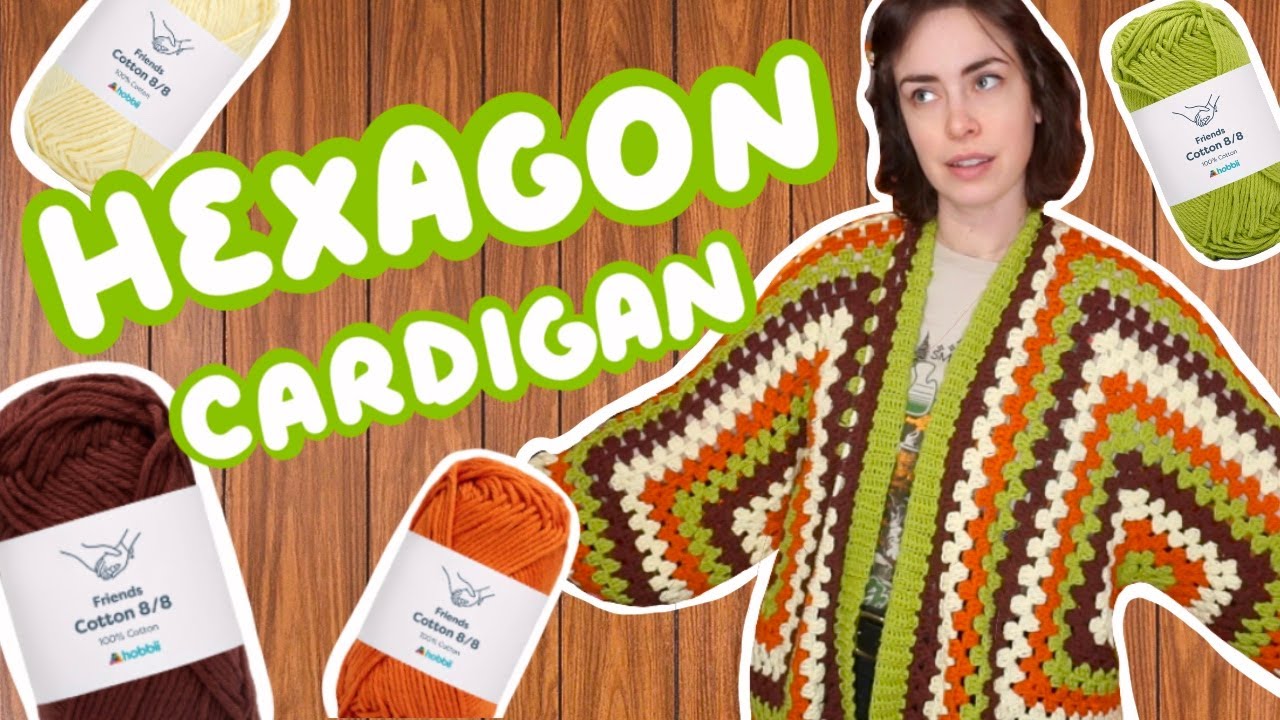
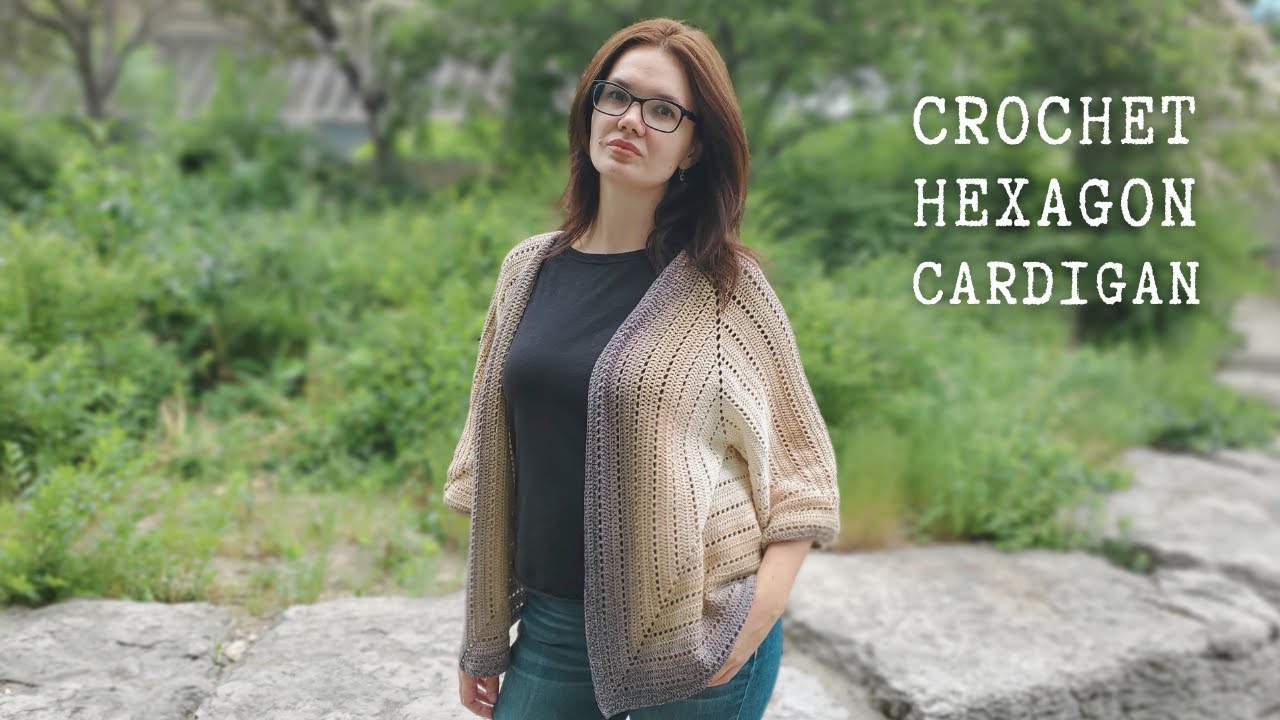
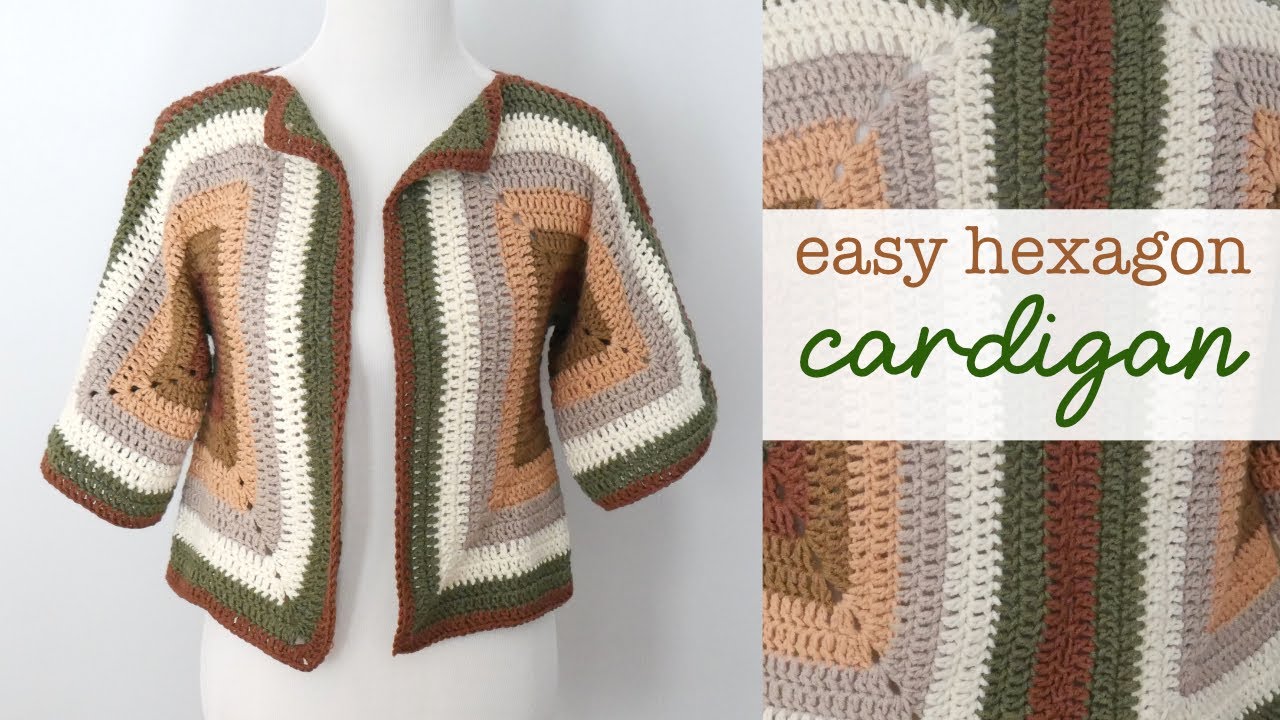
[Music] hello everyone welcome back to another stitches and scribbles tutorial my name is erin and today we're going to be learning how to do another variation of a hexagon cardigan if you haven't made hexagon cardigan before i highly recommend checking out my other video about hexagon cardigans first usually these are made with a granny square stitch and i'll link my other video in the description or try to put it in a card up at the top of the video i think that's where it would be if i can figure out how to do it usually
these cardigans are made with a granny square stitch you just do it with six sides instead of four to create the hexagon shape um i decided to experiment with that same kind of technique for making a cardigan but i wanted to do one with a different stitch so i figured that i would take you along with me and show you how i am setting that up let's start with our yarn first so the yarn that i'm using is red heart super saver jumbo stripes in the color bright stripe so i started with two of these
size of this color but i also have several other of the regular size skein of this so since this one's about 482 yards i have two of these and a couple other ones i'm guessing i'm using close to 2000 yards for the sweater and i do wear a size xl to 2xl depending on what the garment is just to give you an idea i would recommend if you're making one of these for the first time really pay attention to your sizing so that you can estimate yardage that you'll need if you do it again however
you can make this cardigan with any size weight color yarn it does not have to be a four weight like this one is it doesn't have to be acrylic like this one is you can really do whatever suits you for the yarn that you picked the only thing i will recommend is that for this specific stitch you're going to want to size up in hook size from whatever your yarn says so this yarn is recommended to be used with a 5.5 millimeter hook and i am going to be using a 6.5 millimeter hook the reason
for that is because we are doing the moss stitch or linen stitch for this cardigan and we still want the cardigan to have some drape so that it's more comfortable when you're wearing it i'm going to start by pulling out a bit of yarn so that i can get started and then we're going to begin i'm starting by creating a slip knot and chaining four stitches so one two three and four then i'm going to join with that first chain stitch using a slip stitch so that i have a little ring to crochet into here's
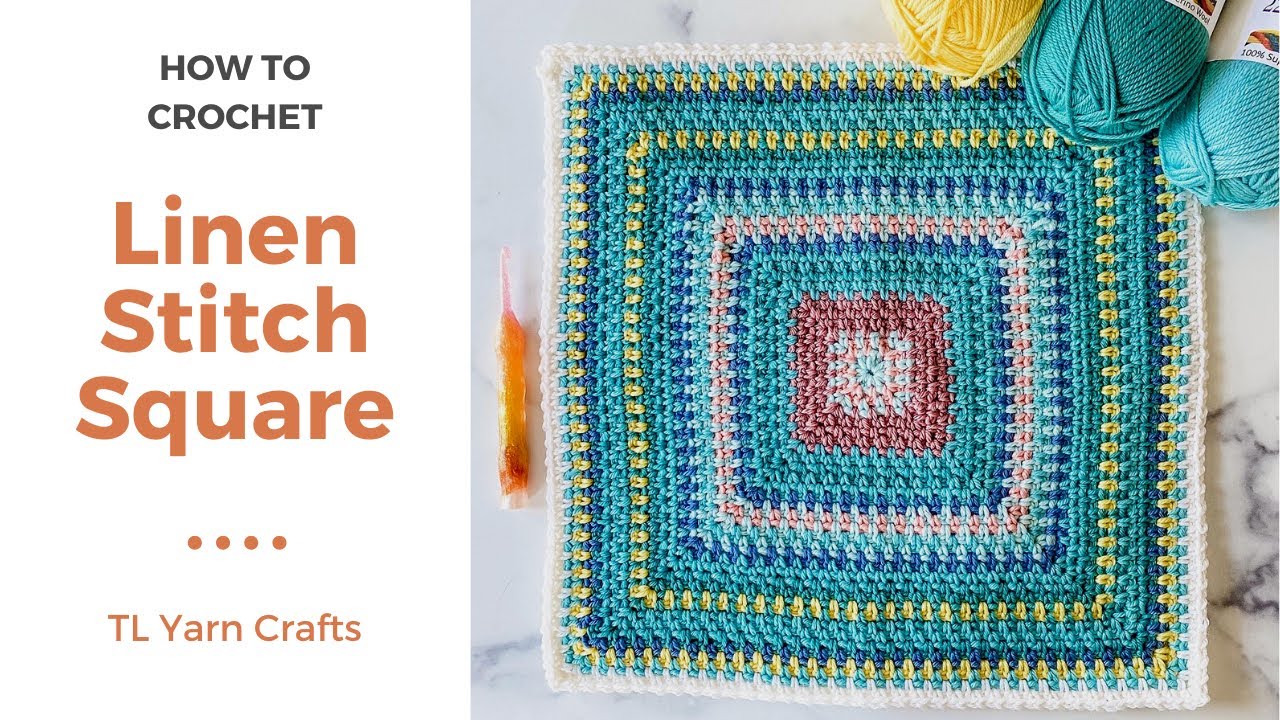
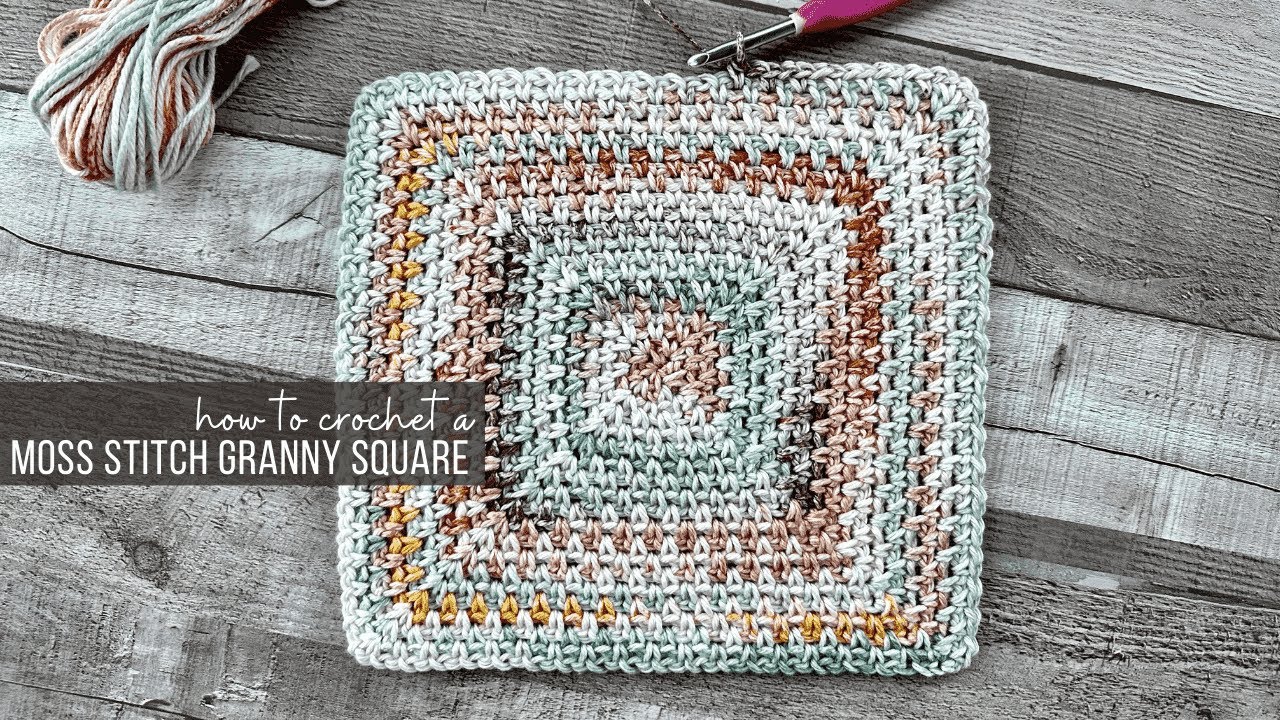
where it gets a little more complicated we're going to start putting our stitches into this loop but for moss stitch or linen stitch depending on what it's called i'm going to call it moss stitch for the rest of the video you alternate between single crochets and chain stitches to create spaces so it's kind of like a granny stitch but on a much smaller scale because it uses single crochets so we're actually going to start with a slip stitch then we're going to single crochet one into the ring chain one and single crochet one into the
ring those two single crochets with the one chain space between them are one side of our cardigan so far now we're going to make our first corner so we're going to chain two to make the second side we're going to repeat what we did before so single crochet one chain one single crochet one and now we're going to chain two to make the corner i'm gonna keep going with this pattern until we have six corners so now i'm on my third side so i'm going to single crochet chain one single crochet chain two to make
the next corner single crochet chain one single crochet chain two to make another corner i'm going to do another side single crochet chain one single crochet chain two i'm gonna check my count really fast so i've side one two three four five so i need to make one more side single crochet chain one single crochet and chain two to make that final corner now we're going to join with that first single crochet so that we can crochet in the round and you should have something that looks like this now we're actually going to turn our
work in between each row i know that a lot of people when they do granny squares they do not turn their work between the rows we're going to want to with this one because otherwise your shape kind of starts to tilt so we're going to alternate directions between rows you're going to start with a chain one just to raise your stitch back to the height of the other stitches and we're starting with a corner first so in each corner you will chain one sorry not chain one single crochet one then chain two and then single
crochet one all in the same corner now we're going to start our first side so for each side of this cardigan you are going to be using chain spaces over the previous single crochets and doing single crochets in the previous chain one space so in our first row we put two single crochets in each side so i know that for the next one i'm going to chain one single crochet between the two single crochets of the previous row and chain one it's a little hard to see on this second row just because your stitches are
crammed together so it's really important to count now i've reached my next corner so i'm going to single crochet chain two and single crochet again in that corner now i'm going to do the same thing i did for the last side so because i have two stitches in my previous row i'm only going to have one in this one so i'm going to chain one single crochet between those two stitches chain one now i'm doing another corner so single crochet chain two and single crochet now we're on a side so i'm going to chain one
single crochet in the chain one space and chain one back to a corner so single crochet chain two and single crochet i'm going to chain one single crochet in the chain one space chain one single crochet into the corner chain two and single crochet into the corner again chain one single crochet into the chain one space chain one single crochet into the corner chain two single crochet into the corner chain one and now we've got one more side to do a single crochet into so do that single crochet end with a chain one and then
slip stitch into the first single crochet you did so right now our hexagon is probably going to be looking pretty flat but it will start to kind of fan out as we go so that you can start making the cardigan shape we're going to start one more row together to talk about how we repeat so we're going to start by turning which i just did and chaining one so from this point on when you start a new row you should have one chain one space immediately next to your hook and that's where you put your
first single crochet from here on out you chain space over the previous single crochet and single crochet in the previous chain one space the only exception is when you get to a corner and in each corner you put a single crochet two chain stitches and a single crochet all together at this point it becomes a lot easier to see your pattern and where your stitches should go next so counting is not quite as important as it was in the second row i'm just going to keep going around in that same pattern additionally when you do
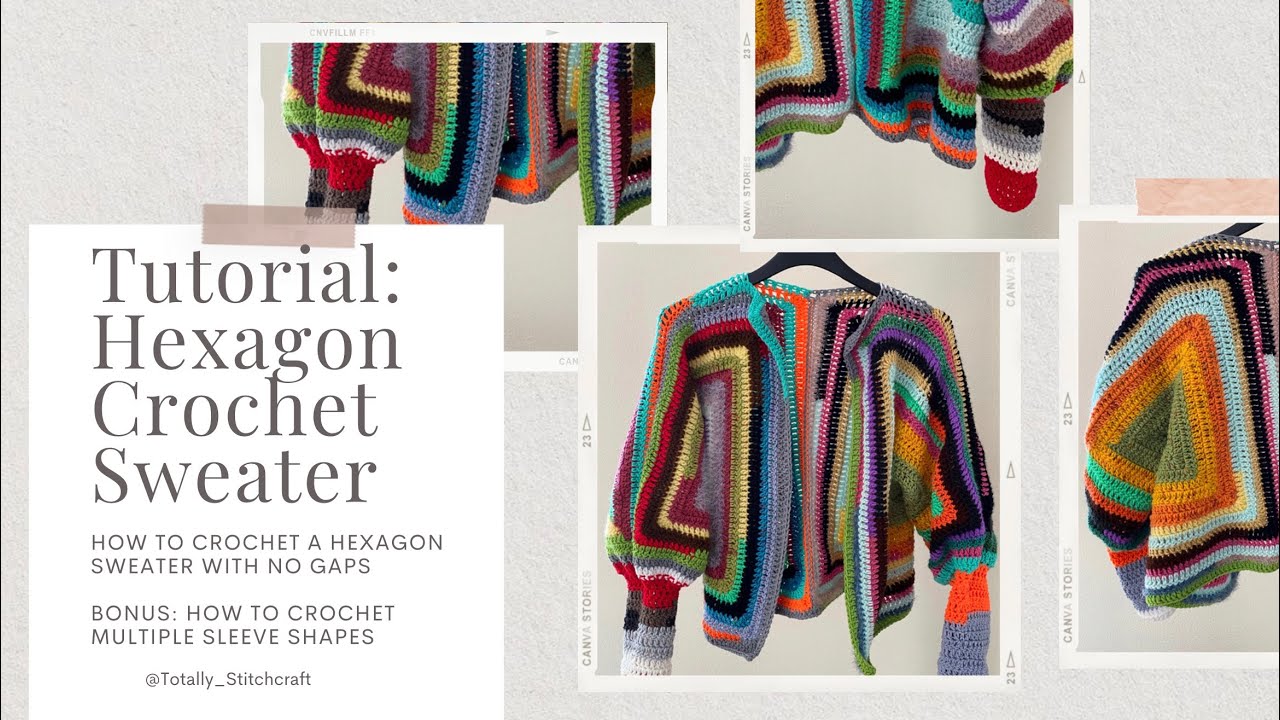
your next rows you won't ever have another spot where you immediately start in a corner like we did with the second row so from now on it should all be the same where you start in the first chain space right next to where your hook is and as always we finish with a chain stitch and slip stitch into that first single crochet so this is where our hexagons starting to fan out and form that hexagon cardigan shape if you haven't made one before the way the hexagon cardigan works is you align opposite corners and then
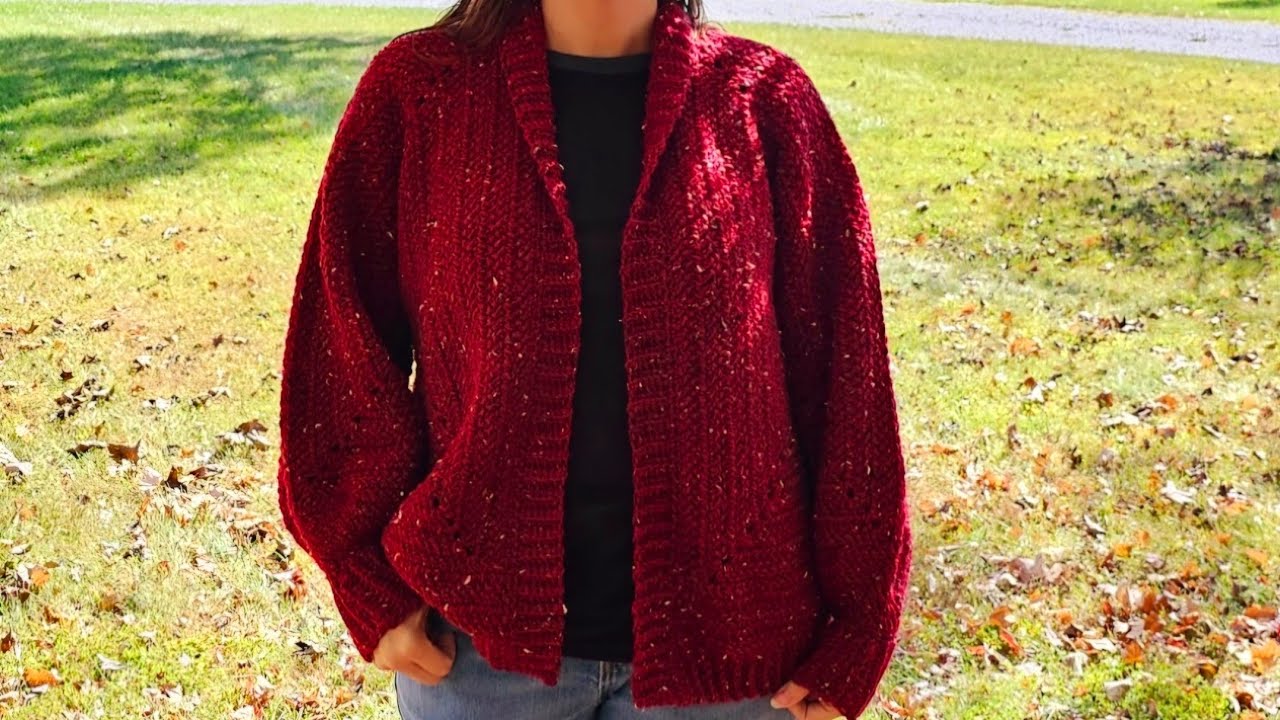
you sew along one edge and you get a sleeve and half of a body when you make two of these you put them together to make a cardigan or a pullover depending on what you're doing go ahead and create a hexagon that is the size that you are going for and then i will show you um how to kind of sew together a cardigan and what a finished one looks like and here's what your sweater should look like once you have two hexagons worked up at this point you've got a couple choices so if you
want to create a more traditional hexagon cardigan like the very original version of it you would keep going until the bottom of both hexagons is big enough to fit around your torso this is going to give you a kind of loose fitting cardigan with really really wide sleeves because your sleeves are going to be the same width as the torso section i actually made these still fairly small so what i'm going to do is sew up the top seam to create my sleeves and then continue along the front around the torso and up the back
of both hexagons to make them a little bit wider for the torso because i stopped at the width that i wanted my arms to be you can also then just keep going along the bottom once you have it all sewn up together there's a lot of different variations at this point but basically if you reach a stopping point for one of your measurements you can stop your original hexagon and then just keep building up on the sides that you want to have more length on and here's what the cardigan looks like after i extended the
body sections so i'm going to sew both of them together in the back try it on and then extend the sleeves and probably the bottom of the cardigan as well this is how much yarn i have left so i'm hoping to use up as much as i can because i don't know what else i'm going to use this bright color on and i'll show you what that looks like after i finish and this is the finished cardigan so i ended up finishing off the sleeves and i did do a little bit of ribbing on the
ends of the sleeves i also kind of cinched it in by doing every other stitch here so that the ends of the sleeves were a little bit smaller i then after i finished the sleeves i did a couple more rows down at the bottom to give it a little more length so that it hits like just right about at my hips and a couple of rows along the bottom corner around the neck and down the other side so this is the finished piece i think if i was going to do it again i would use
a bigger hook size to get slightly more drape but i think this is great for what it is it's definitely gonna be my designated um halloween movie watching cardigan because it is very big and very warm um but very obnoxiously bright so it's definitely giving like halloweentown kind of vibes so halloween movie watching sweater it is i hope you enjoyed this tutorial um i would love to see your recreations if you choose to do this so make sure to tag me on instagram or wherever you end up posting it all of my information for social
media is going to be in the description box to look in the description box below thank you so much for watching and i'll see you in the next one bye everybody [Music] you

![Customize the Fit of a Hexagon Cardigan w/ Extensions [CAMPFIRE CARDIGAN]](https://img.youtube.com/vi/vPXJt8BfOBA/maxresdefault.jpg)




![25+ CROCHET HACKS FOR BEGINNERS [Pro-Tips from a Crocheter with 20 Years Experience]](https://img.youtube.com/vi/oDHqT_rYMlM/maxresdefault.jpg)