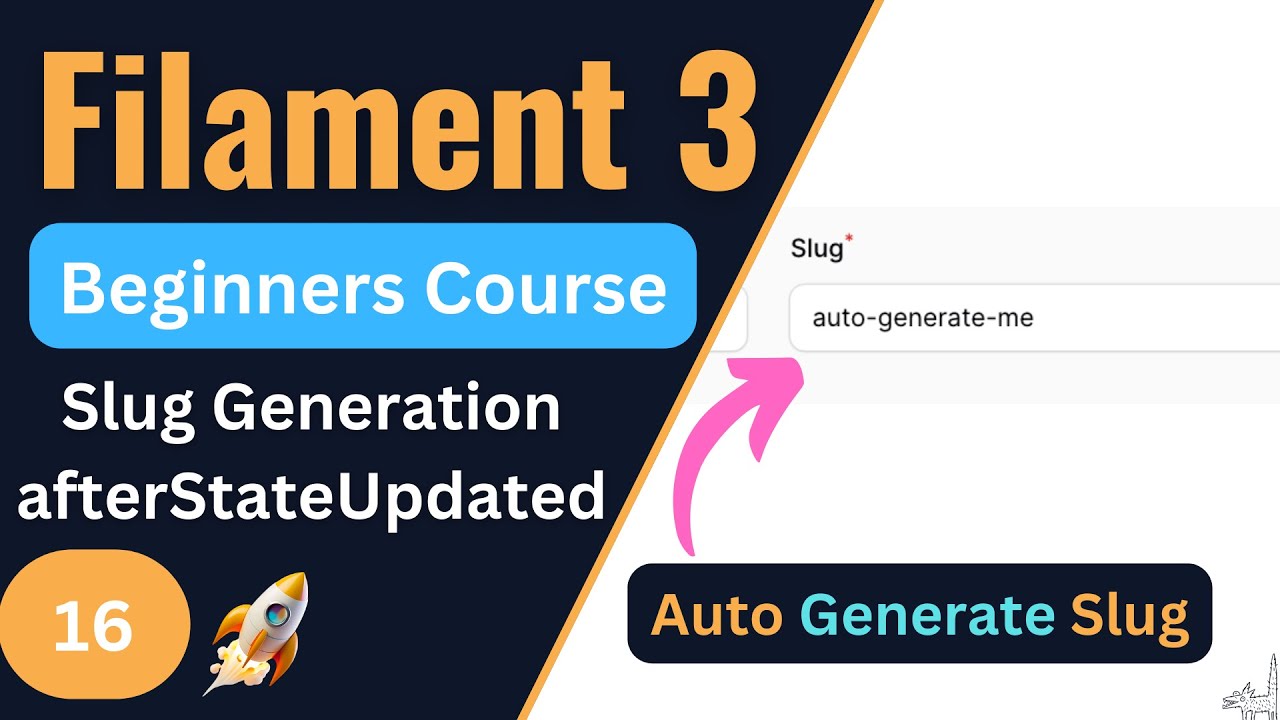
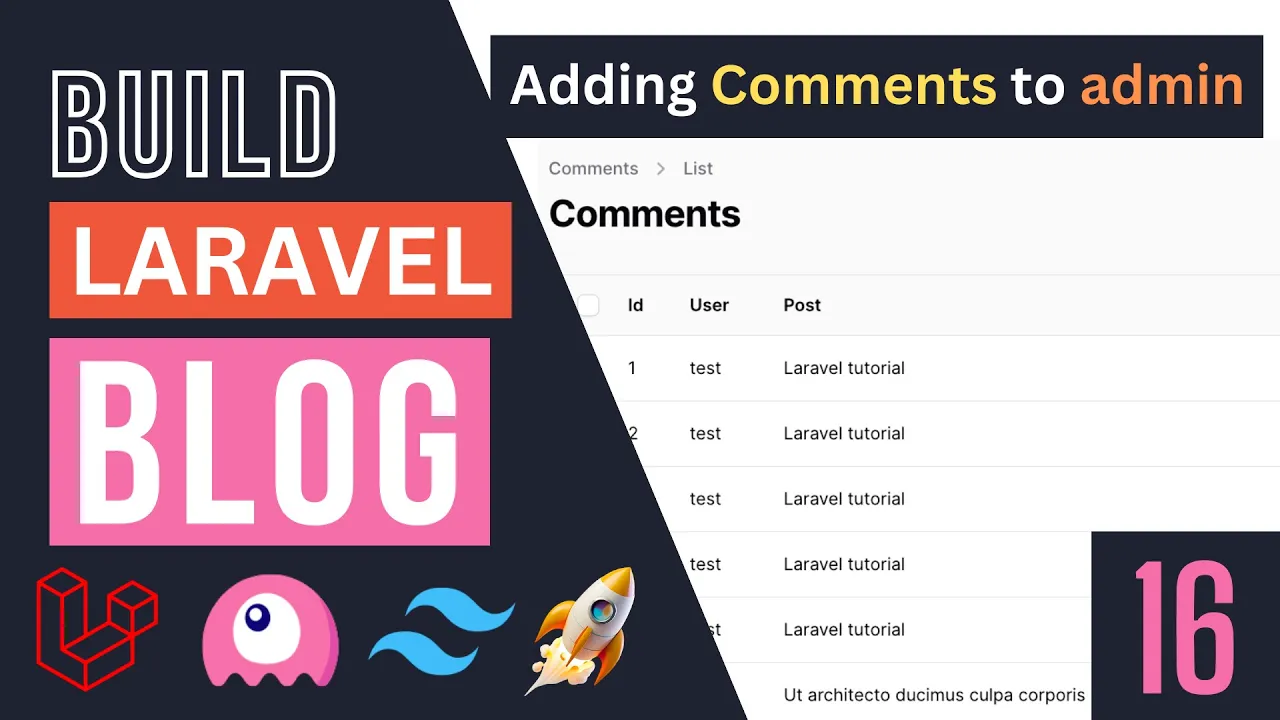
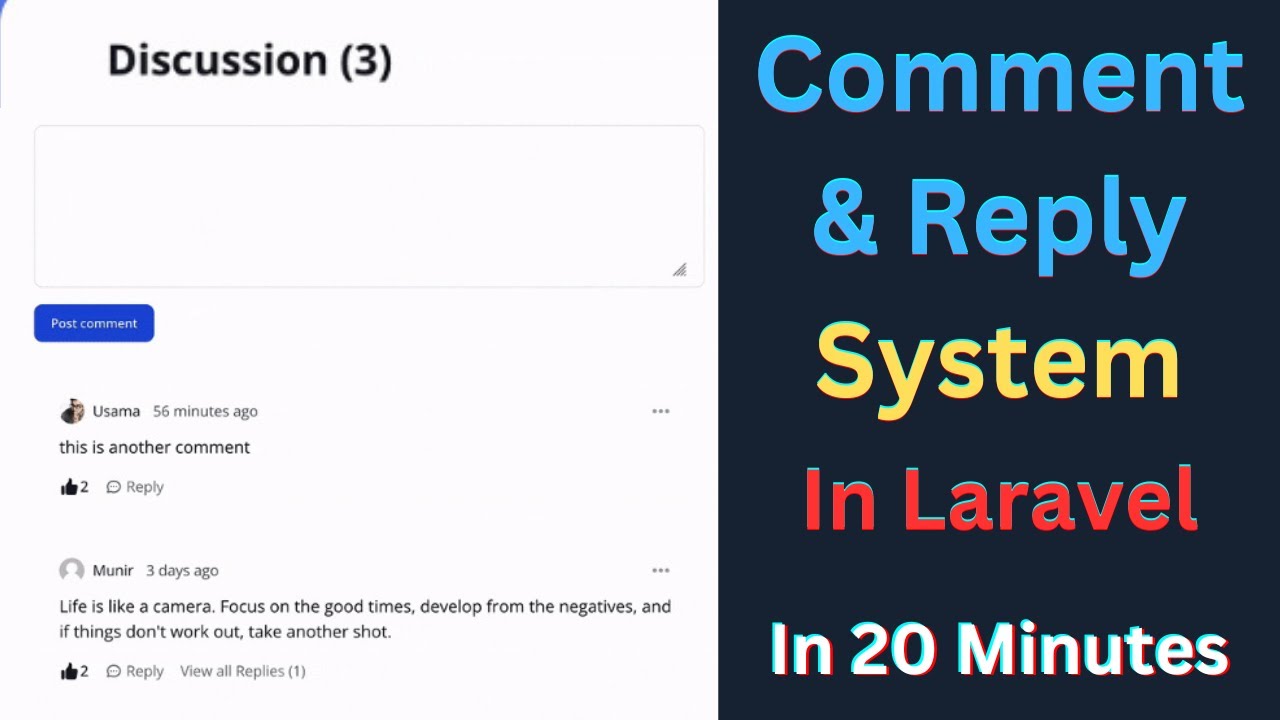
hello everyone welcome back to another episode today we are going to add our comments to the admin panel so right now we have these user comments that I have already posted however we don't have a way to see those comments on our admin panel so we don't have the ability to delete them if someone post some spam or maybe some inappropriate content and we want to delete that or we want to have some sort of moderation uh we don't have that ability yet so for today's episode we are going to add our comments to our
admin panel now before we go ahead and do that guys currently we have small bug on our post post list or our blog page so let's go ahead and fix that so first let me show you guys what the bug is and this was reported by you guys so thank you for reporting that so let's go ahead and open up our post list so I'm going to zoom in so I'm going to open up our post list component blade component basically uh over here where we are looping through our all our posts and we are
displaying this post item we forgot to give it a key now if you guys remember uh have a course on liver but basically with liver 3 whenever you are doing Loops you want to make sure you have a unique key for every Loop item so this we forgot to do that so if you want to add a key and you're using like a liver component as inside your Loop you can just go ahead and do uh colon key or just key and this that's that will count as wire key here so in this case I'm
going to say double colon key and then pass it in the post ID okay and this will go ahead and solve the problem of us not having a wire key okay so if this instead of this post item it was maybe like a div so you could go ahead and do something like wire key okay so this is also a possible option so this key is how you would do it if you are including a live wire component so that's all we have to do now this still causes another issue and that's because inside this
post item we also have let me open up post item so inside post item we are also using another key for our like button and now our like button and our post itself have the exact same key so what I will do now is I'm going to just go ahead and Add a prefix to our like button just so they're not the same so I'll just say a like and then yeah something like this actually I already have done this let me make sure we are consistent so let's open up our post show page so
I'll just search for it it's over here posts show so I think I did the like button yeah Dash so let's try to be consistent H you don't have to use the exact same naming scheme I use here guys you could just have it be like as a matter of fact just use like I think it's shorter so let's go with this okay so like and then Dash whatever the ID is okay it's up to you you can come up with whatever uh scheme you like but I think this is okay for now so that's
it uh this should hopefully fix all the issues you may be facing generally the reason if you don't have wire key and you have multiple pages and you change the page Live Wire will not update your like button or some other elements on the page right for example these tags may still be from the previous Pages tags okay so this could cause some issues for you make sure you always add wire key to prevent that problem so let's go ahead and now work on our admin panel okay so first step for you guys is we
need to actually create a new resource for our comments so let's go ahead and do that this is going to be very easy we have done it multiple times so let's type in PHP artison make filament resource and our resource name is comment so this is going to be the same as a model name right and a model is called comments if you use a different name maybe you use post comment something like that then go ahead and put the appropriate model name okay so let's just hit enter and did I make a typo here
I have resource whoops yeah okay so now that we have done this let's go ahead and find this comment resource I will just search for it on vs code guys to save on some time so this is it this is our resource uh let's also reload the admin panel we should now have these comments over here okay so the first thing I'm going to change guys is going to be the icons so let's go ahead and change that and for the icons if you guys remember on filament it is using hero icons so I'll just
Google or just type in hero icons I already have it saved up so let's search for something with comment inside of it there are a couple of options uh I think I like this one the most I'll just copy chat bubble bottom center so just copy this we just need to copy the name move over here and then replace everything after this o dash okay and now we have updated the icon now this o stands for the type of Icon it is so O is for outline if you want to use the solid or the
Mini version just use the first character here okay so if you want solid just do uh s and if you want the mini just do M and that's all you have to do so let's go back to original o I like that version actually more and let's do a quick reload and as you can see guys the icon has changed to a nice looking comments All right so for our form uh let me open up our comments migration so we can see what kind of fields we have so we only have three kind of uh
columns we have a user ID we have a post ID and then we have the comment okay the comment itself so this should be relatively easy to do so for our user and post I'm going to use a select so let's go ahead and do that I'm going to do a select now guys for this one I'm using vs code Auto Import but uh this is the import if you guys want to manually add that okay it's over here so I'm going to say select make now inside here we need to pass it in our
column name right now I'm using for and id4 it's basically going to be user ID okay so it uses the model name the singular followed by ID okay so I'm just going to pass it in user ID and since we already have a relationship set up we can just go ahead and say a relationship user name now in order for this to work guys you do need to make sure you have defined the relationship on your comment model so let me open up the comment model over here so we we have already done that on
the previous episode so I'm not going to be doing it you should already have it as well but I did want to mention this in case you didn't add it okay so since you already have that I just pass say user and then I want to use the name to show on the drop down I will also go ahead and add searchable to it okay as well as make it also run preload preload just add some default values by uh in the form if you don't add that it's going to be empty unless you search
for something so I think it's nice to have the pr load and now that we have this let's also make it required as well so let's do that okay so I'll just copy this and I duplicate the exact same thing for post ID as well so let's do that real quick it's just going to be post ID and then this relationship is going to be post so let's just reload and see if these two are working properly or not it is telling us Post name does not exist yeah that's true so this should be we
can use the post TI title over here okay so to reload yeah so we can now see the users and change the user same as the post as well very nice and then last but not least we need to set up the comment itself for this one I'll just use a simple uh text input so let's do that let's do text input make uh comment and then let's also make this required and I we'll also make it have a mean length of one and let's also give it a max length of 255 okay all right
that's all we have to do for now and for the text input guys this is the import if you have issues importing it just add this at the top okay so let's go back let's do a quick reload uh I'll just type something in make sure it works it does indeed work now we need to set up the table so let's go ahead and set up the table the table is going to be exactly identical to the form so I'll just basically mirror it okay so for this one I'm just going to use a text
column okay so let's do text column now if you want to use or display information from a relationship just type in the relationship name you have defined on your model which is post and then use a DOT to access some colum on that model on that relationship so in this case I can say post uh title okay and then same thing for the user I can say user dotame and this will get that comments user and then display their name right so let's go back and do a quick reload now we get test user as
well as lootable tutorial whatever the post you know name was and then let's do another one for the comment itself as well and I think I think I will also add the ID uh this is optional you don't have to add it I'll just add it here I think it's nice to have all right so now our uh individual table form and uh table itself is done the next step for you guys is we need to go ahead and add the comments under the post itself okay so what I would like to see is if
I click on this specific for example post I want to be able to see all the comments at the bottom okay so that's what I would like to have so let's go ahead and also set that up now I do have a separate video on relationships on filament on my YouTube channel if you guys are interested you can go check that out but I will walk you guys throughout the process for setting that up today as well so let's go ahead and do that now for this one what we need to do is we need
to create what is known as a relationship manager okay so what it does it just gives you a nice UI for viewing and managing relationships for a model so the first step is we need to create the relationship manager so let's open up the terminal type in PHP Artis make relation manager and I think we need to do filament relation manager and then after that you can just hit enter and it will give you uh kind of a automatic form it tells you what arguments you need to pass in okay so what is the resource
you would like to create this in so this is basically where you want to show this relation manager so in this case are showing it on our post resource okay so I just type in post resource hit enter next up what is the relationship so uh this is going to be what is the relationship on the resource itself right so because I put post resource I need to look at our post model all right let me close all these other tabs and we need to look at the relationship we have set up for the comments
in this case it is called comments Okay so I'll just put in comments next up is what is the title attribute so this is basically what is shown what is used to represent the comments okay in this case we can use uh comment itself we could also use the ID but I think comment uh should be okay and let's hit enter and that's all you have to do okay now you don't actually have to pass it in like this we could have gone ahead and done for example post uh resource and then comments and then
you know com me but you may forget these arguments so you can always go ahead and use the the interactive mode version okay so that's all we have to do guys now that we have created this relation manager we can go ahead take a look at our filament folder and under our post resource there should now be a folder of relation manager okay if you look at all the other folder there isn't actually a relation manager if you look at the comment categories they don't have it except for the Post right because we just just
created this relation manager so let's open it up and now you should have this comments relation manager so this is used to basically display all the comments under the post so just creating this won't do anything we also need to register it so in order to register it we need to go ahead and open up our post resource which is where we want to show it okay so let's open up our post resource now all the resources have this but let me minimize the table and the form there should be a section called get relations
under your post resource okay and over here we can go ahead and add our relationship manager here okay in this case I'm going to say comments relation manager class okay that's all we have to do so this will go ahead and Rel register this relationship manager under our post resource so if I go back and I do a quick reload now and I scroll all the way down we now have have this nice looking table and it is actually showing all the comments just like this okay so this is basically what the relationship manager does
or relation manager it gave us this nice looking setup over here for us so now that we have this guys uh the table by default it is showing the comment which is what we pass for the title however when we click on edit it it is missing the user and the post and also uh you know we we are not able to see the author or the user ID as well as the post itself okay so in order to set those things up we need to actually go ahead and do those inside the comments relation
manager so if you look at the comments relation manager it has a form section as well as a table section so it's somewhat similar to the resource fils itself okay so it already has the comment uh now we don't need to pass in the post because we are already showing it under a specific post so filment is smart enough and it knows it belongs to for example this Lal tutorial so we don't need to go ahead and pass pass in uh the post itself but we do need to pass in the user so let's go
ahead and do that now for this one we can copy it from our comment resource so we don't have to just you know keep typing it again so I'm just going to go ahead and copy this user select from our comment resource and move it into comment relation manager so these are two two separate files and I do need to import select as well so it is going to be filament forms component select over here all right and that's all we have to do now we could have technically done it this way as well so
if you guys are not happy with this it is a bit inconsistent you can go ahead and fix all of these and follow the exact same format either import it all the time or just have the entire name space here okay now for sake of time I'm not going to be doing it throughout the video but you know it is something you can do if you guys would like so let's go back let's do reload I'm going to click on edit and now we should be able to see the user over here okay and if
we click on create or new comment again we also have the user over here now we don't need the post ID again uh filling with automatically added under this larable tutorial post okay so it's smart enough to do that for us and then for the table itself uh we can go ahead and do user dotame now if you guys would like you can also go ahead and put the post itself I think it's a little bit obvious that this belongs to this laal tutorial so I'm not going to add the post itself but you can
definitely go go ahead and do that if that is something you need for your own application all right and then last but not least we can also go ahead and customize the buttons over here so if you want to add remove or you know change these buttons you can go ahead and set it up over these actions I think I like the default version the only thing I will do is I will delete the bulk actions okay I don't like the bulk actions so I'll just remove those and everything else I will actually keep same
as the new comment as well as edit and delete and I think we are now good to go guys so that's all all we have to do for adding these comments over here so let's just test it out I'll try to delete one of the comments so let me open up a lot of tutorial on this page let's scroll all the way down okay so I'm going to go ahead and delete this hello YouTube comment so let's click on delete confirm it was successfully deleted I'll do a quick reload and yeah as you can see
it was now deleted so we have a simple setup for us to moderate and view comments it's not a very you know well implemented system it definitely has a lot of limitations but I think it will do for a simple uh blog project and of course you can you know enhance this and add more on top of that or use some sort of third party setup for these comments there are many of them that kind of um make life a bit easier for you but I think it's good to know how to implement this on
your own if you guys need it of course we could have also added some sort of approval system so all the comments automatically are kind of unapproved and then the admin needs to approve them for it to be shown we could have definitely implemented that system but I think it's a little bit too much for the scope of this tutorial so I kind of uh decided not to do it but that is something you can definitely add in yourself and okay guys that's it for today's episode I hope you enjoy this video if you have
any questions you can ask me in the comment section below and as always make sure you guys like the video and subscribe it helps the channel grow and also YouTube uh tends to show the videos more if it has more likes so I always appreciate it and I see you guys on the next episode have a great day bye


![Docker Tutorial: VPN Server & Proxy einrichten mit Wireguard (wg-easy), NPM & Gluetun [Deutsch]](https://img.youtube.com/vi/-vHjN6bHFb0/maxresdefault.jpg)