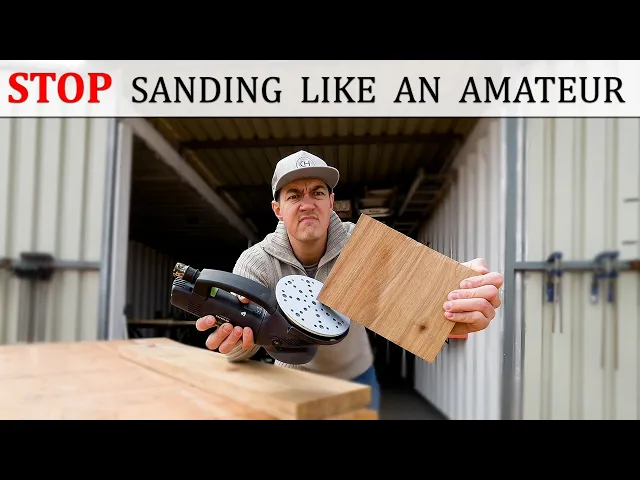
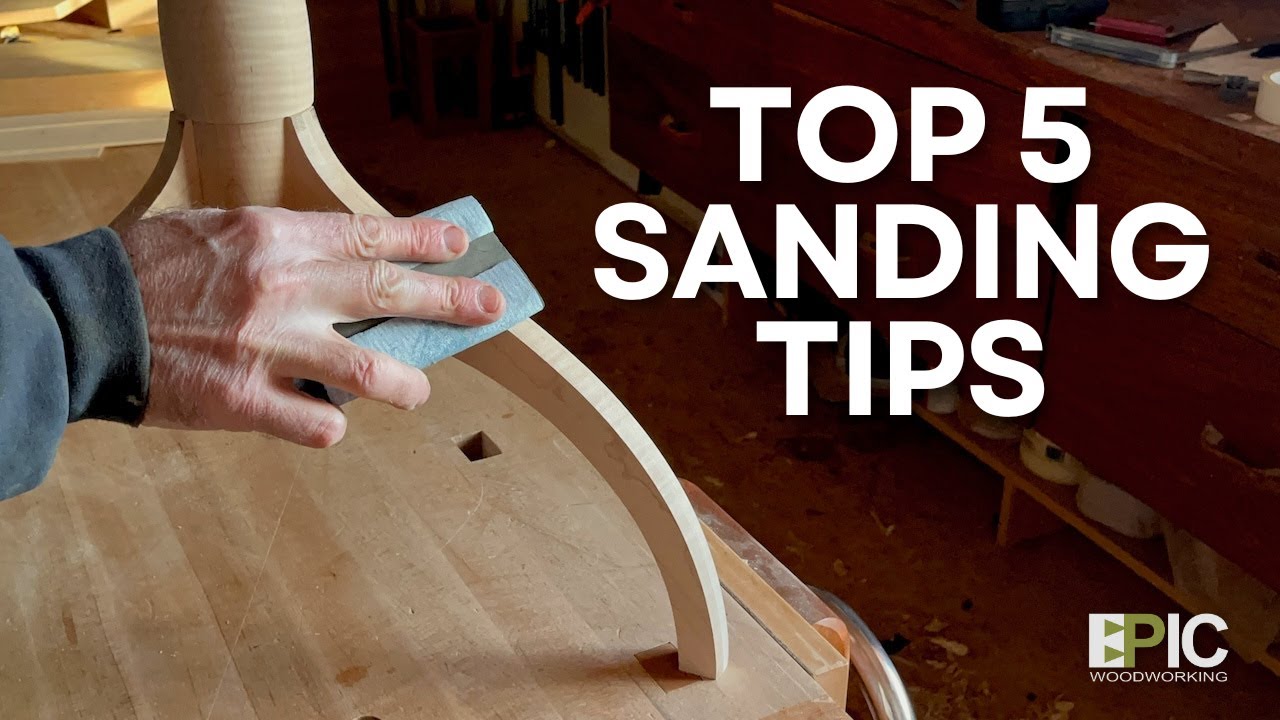
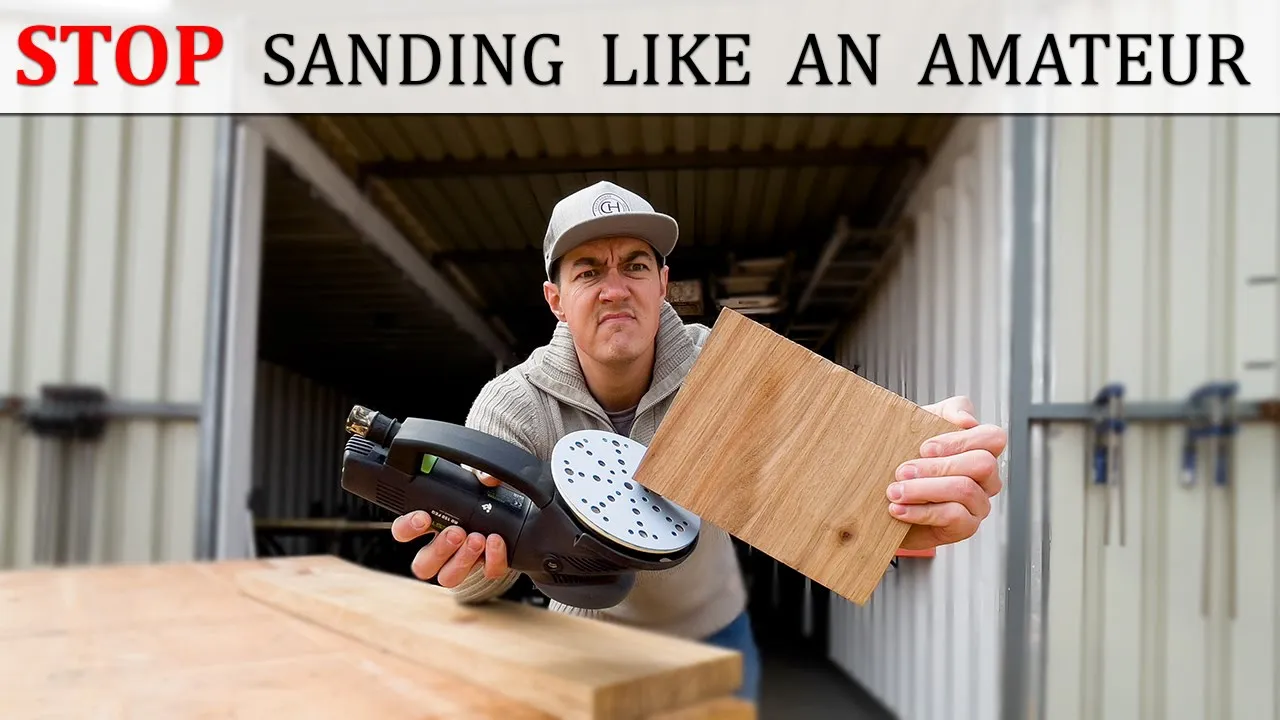
why are we still standing like amateurs this video is specifically focused on all the woodworkers from beginners to experts to professionals and i'm going to show you all my techniques tips and tricks i've taught myself over the last 12 years now remember woodworking isn't something i went to go and study for this is pure 12 years of woodworking experience and hopefully by the end of this video i could have teached you something you can add to your sanding methods let's go [Music] so over the last 12 years as a diyer obvious to someone that started
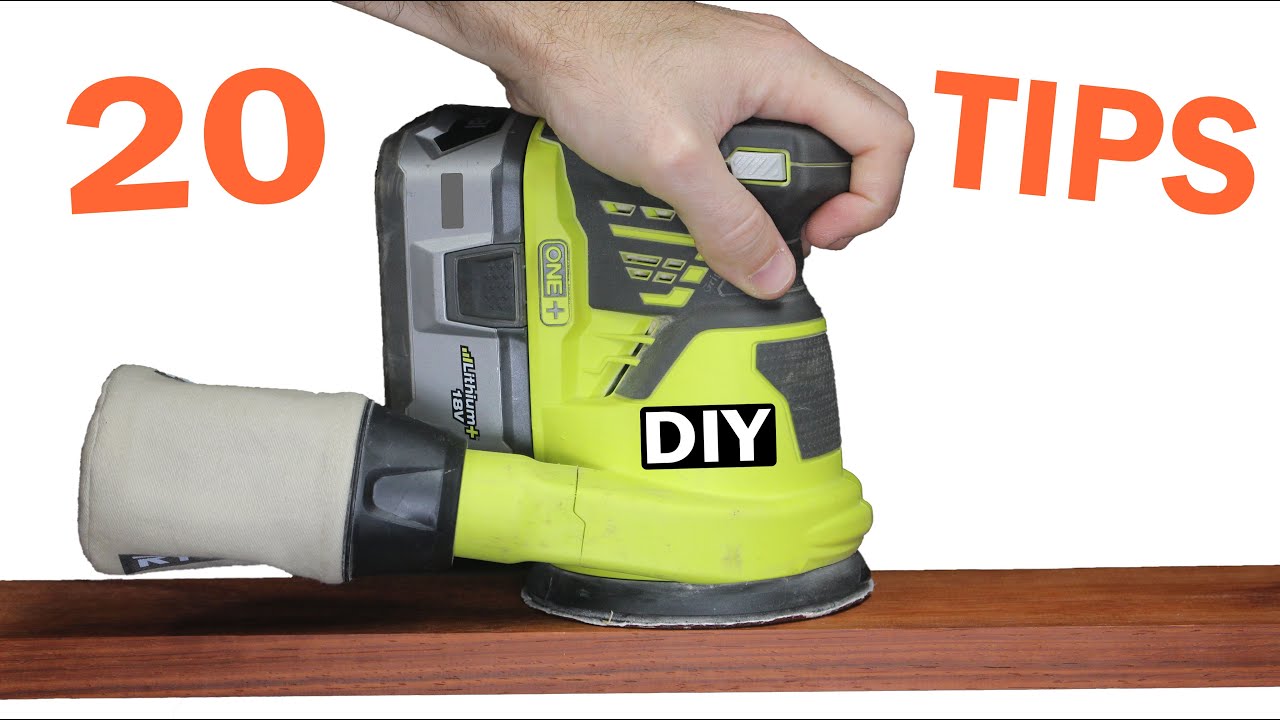
a woodworking company i started at the cheapest range of sanding machines moving to the mid-range sanders and now moving to the top of the range sanders on the market as a diyer i started off with a small square little orbital sander this is your cheapest sander on the market and i can strongly recommend this sander for your diy that's maybe sanding once or twice every two weeks for us personally this machine is not going to work for us because if you have six to eight hours to send one table this will be the sander to
invest in moving to your mid-range sanders something we've used the last five to six years is your little makita and your bigger matobu sanding machine these machines are your mid-range sanders and like i said we've using these for the last five to six years and the makita needs to go for its first service now so moving to your belt sander we've got a makita belt sander this obviously got a different purpose to these sanders the belt sander is more a aggressive type of sander so you get your sandpaper up to 180 or 220 grit i
think this is more aggressive so when you so when your table is coming out of the glue up to sand all the joints flush and when you get your wood from your supplier so this machine is used for taking all the punishment so your orbital sander is not doing all the work then moving to the top of the range sanders on the market and realizing after 12 years of sanding of how much time i've wasted on sanding my wooden projects we recently invested in a festool rotex machine and i've been using this machine for the
last two weeks and we are busy with a review video on the rotex and i honestly do have to say the amount of time we've won using the rotex machine is ridiculous put price tag one side put time and quality ahead of price then you get your rotex machine we are definitely going to invest in more festival sanders in the near future and i'll give you an update on that as well so moving to your techniques tips and tricks so for these demonstrations i am going to use the festool rotex machine and i've got a
nice thick piece of gear to with you and when it comes to sanding everyone thinks it's an easy method of sanding your workpiece but no there's actually methods and techniques of getting your work piece perfectly starting off with the two biggest mistakes i personally also made at the beginning of my woodworking journey is starting with the wrong grit sandpaper starting with 120 grit then you apply a lot of pressure on the machine because your work surface is not getting sanded then it will look something like this [Music] or you will do this [Music] because your
pawns and your arms are getting tired then you lean more then you give more weight to the sander these are wrong techniques these are definitely a very big mistake and the other big mistake i also made at the beginning of my journey is tilting your sander because you want to sand faster and there might be a specific bump or something on your workpiece you want to sand and then you start tilting your sander like this so i'm going to give you my techniques and methods i've learned over the last 12 years of how i sand
my woodworking projects it's not going to be in any specific order i am going to try and arrange them in order but it's not going to be in any specific order and the first thing i want to share with you is starting at the right sanding grit this is a definitely must do when you start sanding all your work pieces so to give you a good idea we start sanding at 80 grit sandpaper then we move to 120 grit sandpaper then 180 grit sandpaper depending on the project and oil we're going to apply to our
work surface we might finish with a 220 grit sandpaper the epoxy tables is all different story then the sandy grits go up to 1500 and it goes to polishing stages so the second thing i want to share with you is applying the correct amount of pressure to your sander to sand your wooden projects now for me personally the way i've done it before is applying a lot of pressure to my sander because i want to sand my work surface quickly and you don't want to spend the whole day on sanding and the first mistake as
i've explained is don't apply a lot of pressure to the machine the machine is doing most of the work i personally only apply a little bit of pressure i can't even feel my muscle flex the machine is doing most of the work and the third thing i want to share with you is always keep your sander flat on your work surface don't ever tilt your sander this is a massive massive must-do in sanding your wooden projects the sander will do all the work so the fourth thing i want to share with you is sanding directions
say for instance this is a table i'm building and i'm going to start to send in my mind i work in blocks so i will start with a vertical sanding direction and then after i finished my first block i will start with a horizontal sanding direction and after i finished the horizontal sanding i will just come with a quick swirl um right over the horizontal and vertical surfaces the first thing i want to share with you is what oil finish are you going to use on your wooden projects that's going to determine where you need
to stop with your sandpaper grit for instance we love to use rubia monocoat in our shop that means we will stop at 180 grit sometimes 220 grit depending on the wood we're going to use or if we're going to use odis oil we will go up to 400 grit sandpaper and that's where we will stop at number six is always lift your sander when you're done sanding and then put your machine off afterwards it needs to look something like this don't ever put your machine off while your sander is still on your surface the reason
why we do this is when the sander is turning off and it gives the last twist it gives a more aggressive twist to the machine and that's giving that swirl mark on your work surface moving to number seven always wipe your surface off in between sandpaper grits what i mean by that is say for instance we're starting with the 80 grit sandpaper then moving to 120 grit you need to wipe your work surface off in between those sandpaper grits why we do this is most of the time when you're done sanding these small little glass
particles will stay on your surface and then when you come with your next sandpaper grit it's going to give you swirl marks that's why you always need to wipe your surface in between sandpaper grits moving to number eight in our list using the correct sandpaper for your wooden projects now i did mention at the beginning we invested in the road deck so we'll get to that last the one sandpaper i will not recommend is the ones without holes just this just makes a ton of dust and the one sandpaper we're using mostly on our material
machines is the mirka sandpaper you see they've got these little holes in that allows the machine to suck most of the dust out we will obviously not be using these anymore because we invested in the rotics and another sandpaper we also use a lot is the mesh sandpaper they've got little holes in and that allows for your machine to suck most of the dust out now the one we are excited about is the festool sandpaper these are specifically designed only for festool machines and this is a product we invested in and the reason for that
is you see all these little holes they got a reason for that and the reason is most of these holes actually suck the dust out underneath your workpiece but some of these holes are designed to actually push air out and that allows for i don't know what's the percentage but 98 of your dust to actually get sucked by your machine and it also prevents your sandpaper from clogging up all the wood dust that's sitting to your sandpaper massive investment something i'm really excited we are going to do a review video we are busy with it
so we'll keep you posted with that so at number nine it's not about how fast you can send it's about how slow you can stand this is something i'm still teaching the guys in our shop they think the faster you send the force to your workpiece is going to get finished that's not true the slower you go the more your machine can twist the more the machine can do most of the work so something we've done also at the start of our woodworking journey is you know getting the workpiece done and it's not about how
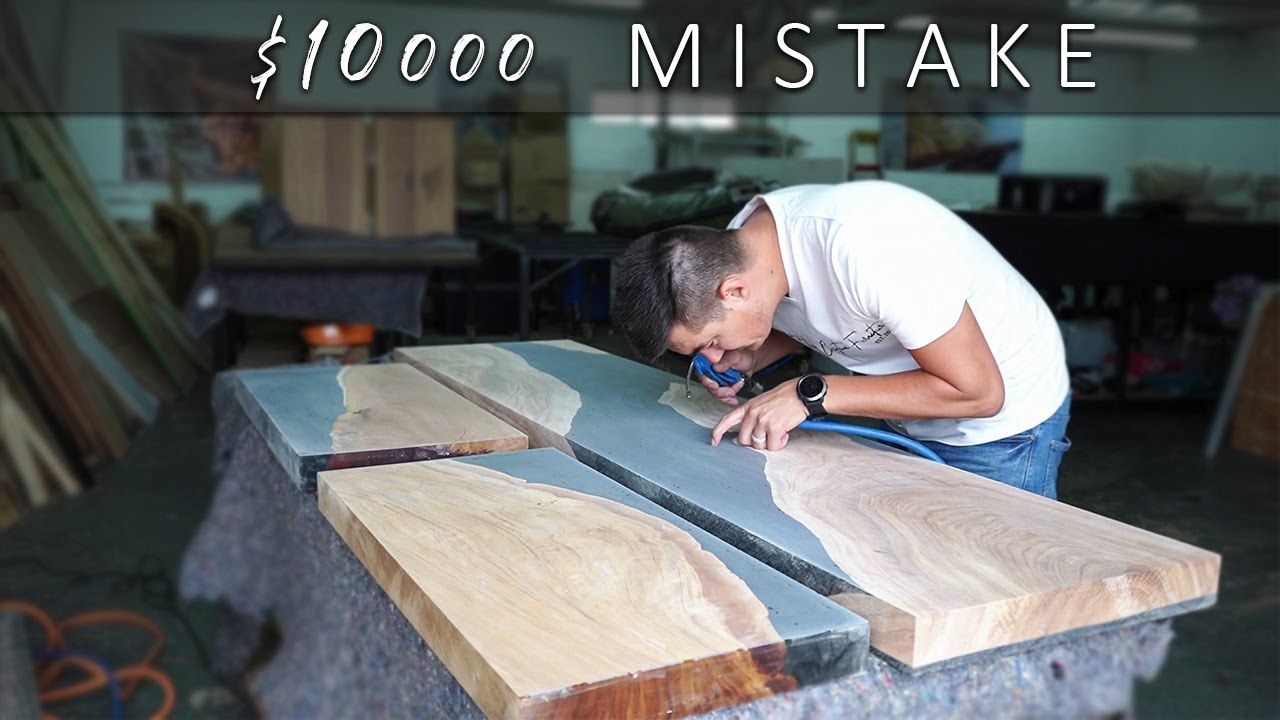
fast you can go it's literally about spending a few seconds at one spot never hold your machine still but moving as slow as you can so the machine can do most of the work at number 10 is always clean your work surface with the air hose what i mean by this is say for instance you are done with your sanding process you will see that your wood's got these fine little cracks in the grain um there's still sawdust in there and the way we do it is we just use the arrows we clean all the
little dust particles in that little cracks and the grain and then from there we move on to the oiling process before you're going to exit this video i honestly hope my tips and tricks methods and sanding techniques is going to help you in your woodworking journey and if you are a beginner intermediate expert or professional woodworker and you learn something new today leave me a comment down below if there's something you can teach me and something i can add to my sending methods leave me a comment down below and just move your thumb a little
bit to the left and hit the like button it's helping with the youtube algorithm and is going to help me to produce future content thanks guys see you next week