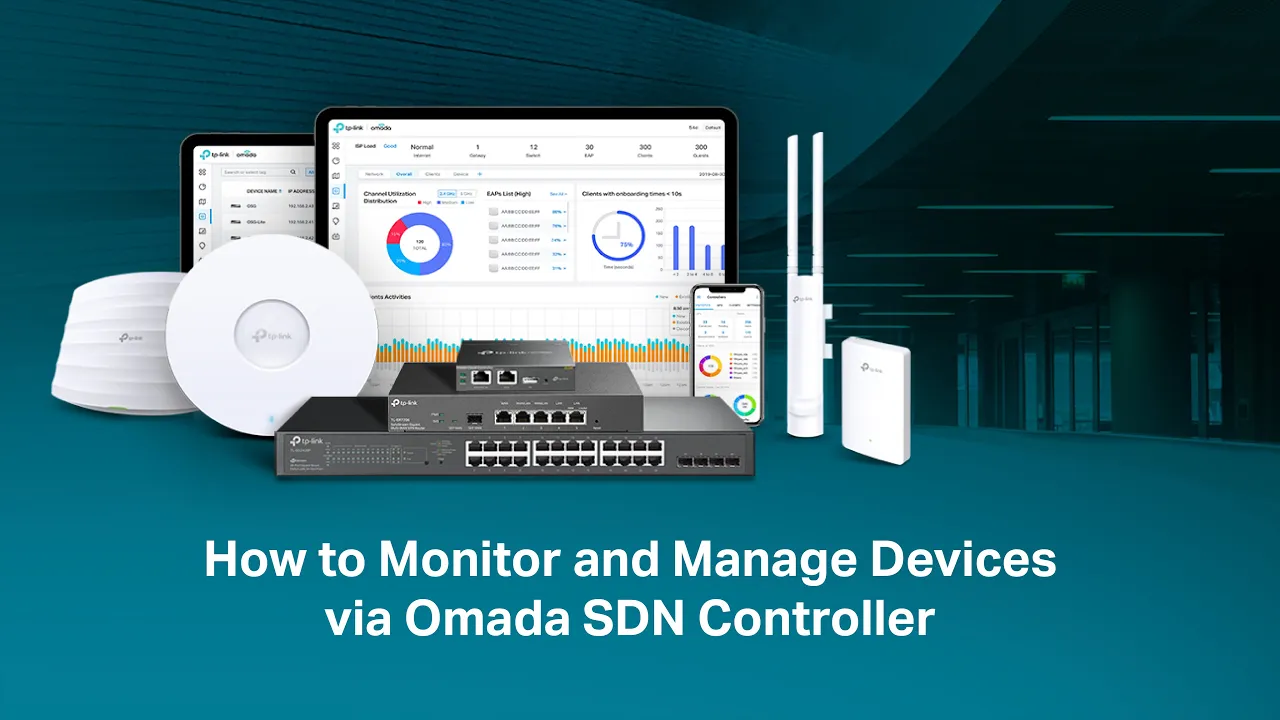
[Music] with omata sdn controllers all adopted devices can be easily monitored and managed batch actions are also available for efficient management since the actions performed on the software controller and Hardware controller are the same this video will guide you through monitoring and managing omata devices via the omata software controller after the devices are adopted you will have an overview of the device information in the device list for easy monitoring you can customize the columns or filter the devices to customize the columns click for more options next to action and check the boxes of information type
here you have three options default columns all columns and customize columns default columns includes the following IP address status model version uptime and some other parameters if you choose all columns more information will be displayed such as serial number memory usage and clients you can also customize the columns by selecting the desired information type according to your needs for instance if you check the boxes of clients and download traffic you will see the information displayed in their corresponding columns to better monitor the devices you can filter them using the search box and tab bar above
the list enter the text in the search box or click the desired tag of device type in the tab bar to filter you can also filter the devices by their status by clicking in the status column pending indicates that the device is in Standalone mode or its factory default settings and has not been adopted by the controller connected indicates that the device has been adopted by the controller and you can manage it centrally managed by others indicates that the device has already been managed by another controller adopt failed indicates that the controller failed to adopt
the device with a default username and password because the username or password is incorrect you can click retry to enter the correct username and password to adopt it heartbeat missed indicates that the communication between the controller and a device has been interrupted for over 30 seconds if the communication resumes the device will become connected but if the connected device has lost connection with the controller for more than 5 minutes the device will become disconnected disconnected indicates that the connected device has lost connection with the controller for more than 5 minutes isolated indicates that the mesh
EAP once managed by the controller lost its wireless link to the root EAP but can still be discovered by other omada eaps besides the overview of device information you can monitor the detailed information of each device through the properties window to open the properties window click the device in the device list or click the desired device in map which can help you better understand your network topology for different types of devices a monitor panel and different function Tabs are listed in the properties window of gateways you can monitor details networks clients and operating statistics and
configure ports and other parameters in the properties window of switches you can monitor details clients and operating statistics and configure ports and other parameters in the properties window of eaps you can monitor details clients mesh and operating statistics most features to be configured are gathered in the config section let's see an example in the statistics section of er 706 w4g you can monitor the CPU and memory of the device in the last 24 hours via charts to view the device's performance switch statistics and application analytics just click the [Music] chart some omata devices support Port
configuration through the controller you can configure the ports of aada gateways and switches to configure the devices ports go to the port section on its properties window click the edit button in the action column for instance we can configure the status link speed mirroring and pvid of wanland 4 of The Gateway here in the config section of each device you can change some general settings in general such as renaming the device selecting the LED working method configuring ing the devices longitude latitude and address and setting the controller to remember devices after a device is remembered
by the controller even if it is factory reset the controller will automatically adopt it as long as it can be discovered for omada eaps and wireless gateways you can configure how and what type of radio signals the device emits for example go to the config section of er 706 w4g find radios you can choose to enable or disable the 2.4 GHz band set the wireless mode Channel bandwidth operation Channel and TX power of the band in business Network deployment it's crucial to plan these aspects carefully leaving wireless settings on auto can result in significant interference
and degrade Network performance if manual planning isn't feasible consider enabling WLAN optimization the controller supports two methods for upgrading the firmware manually updating the firmware locally or automatically updating the firmware through the cloud to update the firmware manually download the devic's firmware file from TPL Link's official website first take ER 706 w4g for example unzip the downloaded file to get the firmware file with a bin file type go to config manage device in the properties window then click the browse button in the custom upgrade section select the bin firmware file and click open to import
the file if you want to batch upgrade devices with the same model you can enable upgrade all devices of the same model in the site then click the upgrade button the upgrade process will start wait a few minutes for the upgrade results to display to update the firmware through the cloud go to settings controller settings settings in global view enable Cloud firmware detection and devices update notification click save when a new version of firmware is released you will receive a notification and a red dot will appear near the version of devices have new firmware available
click the arrow icon of these devices in the action column the release note of the latest firmware will pop up then click the upgrade button in the popup the controller will start to upgrade the firmware to its latest version if you click the start rolling upgrade button in the upper right hand corner all the devices of new firmware will start batch upgrading [Music] automatically different sites are logically separated Network locations you can create a site based on the actual situation of the project and flexible add devices to the site for easy management you can also
move devices from the current site to a new site please note however that when this operation is completed device configurations on the prior site will be replaced by that on the new site and its traffic history will be cleared to move the adopted device from its adoption site to another site go to config manage device on its properties window select the desired site from the drop-down list in the move to site section then click the move button to start the [Music] process if you no longer wish to manage a device you can forget it go
to config manage device on the device properties window click the forget button in the forget this device section then click forget on the popup wait several seconds you can see the device has been successfully forgotten and removed from the controller after being forgotten the device will reset to its factory default settings