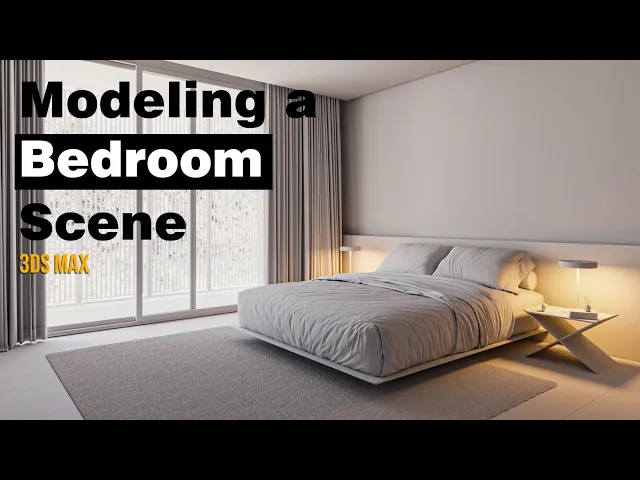
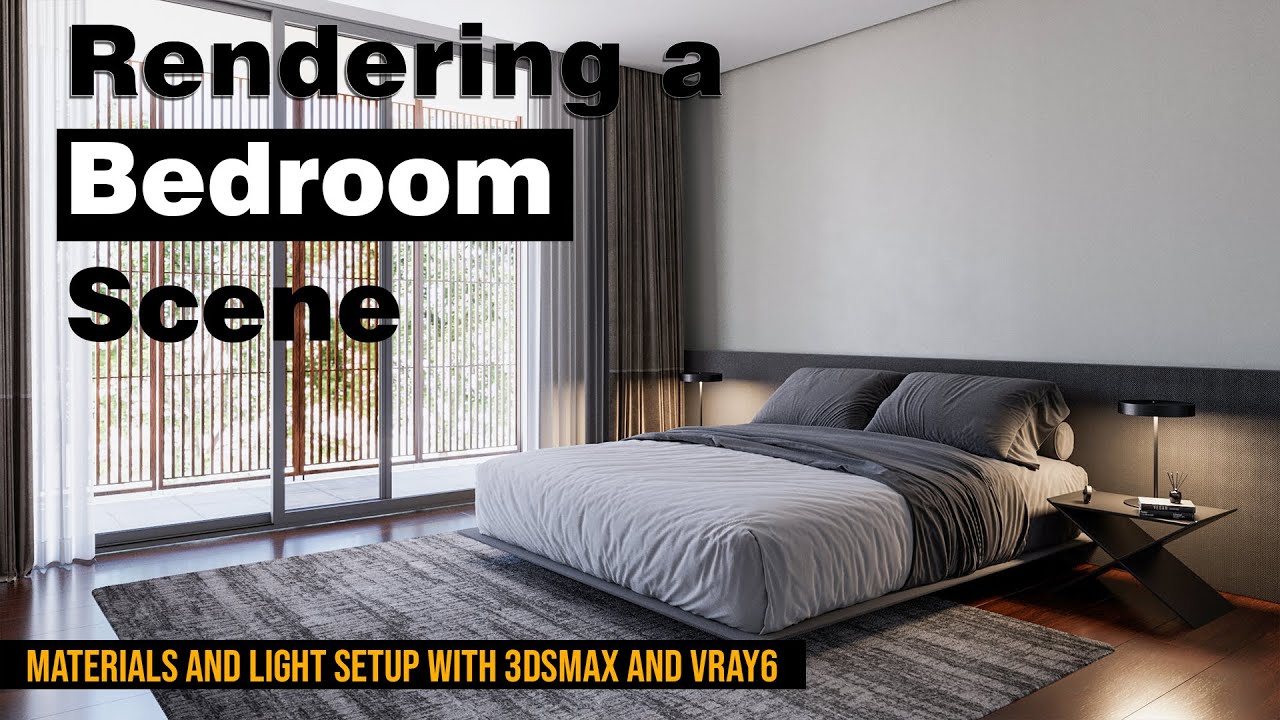
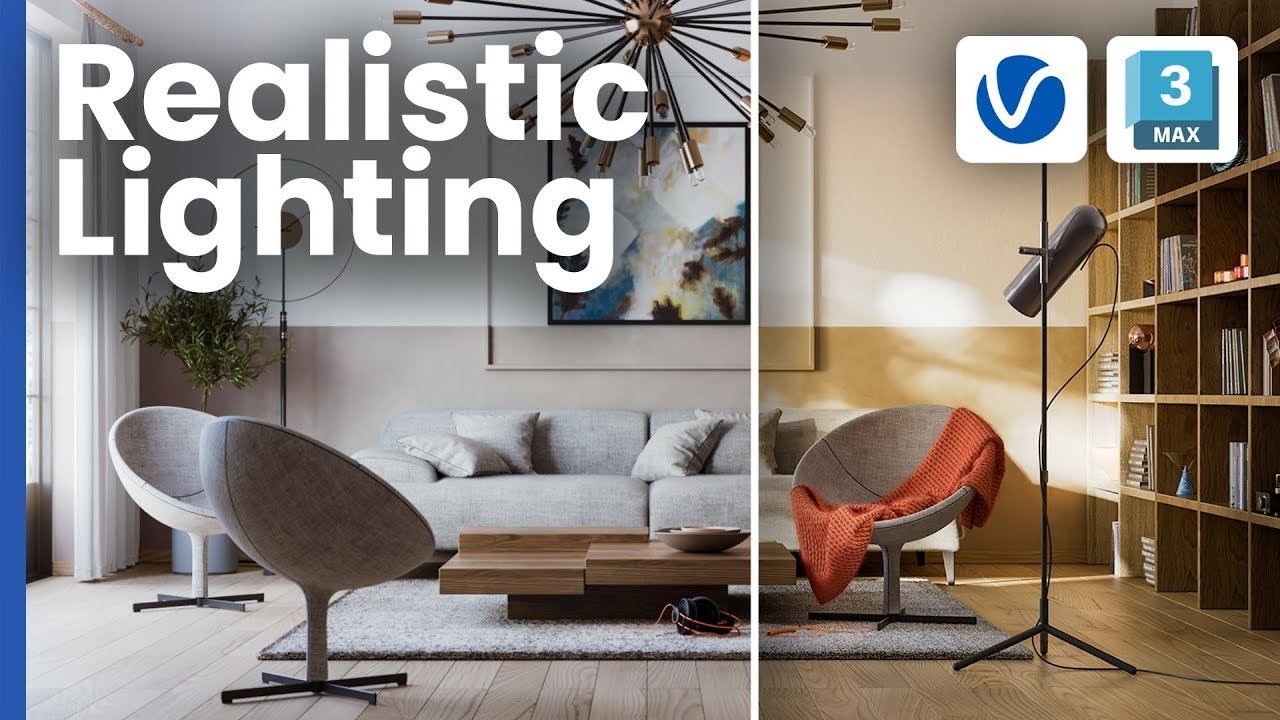
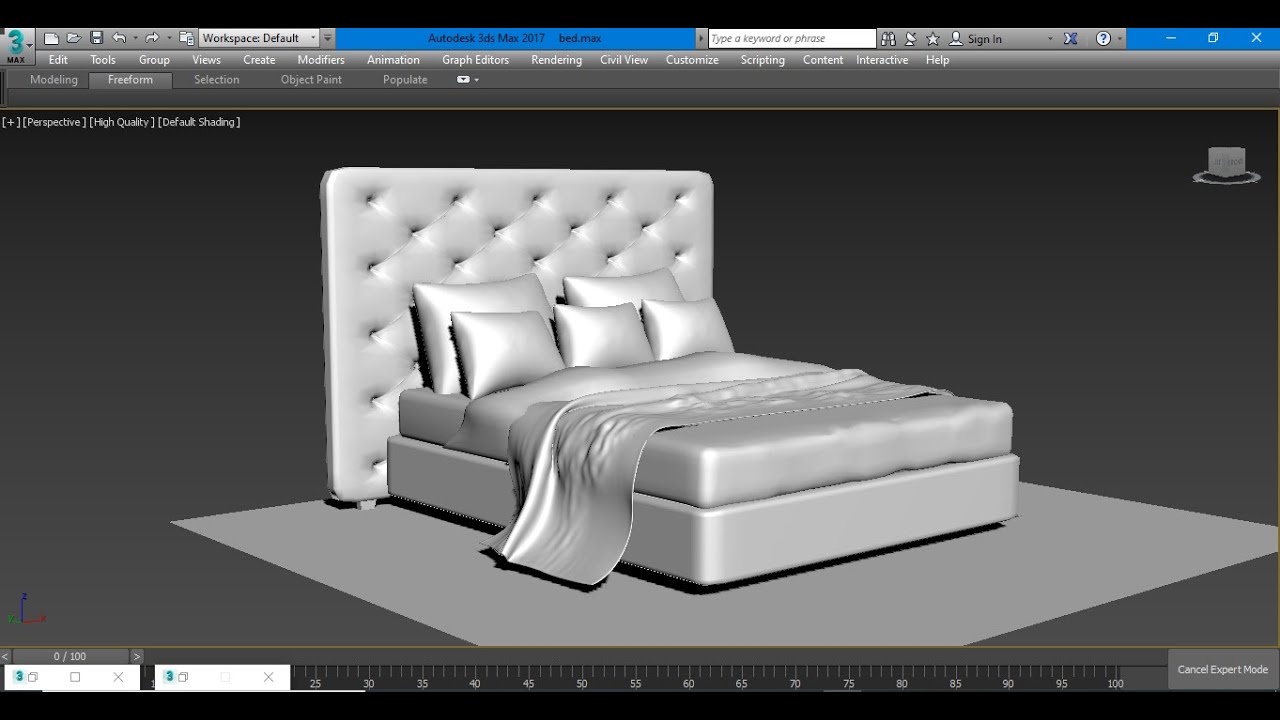
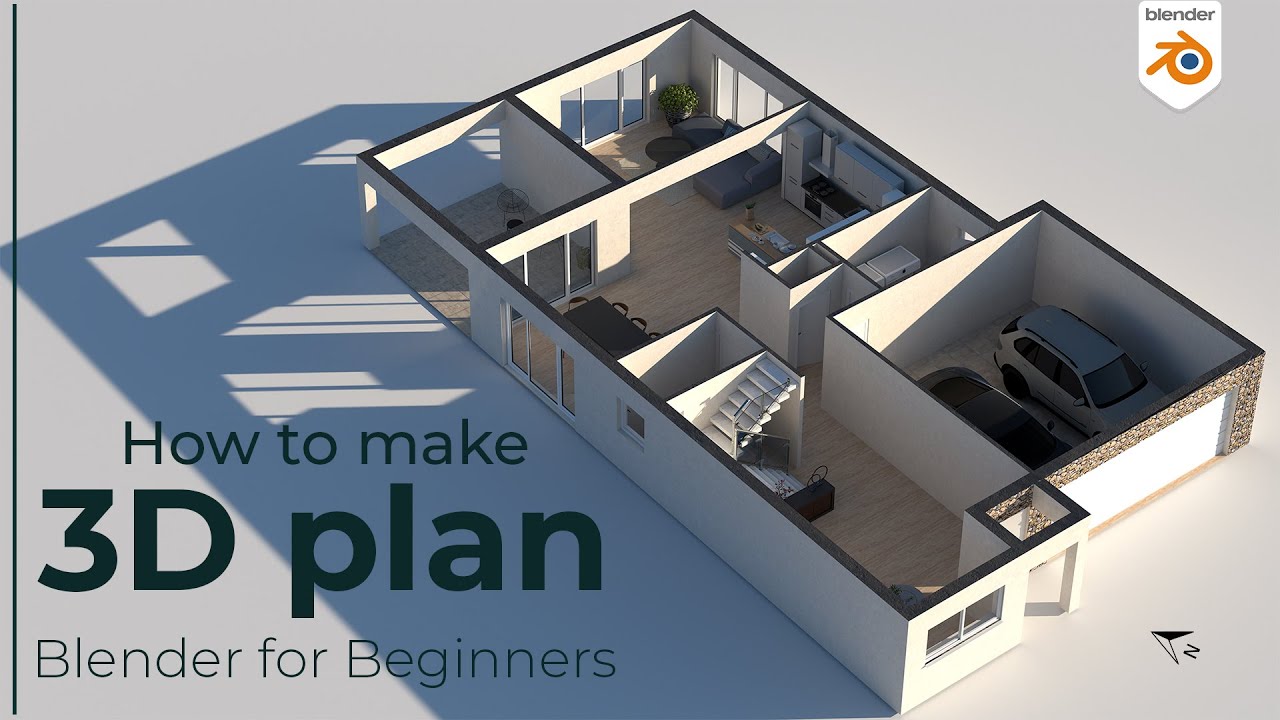
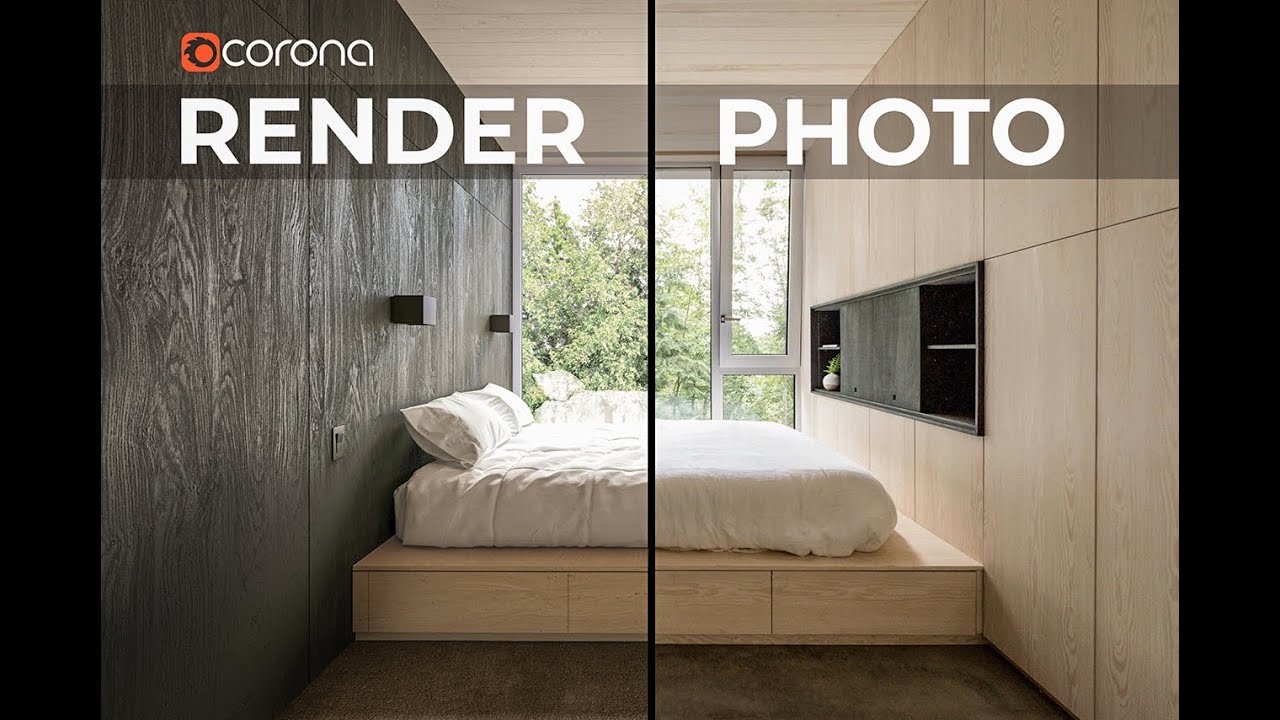
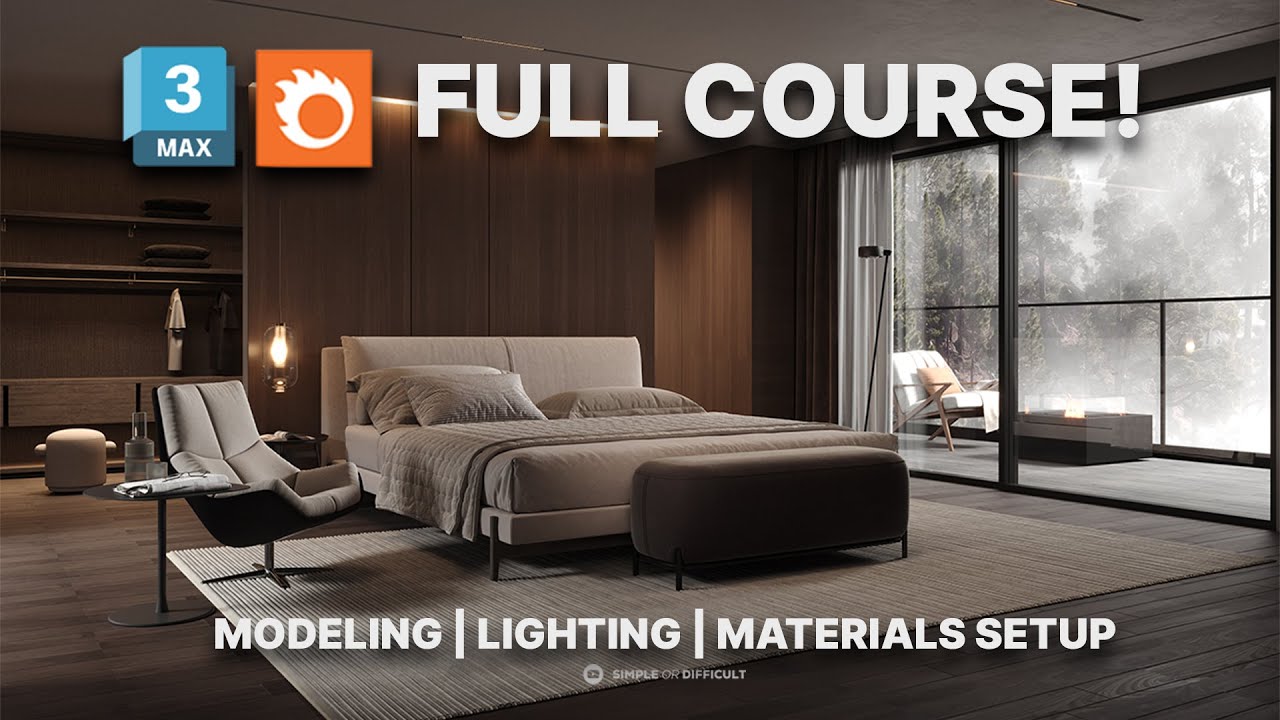
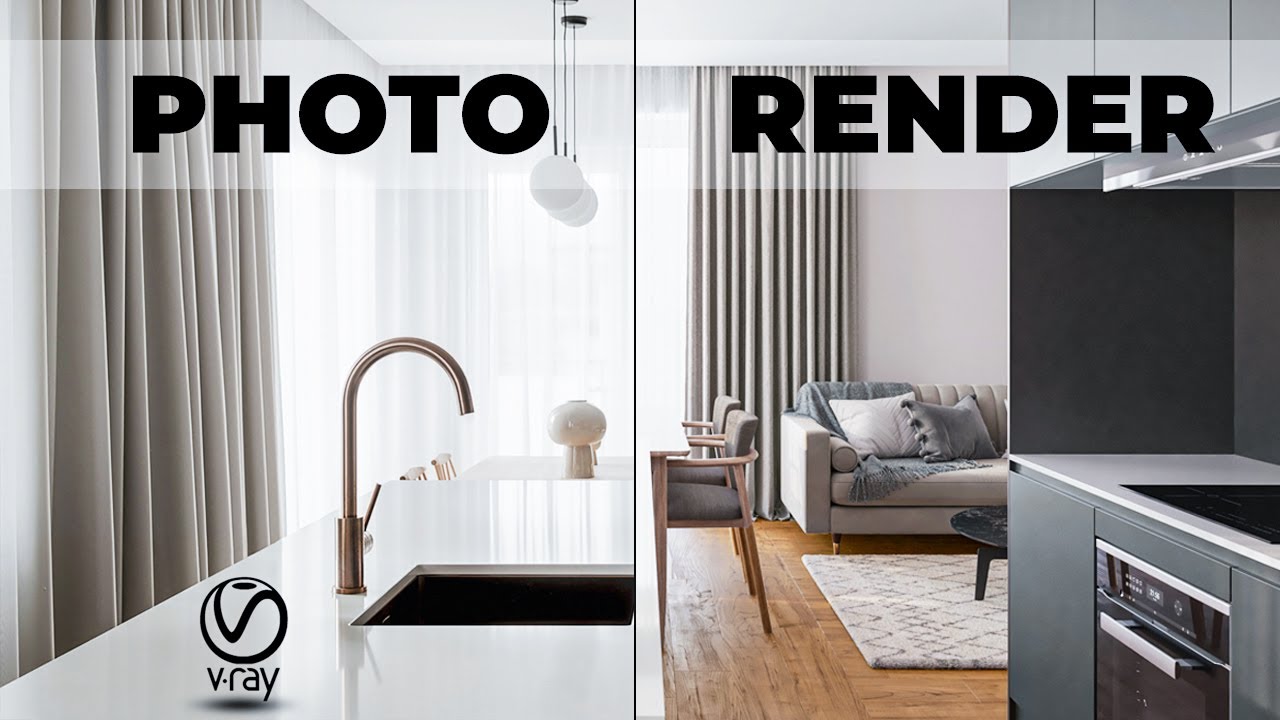
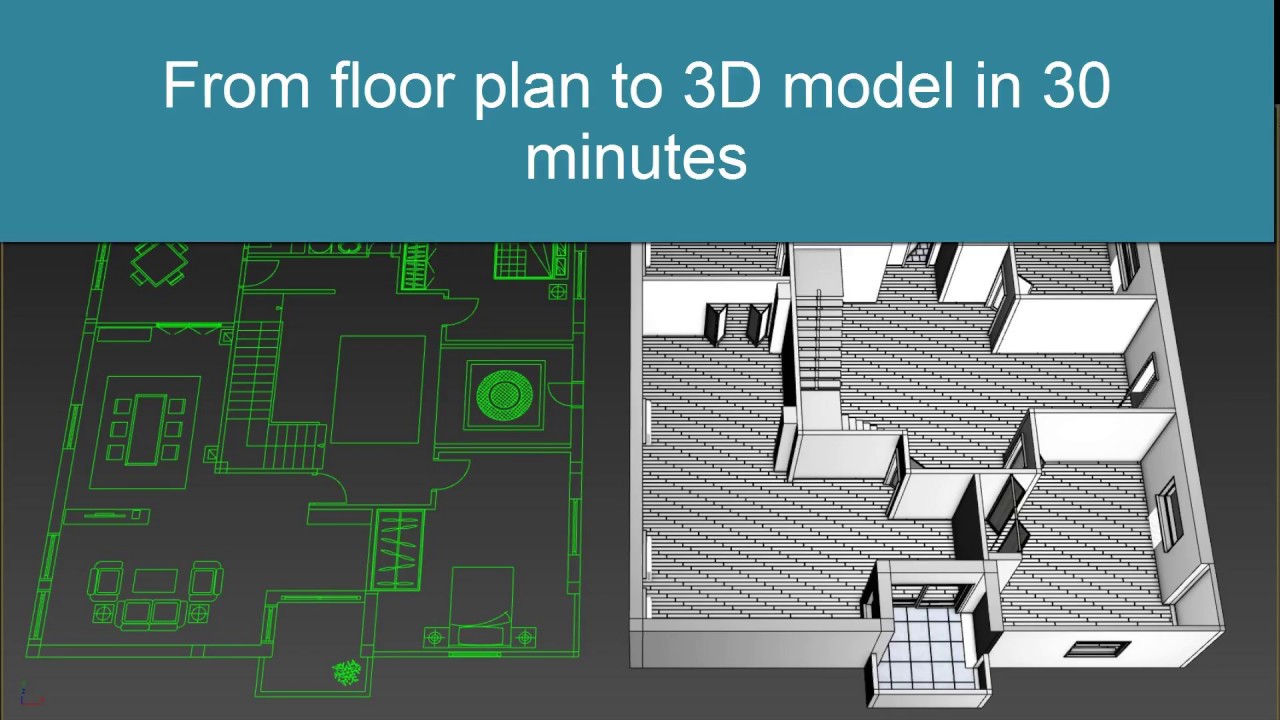
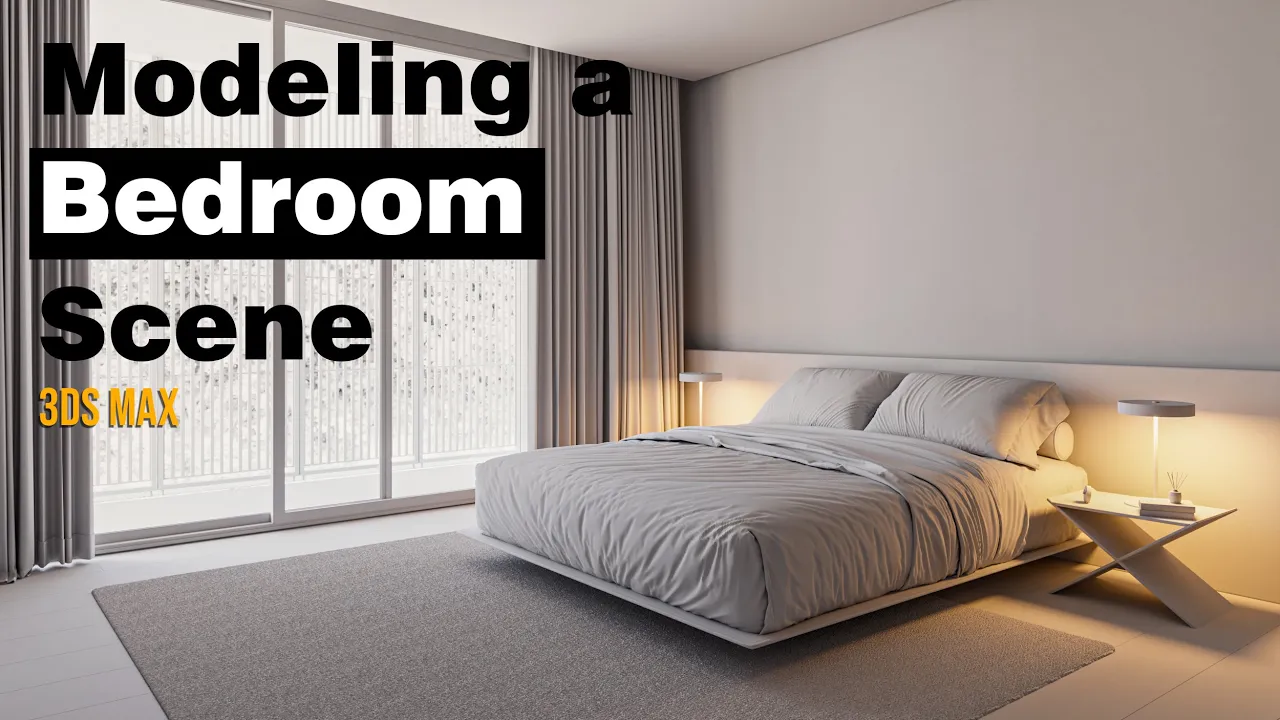
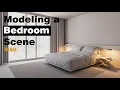
hello everyone welcome to hm Studio in this video we're going to be working on a bedroom scene and this will be our reference image I'm going to break it down into two parts and the first part which is this one is going to be about modeling the scene and the second part will be about making some materials and rendering the scene also a little bit of post-production so without any further Ado let's get into the modeling part alright we're going to be working based on this layout which is actually a JPEG image and this portion
is the only part that we're going to model before I start modeling anything it's always better to check our unit setup to do that let's go to the customize menu select unit setup and from here make sure that you're using the same unit for display unit scale and also system unit scale since this project the scale of this project is actually small I prefer to go with centimeters but if you're working on a bigger scale project like Master plans you can go with meters also all right click on the image go to the properties and
in the details tab you can see the dimensions of the image here it's 2000 by 1414. all right now we're gonna go back to 3ds Max and let's create a plane with the same dimensions I don't need the segment so let's get rid of them now let's go 14 14 and 2000. now you can just simply drag and drop the image onto your plane although the proportion of this layout is correct but the real world scale is not and to fix that we have this scale helper right over here so how can we fix that
as you can see this helper is representing 10 meters in real world and this portion is one meter so let's go ahead and create a plane right on top of it this part must be one meter but it's actually 47 centimeters let's make a copy by holding shift and just moving it down like so okay now I'm gonna make this one 100 centimeters okay let's adjust this position now we should group the layout and the first plane we created together okay let's go to the hierarchy tab select affect pivot only now let's move the pivot
to the corner of the plane like this now if we decide to scale rotate or move the plane that would be our Pivot Point all right now let's align these two planes together with your snap tool activated now let's scale up the group until the size of these two planes are matching perfect now we have the real world scale and we can start modeling let's ungroup them and delete those two planes since we don't need them anymore now let's go to the create tab shapes and select the line tool and start creating a line all
around the room let's start from here by holding shift you can create straight lines and let's create two vertices on both sides of every opening that we have like that actually we don't see the closet so maybe we can just ignore that part we don't see the store as well so let's ignore it a very important tip if my snap tool is activated and I'm holding shift to create the lines if I click on this vertex over here I can create another vertex with the same coordinates on the y-axis so they will be aligned on
the y-axis and you don't have to do anything afterwards and you'll see in a second how useful is this all right let's create two more vertices on both sides of this opening and close this plane now we have to create the lines inside the room as well and there are two ways to do that the easiest way is to create an outline from the line that we already created and it will work in this case which is actually a simple rectangle but for other cases that you have like several rooms or the layout is more
complex you're gonna have to do it manually and for the sake of this tutorial I'm gonna do it that way so you could learn how to do that alright while your line is selected let's go to the modify Tab and select create line let's activate the vertices also so we could see where they are and it will help us during the process okay as we did before we're going to create a line inside the room we're gonna use this vertex as helpers in this case we cannot use this vertex as a reference since the line
is longer on the y-axis so we're going to just take a guess and create a Vertex right around here and we're gonna fix it later on all right let's go ahead and select this vertex align it like this as you can see when I'm clicking on the X and move the vertex while my snap tool is activated it only moves on the x-axis like this [Music] and I can easily align it with the other vertex but if your max is behaving differently it's because you didn't activate the enable axis constraints option and to do that
you can just right click on the snap tool go to the options tab and enable it from here but if it's disabled it goes all around the place doesn't matter on which axis I'm clicking it just moves in every direction all right let's go ahead and activate it and just align it with the vertex down below if we check the reference image we can clearly see the Terrace outside so let's go ahead and create a line for that as well [Music] thank you [Music] alright now let's select these lines and apply an extrude modifier to
them I'm going to go with 280 centimeters and just like that we have the walls for the next step we can go ahead and model the ceiling and the floor for that I'm going to create a line all around the room with my snap tool activated or actually let's create a plane like this for the ceiling also I'm going to create another one let's cover the walls as well now if we check the reference image you can see that we have this Gap here and also a little one over there and I assume it goes
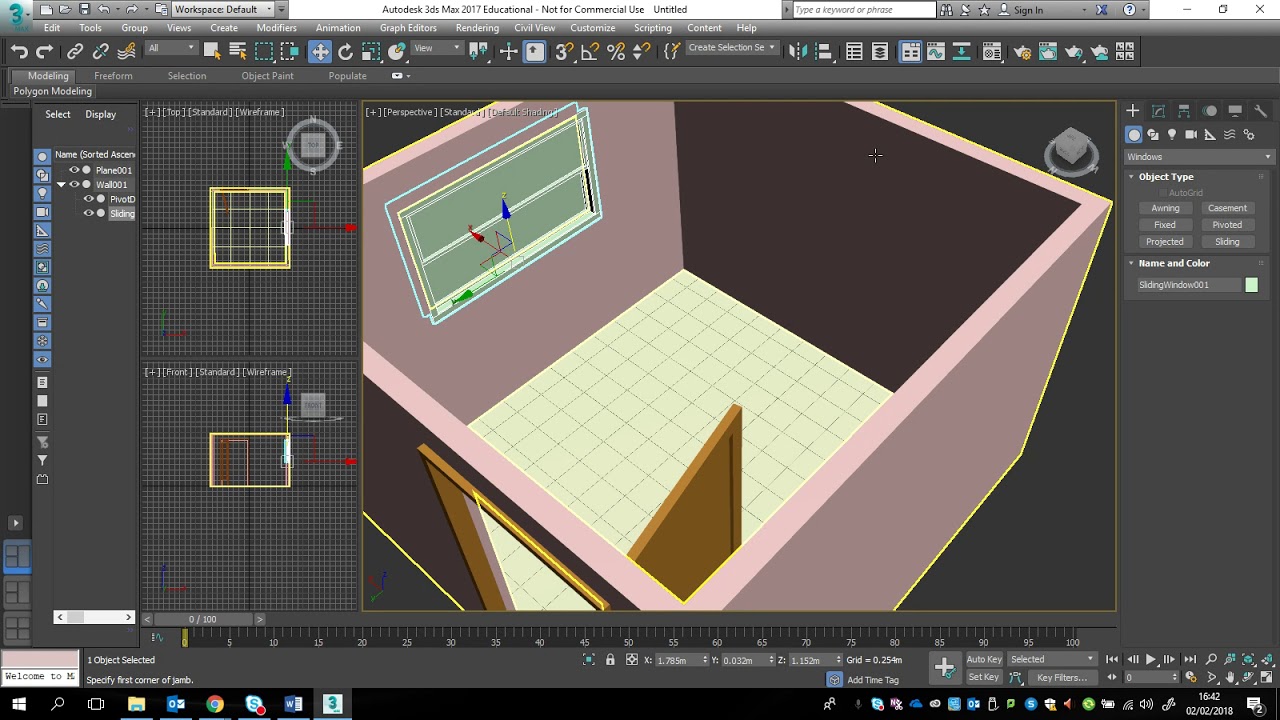
all around the ceiling to do that we can just simply create a box let's go ahead and create one like this I'm going to make it 20 centimeters and let's add an editable poly modifier select the vertices and just move it on the y-axis by 20 centimeters I'm going to make it five centimeters gap on all the other sides of the ceiling [Music] now we can just create this opening as you can see the top part of this glass door is actually aligned with the ceiling so let's go to the front view by pressing F
on your keyboard and select the walls add an edit poly modifier select quick slice from the edit geometry tool segment like this now we can go ahead and select these two polygons this one and the one behind that and simply just click on the bridge and it creates the opening for you [Music] we don't need this polygons so let's just go ahead and delete them this wooden floor is supposed to be continuous below the door as well so let's go ahead and add an edit poly just create a segment by selecting these two and pressing
connect and with your snap tool activated let's just align it with this side of the opening now let's select this Edge hold shift on your keyboard and just drag it to make a copy like that okay we're done with this okay we don't need this layout so I'm gonna go and hide it for now and let's go ahead and take care of this floor outside and as you can see it's separated in the two parts one part is like a concrete floor and the second part is some gravels now let's add an edit poly modifier
to it so it turns into a geometry and we can make a copy of this for the ceiling now let's give it a little bit of Shell by adding a shell modifier and adding 20 centimeters to the outer amount okay now for the floor we have these two parts as I said and to create something similar we can select these two edges and create a segment like that and just move it to somewhere around here okay this part is going to be some gravels and the other side will be a concrete floor I'm going to
select this polygon and detach it like that as the next part we're going to model these louvers as you can see it has like two profiles into each other and it's been divided horizontally and vertically to create that I'm going to the create menu let's go ahead and create a plane let's go to the perspective View and with the auto grid activated we can actually create a geometry on top of the wall let's activate this snap tool as well alright create a geometry like that and we can just move it towards this way and we
can align it with the division that we have all right now I'm going to convert the to an editable poly so it's easier to modify let's select this Edge and just make it a little bit smaller like that okay let's have a look at the reference image as you can see it's been elevated a little bit from the bottom part and we have this Gap up there as well now that I had the second look I think we need to make it a little bit smaller as well so let's go ahead and just move this
Edge a little bit to the left alright now let's select these two and create two segments and just move them to the side with the pinch hit ok now we need another segment let's create one we don't need any change but with this slide tool you can just move it all the way down to there it can go a little bit lower okay we don't need this polygon let's select it and just delete it now let's go ahead and add a shell modifier and give it a little bit of shell maybe four centimeters that looks
good I still need to move it up a little bit so let's go to the edit poly select vertices and move it up just like that [Music] now we can create another plane inside it with the snap tool and also Auto grid activated like that okay now we have to create the divisions I'm going to turn it into editable poly and add this Gap in the bottom part by moving up this segment all right we have the same one on the upper part as well okay now we can just go ahead and select these two
edges and create some division I'm going with 15. Maybe 13. yeah that looks better [Music] now select all of these polygons and right click select inset we're going with by polygon option and I think one centimeter is good enough let's go ahead and delete these polygons and give a shell modifier to this geometry as well I'm going to go with two centimeters for this and let's make it sit right in the middle okay I think we can attach these two together since they have the same material and to do that I'm going to add an
edit poly modifier and attach them just like that so to fix the televisions we need some helpers let's go ahead and select the edges and since not all of these have the same length it's better if we just go ahead and select one of these profiles like that and just create three segments and we're going to use this as helpers all right I'm going and create a box right over here and for this one we can go with one centimeter now let's convert it to an editable poly and adjust its size by moving the vertices
this site needs to be aligned with this one and this side needs to be aligned with that alright now we can easily create two more copies now let's go ahead and attach everything together so we have a single element and we can make more copies of it but if we check the reference image we still need to create these cylinders as well to do that we can go to the create menu select cylinder with your auto grid activated actually let me just isolate this all right with your auto grid activated you can just go ahead
and create a small cylinder like that we don't need the height segment so let's just remove them and let's just align it in the front view like that and make a copy by holding shift and moving it onto the x-axis okay I'm going to just convert it to an editable poly and attach it to the other one perfect let's adjust the height also now just like our reference image we can just make some copies next to each other so let's select everything I'm gonna unisolate everything and by holding shift I'm going to just make some
copies let's leave a little bit of gap between them as well I think six is enough [Music] I think at this point we can go ahead and create a camera roughly similar to what we have in the reference image so we have a better understanding on how the things are going and afterwards I'm going to bring in some assets which I've already gathered into another file and we'll just place them in the scene by the way if you want to download the scene it's going to be available on my patreon page and the address is
down below in the description sections alright that will be all for the modeling part and I'm gonna see you in the next one where we're going to make some materials we're going to do the lighting and also do some post-production by the way if you don't want to miss my other tutorials it'll be great if you stop to the channel okay see you in the next one [Music] [Applause] [Music] thank you foreign [Music] [Music] thank you [Music] [Music] thank you foreign [Music] [Applause] [Music] foreign [Music] [Music] foreign [Music] foreign [Music] [Music] foreign [Music] [Applause] [Music]