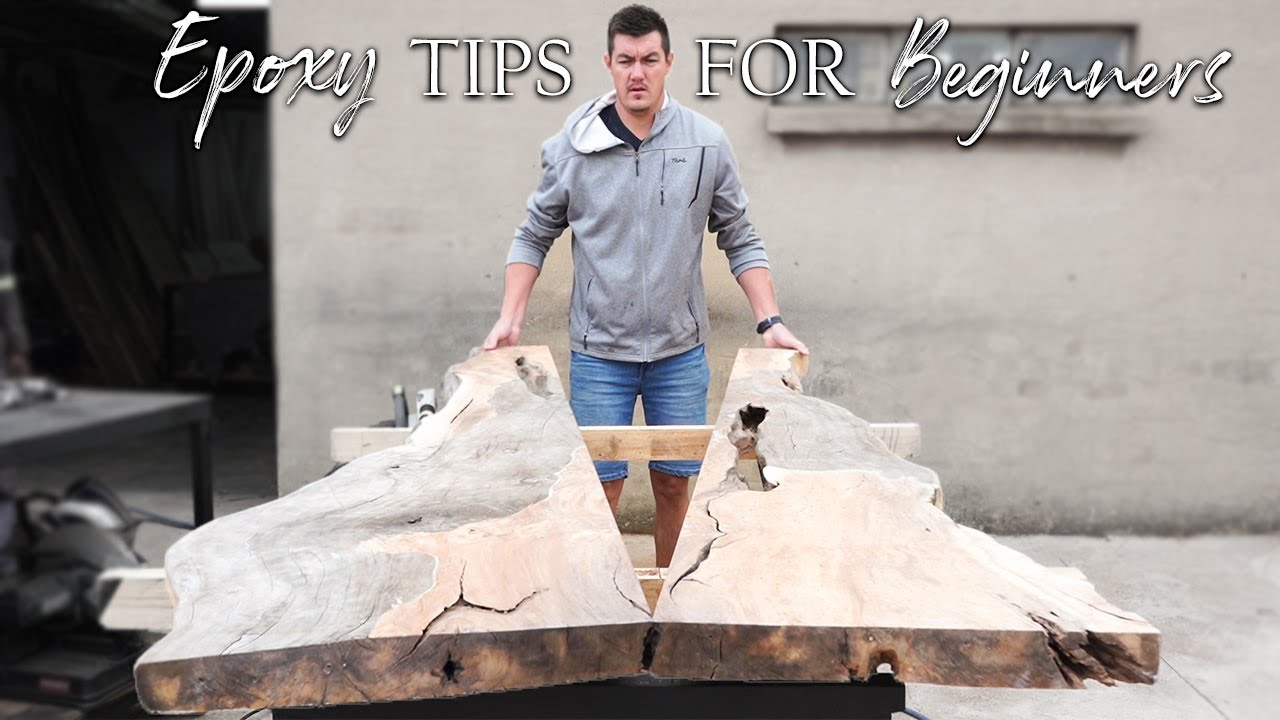
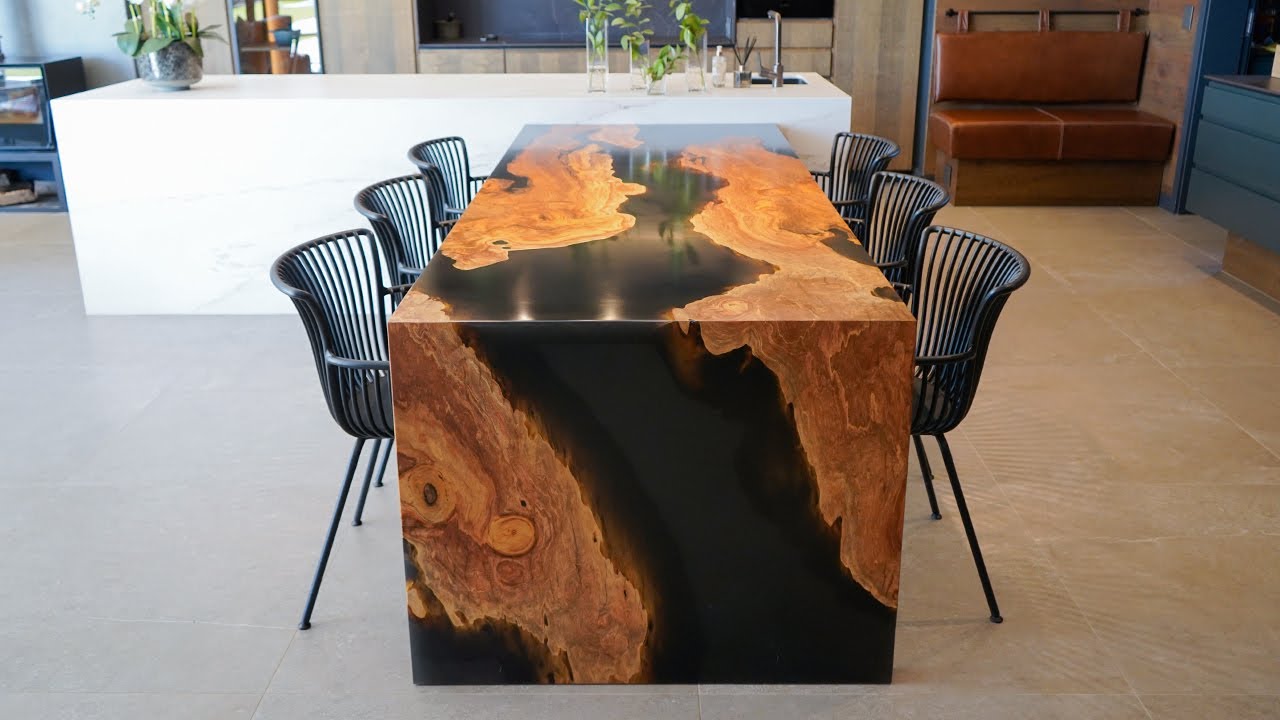
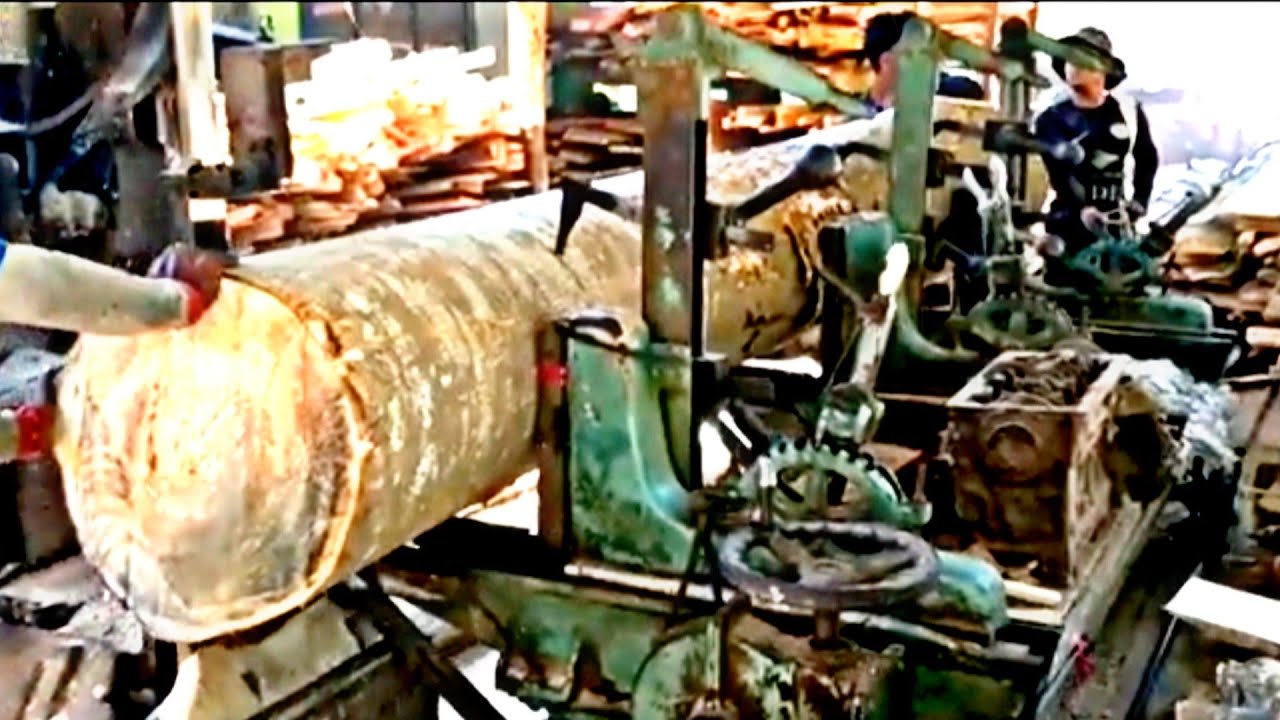
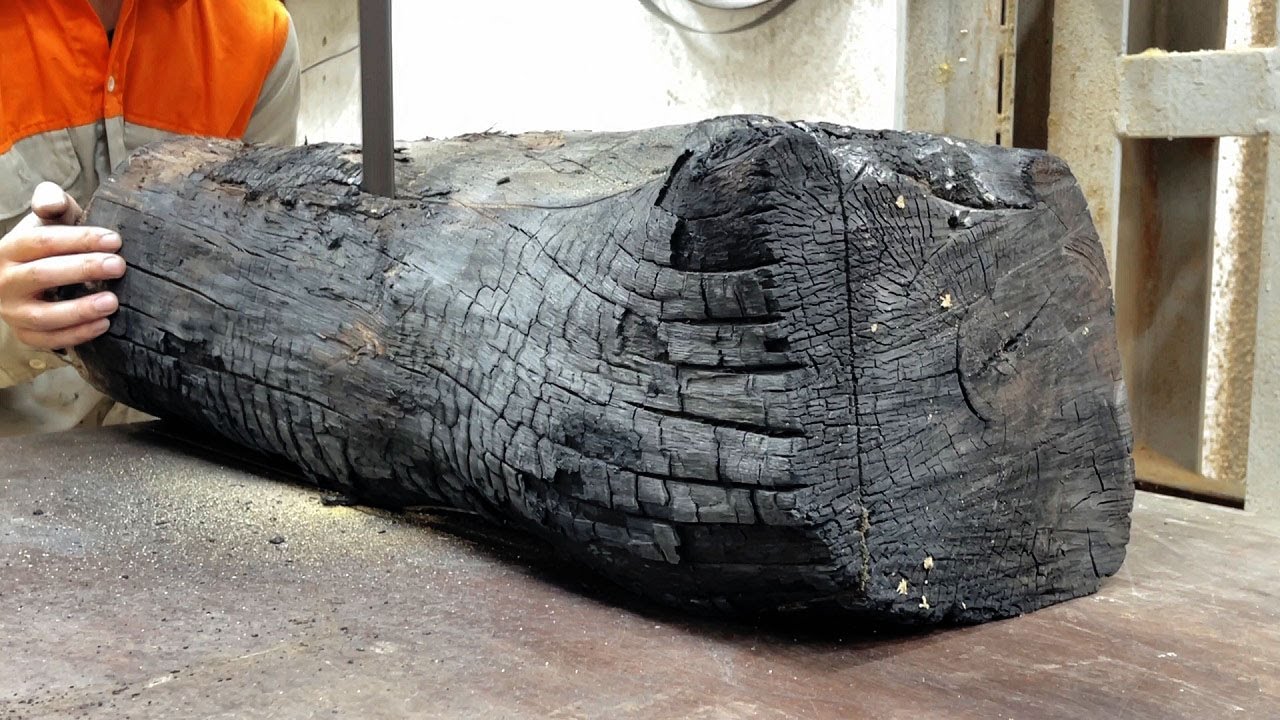
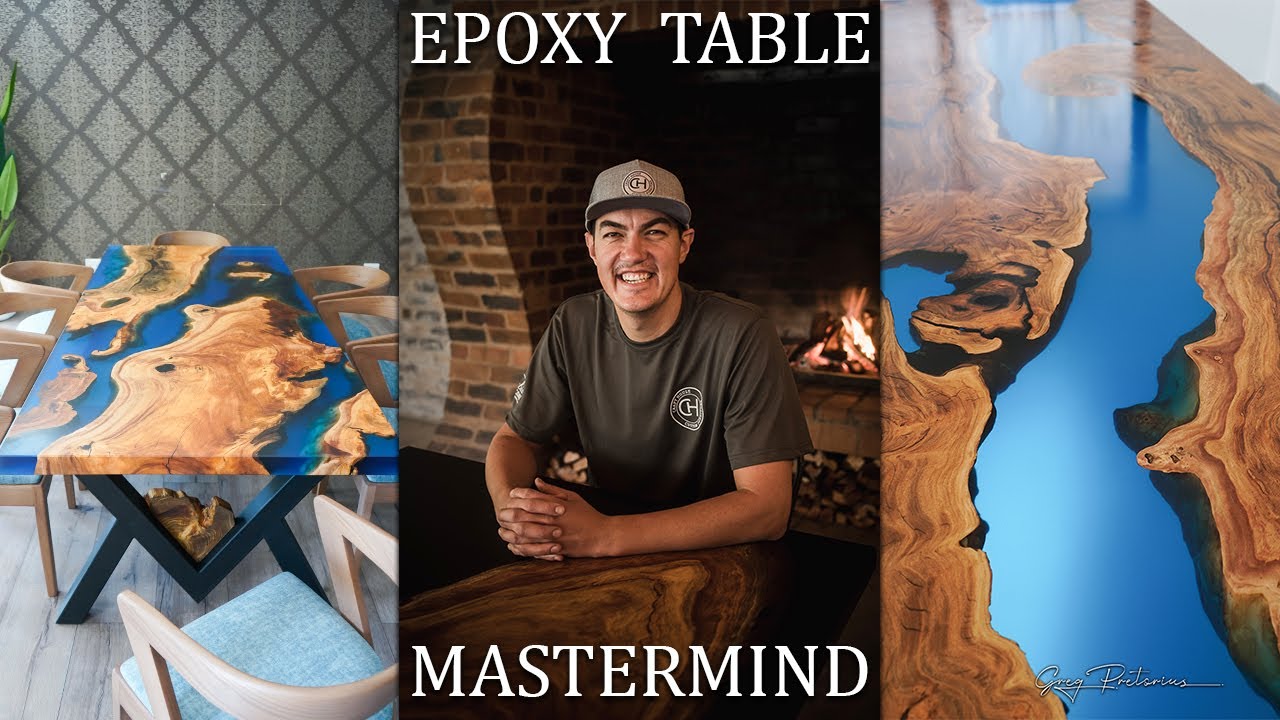
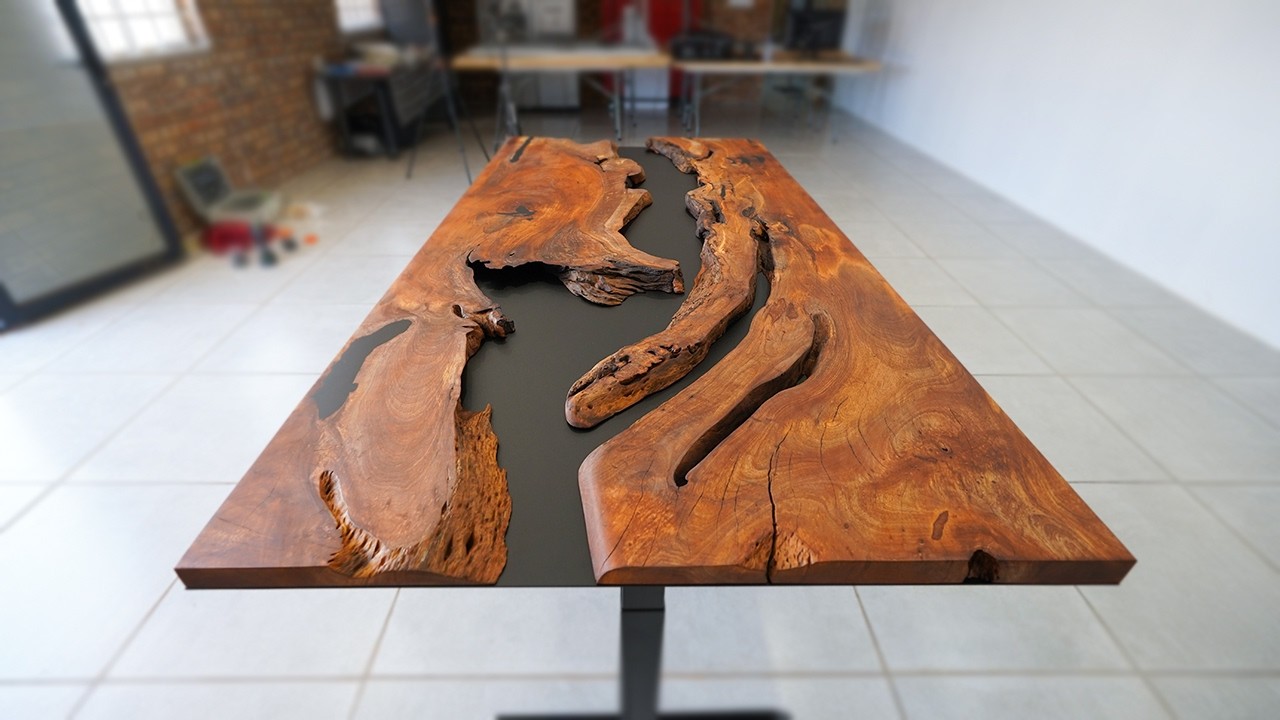
this is my top five tips for building the perfect epoxy table we already made all these mistakes so you don't have to tip number one moisture content what is moisture content moisture content is basically the water that's inside your slab now if you're going to cut the tree down it's obviously going to be full of moisture so it needs to dry naturally or you can use a kiln oven in our case we're using a kiln oven which speeds up the process this is your most critical pot in your project of building the perfect table what's
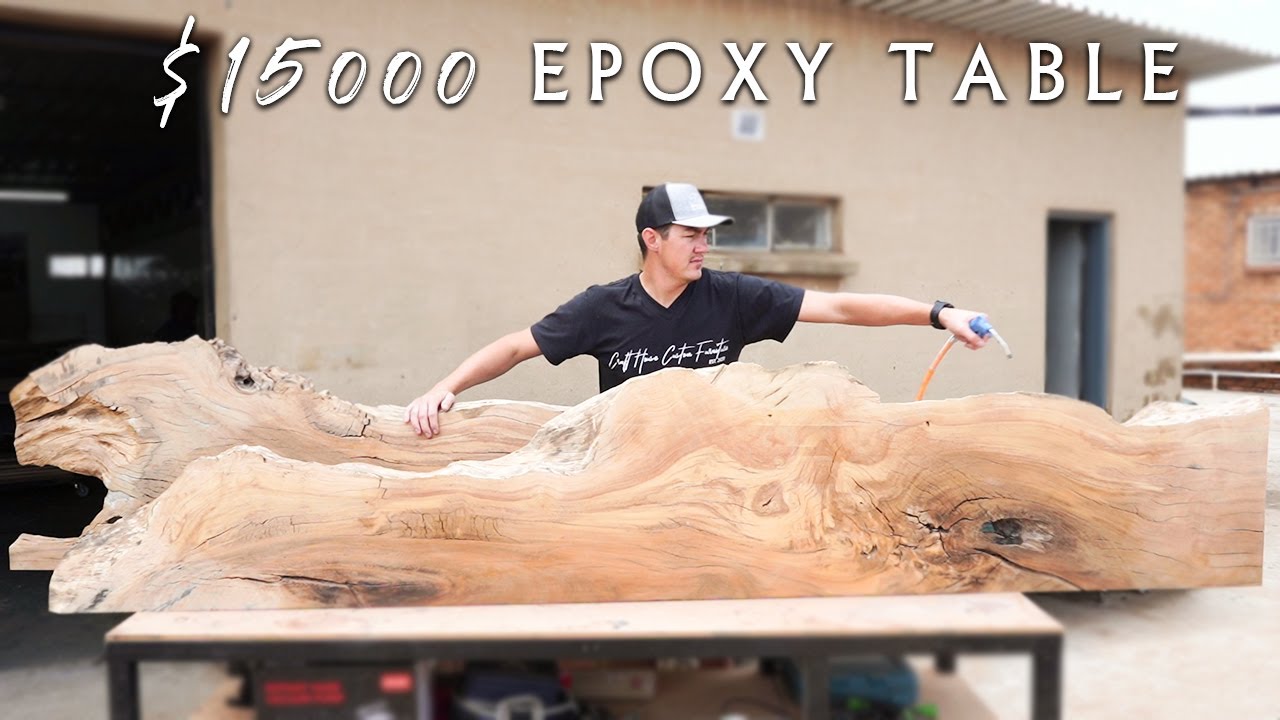
gonna happen to your table as it gradually dries if wood dries it shrinks if it shrinks it's going to break off from the epoxy it's going to warp and this form so you need to make sure your moisture content is underneath 11 just a quick one before we go to tip number two always make sure to remove your bulk and soft wood from your table this is just going to help you so that you have a very strong bond between your epoxy and your wooden slab tip number two always make sure to build your table
slightly bigger lengthwise width-wise and height Wise height wife and height wife and height wise and the reason for this obviously is to cut your table down to its final size in the later stages of your project and this step starts at the beginning when you start designing your table when you start preparing your slab to fit inside your mold you need to make sure you cut your slab slightly bigger lengthwise and width-wise and when you're going to start preparing and building your mold for your table you need to make sure you build it bigger lengthwise
and worthwise and always remember the side panels to put up for your table needs to be slightly higher because when you're going to pour the epoxy that it's not going to leak out tip number three tip number three a bubbles the one question we get so much from all the people that's watching our videos is how do we deal with air bubbles very easy this section I'm going to divide into four quick tips number one before we start planning and mixing and pouring our table we would put our port a and our Port B raisin
and hardener in the Sun for around about two to three hours to heat up the epoxy then we will mix them together then it makes the epoxy more liquidy meaning the air bubbles is going to rise up much quicker number two if it's winter season and you don't have the sun available we've got this massive pot with water in we will heat it up and it's basically the same process you follow number three once you mix your port a and your Port B in one bucket for around about three to five minutes we would typically
wait 15 to 20 minutes and we will come and pop that without gas flame gun number four is obviously when you're pour in your table you you wait around about 10 to 15 or 20 minutes and you come back and you pop your bubbles with your gas flame gun what we would typically do is we are using a deep casting epoxy where we can pour up to around about 100 ml but because the typical tables we built is transparent tables and not a solid color epoxy what we figured and noticed is that we would typically
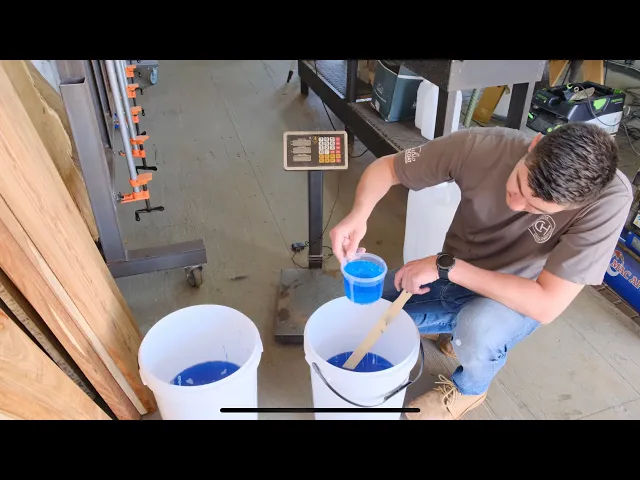
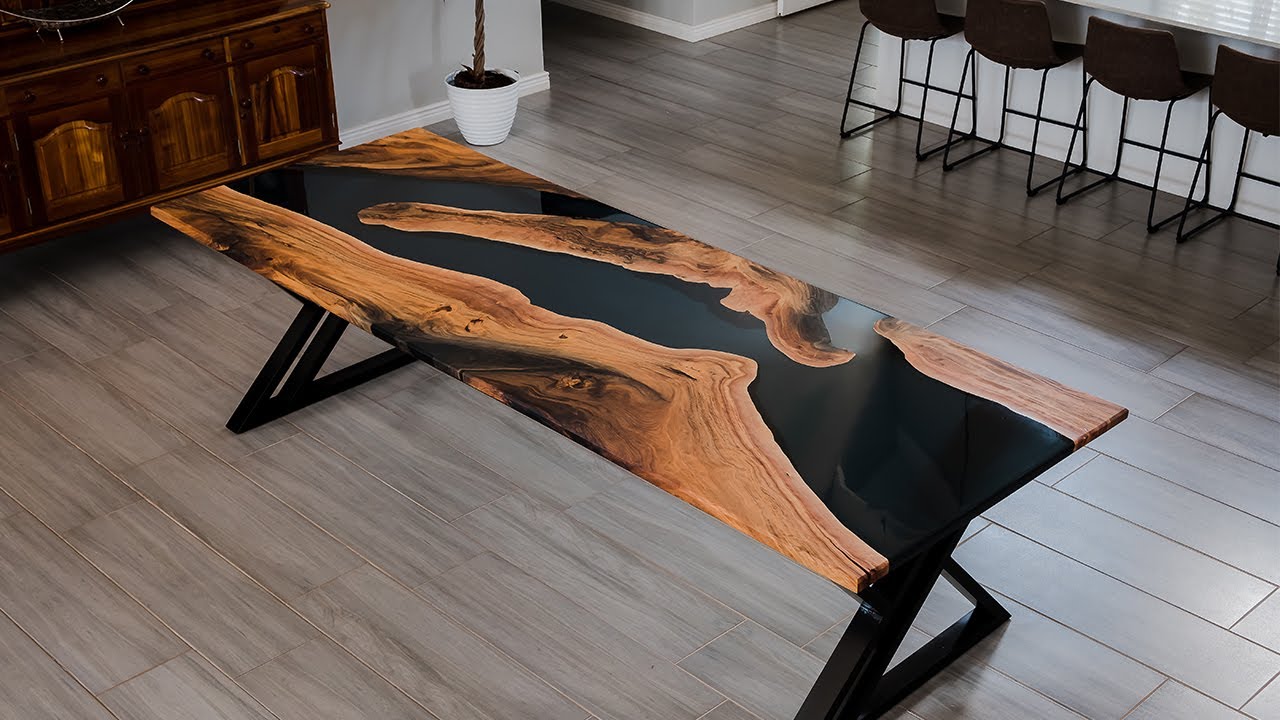
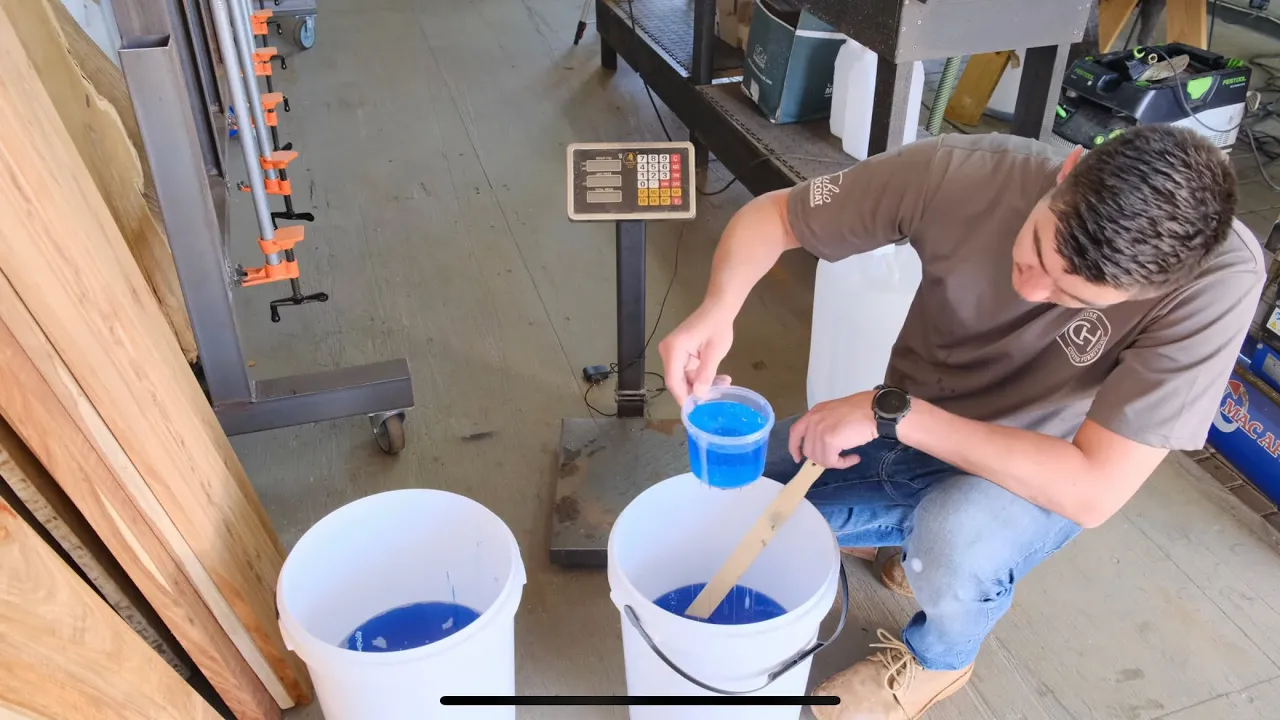
pour around about 20 ml to 25 ml at a time it basically gives us more working time with epoxy and it releases the air bubbles much quicker tip number four what your end color is going to look on your project now this is a very easy one once you mix your epoxy in a bucket you just take a transparent cup and you scoop around about the same thickness as what your table is going to be then you're gonna see what your table is going to look like at the end because if you're going to look
inside the bucket you're going to see the colors are much much darker than what in your cup tip number five using a Scorch pad to finish your tables this is obviously only applicable if you go for a frost Smoky finish on your table if you're going to go for eye gloss you're obviously going to go through all the polishing stages now Frost finish on your tables we will typically sand up to 400 grit but if you don't use a Scorch pad you will see a lot of swirl marks on your table use a Scorch pad
to remove all your problems from your life this is literally a game changer for anyone building epoxy tables step number six always make sure that when you're going to cost your next layer of epoxy that your previous layer you casted is tacky tacky is basically to have a better chemical bond between the two layers you just caused it so if you guys enjoyed this video make sure you support us by liking this video subscribing and hitting the notification button so you don't miss on that any future content be posting thanks guys I'll see you next
week with another super cool project cheers [Music]