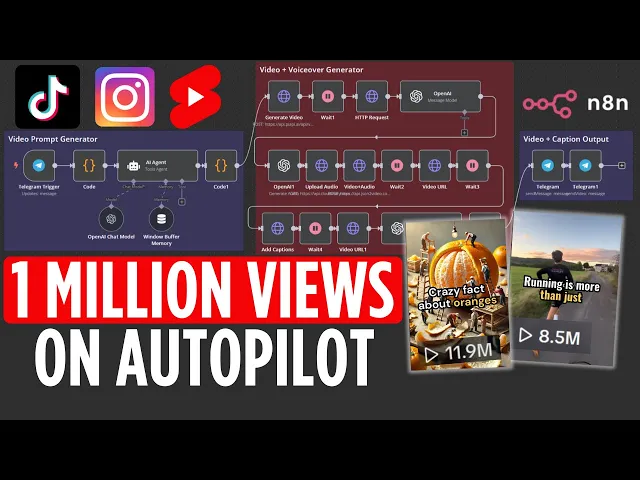
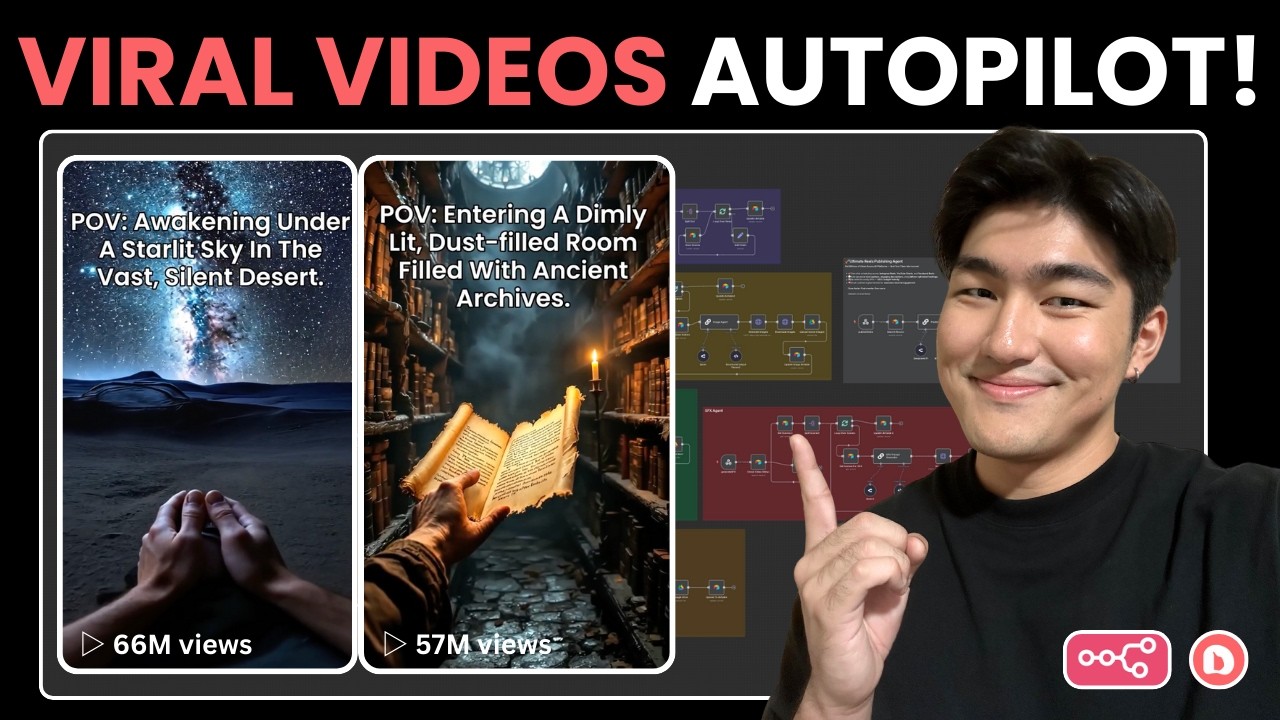
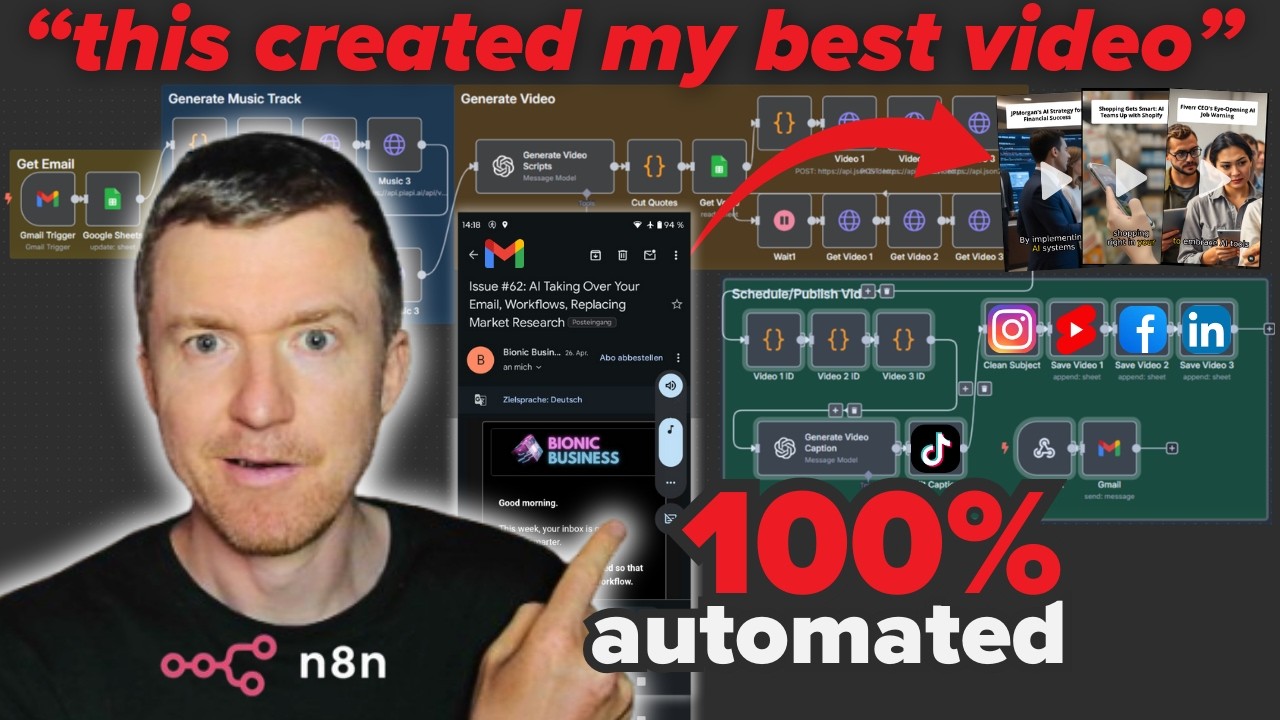
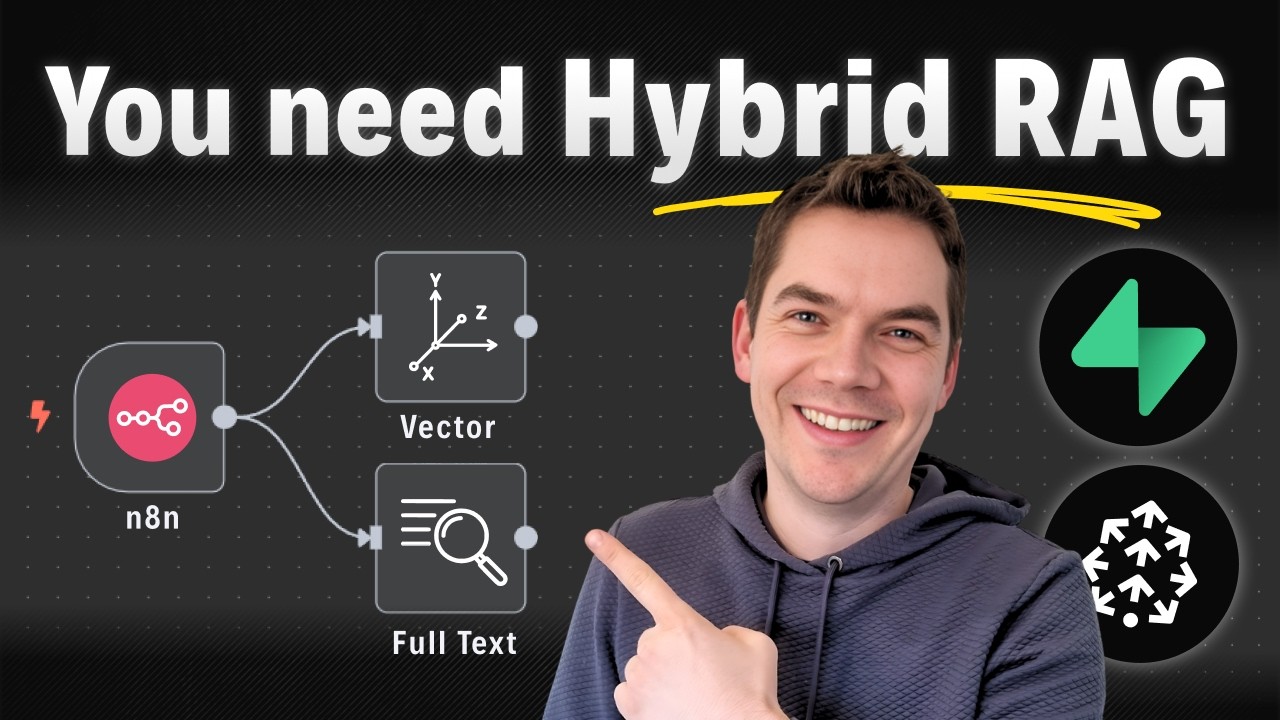
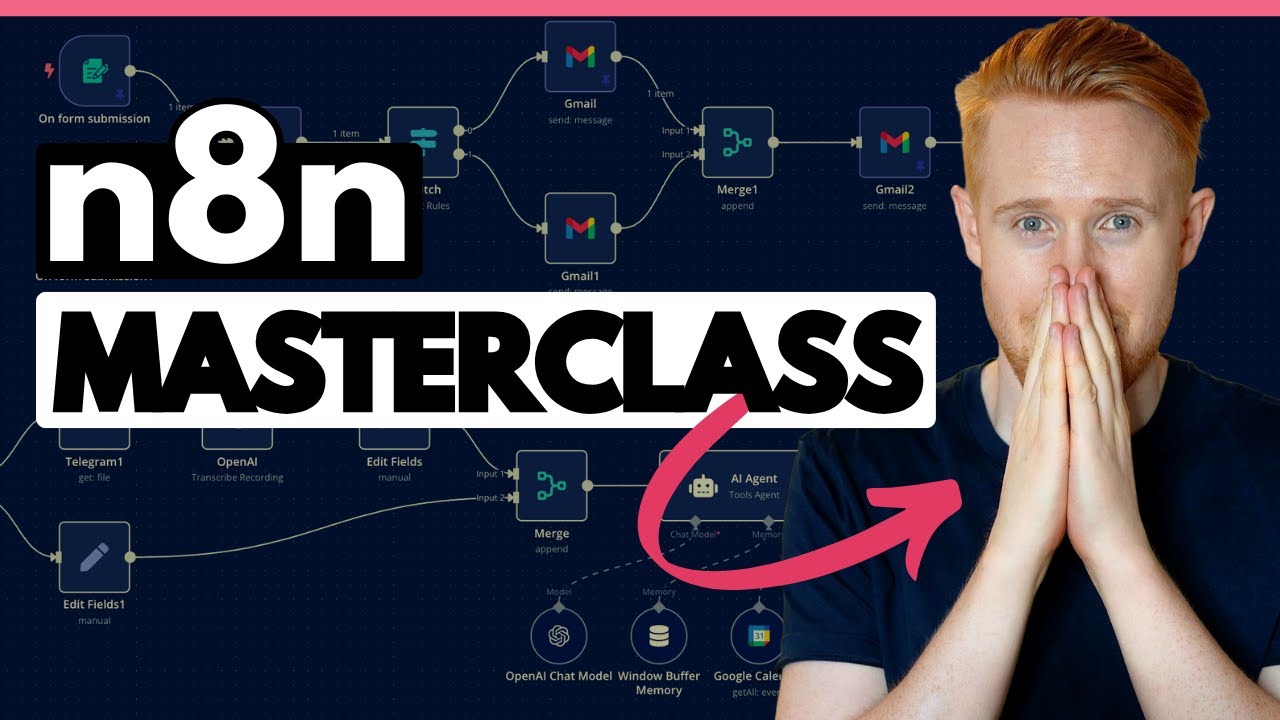
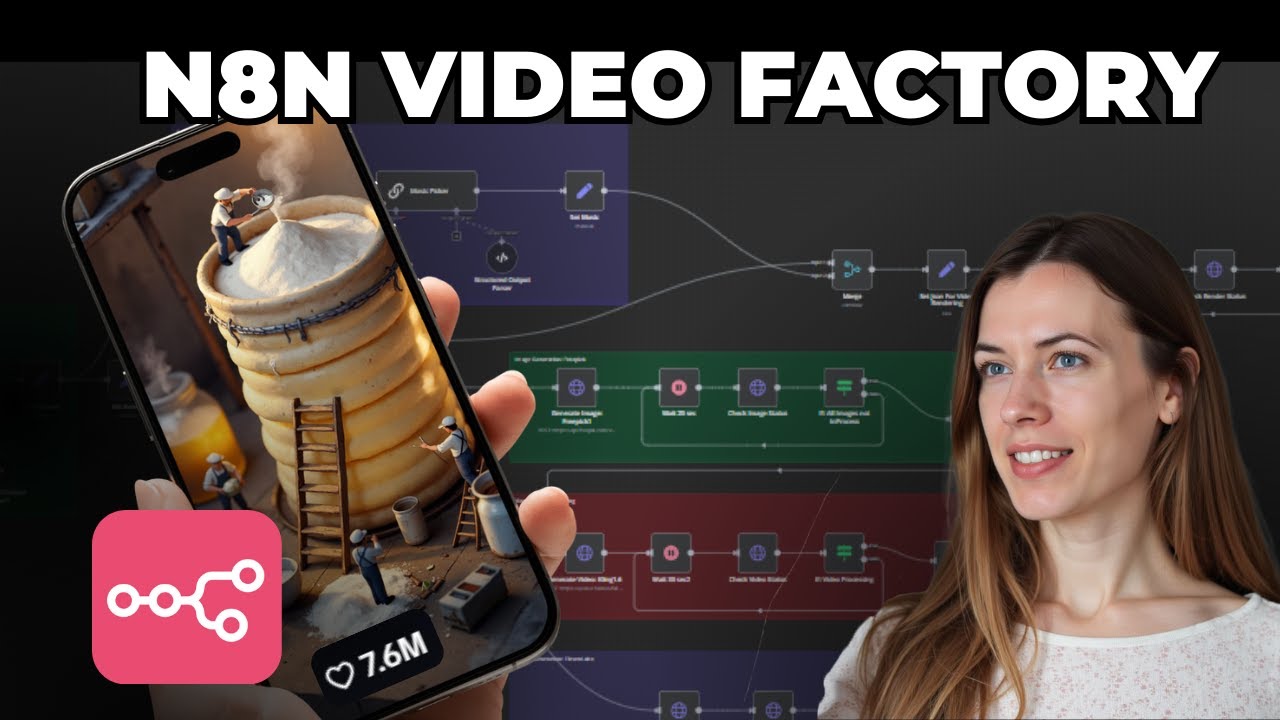
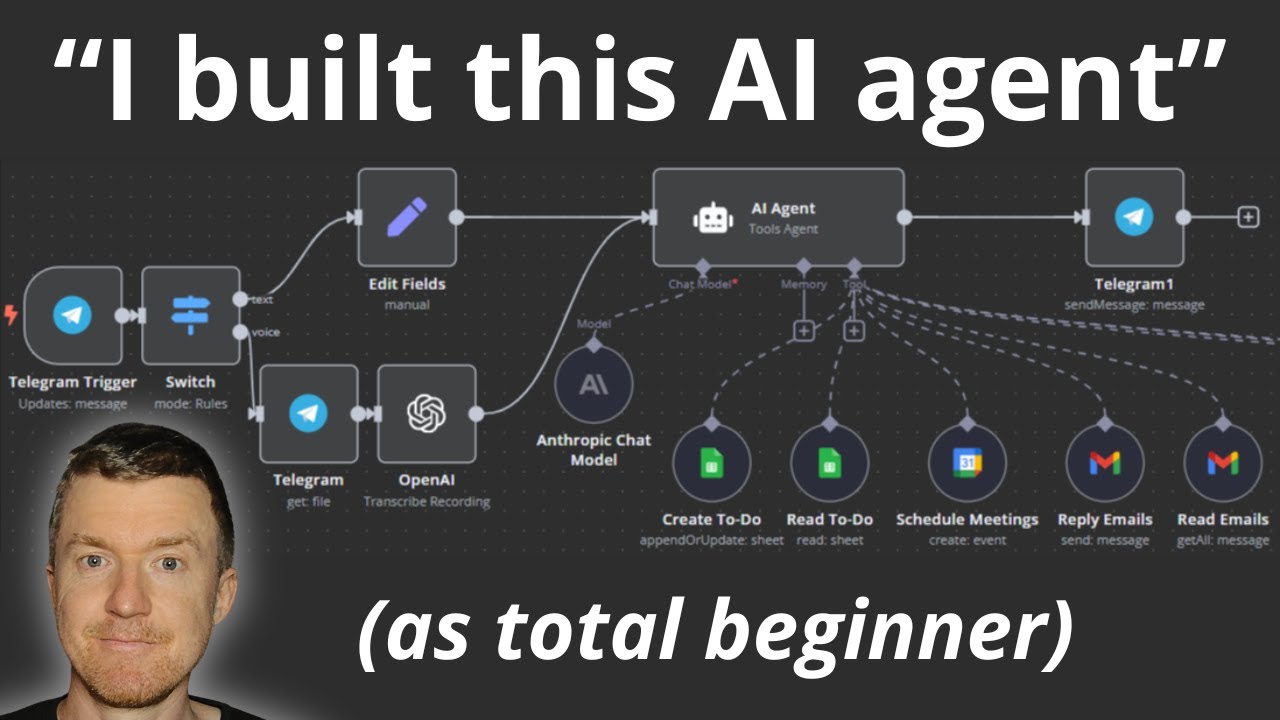
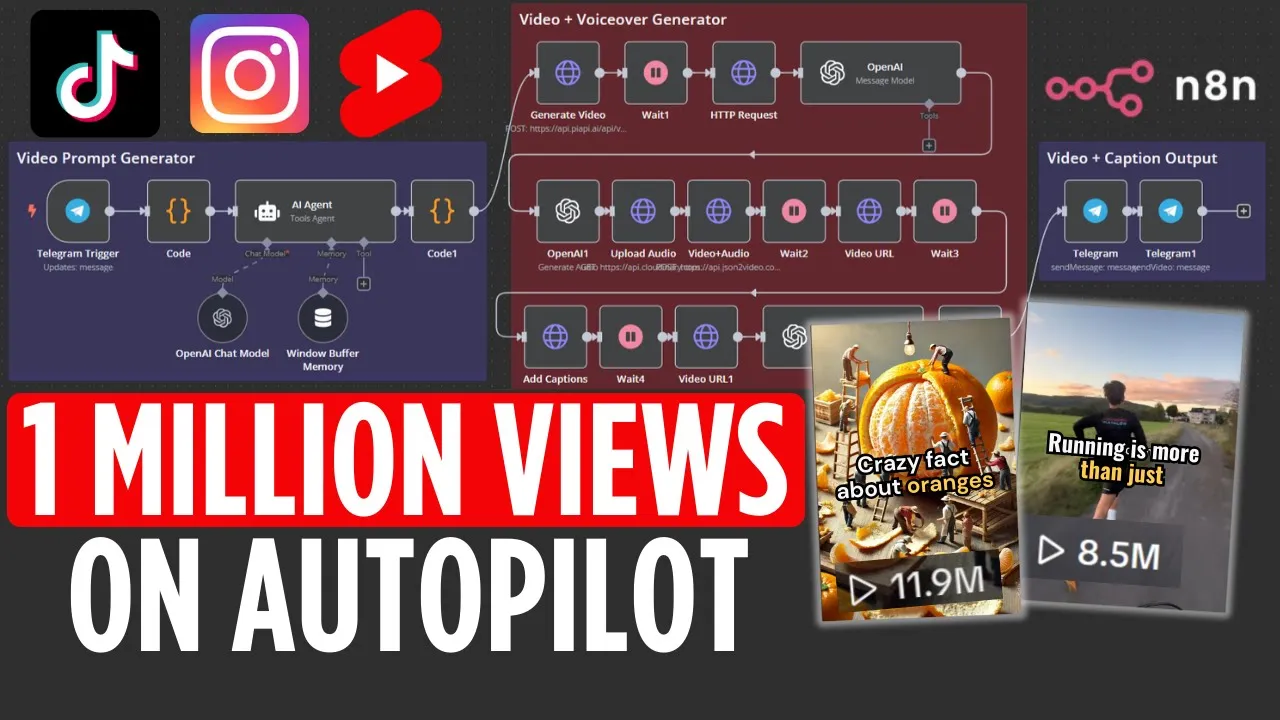
Videos like this and this are getting millions of views. This AI agent generates and publishes viral style videos 100% automatic. Just send a message with the type of video you want.
The AI agent generates the video, adds voice over and subtitles. They boost the immune system due to high vitamin C, social media captions, and publishes everything according to your posting plan to Instagram reels, Tik Tok, and YouTube shorts. If you're still manually creating videos for social media, you're wasting time.
Even if you already use AI tools, there is still lots of manual work required until a new video is published. That's why I automated the entire process. All you have to do is send a message on your phone and it's done.
Today, you'll learn exactly how to build this AI system. If you want to skip the setup and get this AI system running instantly, you can grab my pre-built AI automation and agent templates. It's available inside my AI automations and agents template subscription where you get ready to use workflows and blueprints for AI systems like this.
Stick around till the end because I'll break down exactly how much this automated system costs you to run. Even if you're not on your computer right now, make sure to watch this till the end as this will give you a huge advantage over everybody else. You see exactly how AI agents and automations work, how to build them quickly without coding.
so you can use them to automate your manual work and save hours each week or sell it as a service. You will find all the resources mentioned in this video below in the description of this video. Our first step is to set up a NIN account if you don't already have one.
This is the automation/AI agent platform that we're going to use to build this automation. So, you can just click on get started for free if you don't already have an account. Sign up and start your 14-day free trial.
This is how your dashboard will look. If you don't have any workflows created yet, this will likely be empty. So, we click on create a workflow.
And our first step is to add a trigger. This is the starting point of our automation. And we're going to use a telegram trigger.
Telegram is a messaging application that you can use on your computer or on your phone to have a chat interface and that's exactly the interface we want to communicate with our AI agents and automation. So here you need to click on create and need credentials. Now, first, if you don't already have a Telegram account, then you need to create one and then you have these two options.
You would download it to your phone, and I would also download it to your computer because this makes it easier to switch back and forth between building our automation and testing it. So, you download it, then you activate the account. It's all free.
And then here, I type in Telegram because I've already installed it on my computer. And here we go into the search field. Now I type in bot father.
This is the chatbot that we use to manage our account. And here I just click on start. So let's scroll a little bit to the top here and select new bot.
Now I need to give the bot a name. I will just call it viral style video. And then I need to give it a bot name.
So I will just use the same name here and just attach the word bot. and then click enter. And now here I get the credentials I need.
Use this token. Okay, that's what we put in here. And click save.
And then it should turn green in a few seconds. And then we can start a quick test run. Now we can test it.
So let's go back here. Click on test workflow. Now to get to our bot, we need to click this link and then it opens this chat field.
And then we click on start. And then we see there is a green check mark. This means it's now connected and we have received the message.
So now we can continue building our workflow. Now how do I want to trigger my automation? Like we want to create a video in the end that gets published.
So the video should have a description. So I need to tell my what my AI agent what the video should be. And I also want to have a a sort of text in the video like you see here and a voice over.
And so I also want to specify that. So basically I will first just um define the message the the initial command that I need to put in there. So the command is to generate a video and then comes the description of the video.
So for example I could say a man running across a [Music] mountain ridge in the winter. And with this video generation tool, I can also specify what should be the camera angle. So I can say in with camera position in aerial view for example.
You could also um pick anything you want. And then I set a comma and after the comma comes the caption text. So the text that's shown on the video.
And here this is not something I generate. So I also have like this video description will should be turned into a proper and then I put in a comma and now I need to describe okay what should the text be for in the video that should be shown on the video and I will just say hey uh quick quick tip for trail runners in winter for example like this could be my command message and now what I need to do I need put in a a module here that separates those um things that separates me the video description and the text for the video because I need to process them separately and this will get clearer as we build this out. So when I submit it in test workflow I see the message appears here in one block of text.
So I need to separate this and to do this I use a code block. Uh no worry I'm not going to program anything because I've already prepared this here in my resource document. You see here I've already have the function called split function.
I didn't program this but I just used chat GPT to give this to me. And now I need to make sure okay this works. And now when I click on test you will see the message is now split into video prompt and the caption idea.
And this is how I can now further process this. And now comes already the AI agent and its only task is to take my video prompt and turn it into a proper prompt for my specific video tool. And I'm using the video tool called cling AI that I connect to my workflow.
And this video tool has certain prompts. So certain parameters you need to include in the prompt to get a proper video out. And I've already prepared this uh specific instructions.
So let's first um continue here. I need to click the source prompt define below. So this is the prompt.
And here I will just drag in my video prompt. And now here comes the important part the system message. Here I enter custom instructions.
So I've already prepared this and we'll just grab this here. And this comes in here. Now let me expand this allowing to switch it to expression.
Let me expand this. And now here is the instructions. You are a prompt writing assistant for the texttovideo AI generator cling AI.
Right? This is my texttovideo AI generator. And I will just tell it hey your job is to take the short input from the user which is the video prompt and generate an effective video generation prompt.
So this AI agent doesn't create the video yet but it prepares the prompt that we will feed into cling AI to generate the video out of it and also give it a few prompt examples so it knows okay what must be included in the prompt. How must the motion be described, the camera angle and so on and then a stepby-step guide for building this prompt. And then like that's it.
And now before I can continue, I need to add a chat model. This is the AI brain that makes the agent basically work. So I will just use OpenAI, but you could use anything you want.
Now here if you haven't connected an account you need to click on create a new credential and you will get your openai key from platform. openai. com openi.
com you can sign up for an account for free and then you can use the same uh username and password you have for chat GBT and then you go to settings first you need to add um a little bit of credit like $5 and then you go to API keys and then you click on create a new key and then I will just give it a random test name viral video maker demo select default project create secret key copy the key and place it in here and click on save. That's all we need to do here. Now I need to select a model.
I have the best results with GPD40. But we could then I have this. Now I have two more elements.
I could add a memory. So if I would add a memory for example like this one window buffer memory I would to select define below and as a key I drag in the chat ID. And here's the context window length.
this is basically how many past interactions should it remember so my I agent could basically keep track of all the conversations or of the last 20 50 or whatever um I've already had like and use this as a context for future references or future video generations but since I'm only building a basic fully automated version I don't really need this memory now here you could also add tools like AI agent give it access to tools to complete certain tasks I'm also not going to need this for this workflow so I will just continue or before Before we continue, let's do a test run. So I will double click on it and click on test step. And then it should basically turn this into the video prompt.
And you see here, this is what comes out of it. Aerial view of a man in a red jacket, black pants running along a snow mountain ridge. And now we will turn this into an actual video.
But before we do that, I want to add another function because I want to give every video we generate an a certain ID so I can later identify in my database. So I add another code here which will just generate a random ID for myself. I think it's here.
Yes. So it's just copy that. Paste this in here.
And when I test it, it will just generate this ID which will then be added to the video which will be stored in the Google sheet database later. Now I can already start to add my video generation. note here and what I need here I need to select post now here's a URL we need to get to the b to the top here and here I need to click on pi API now pi API is like a service where you have access to different API tools like video generation tools audio tools image generation tool and so on and can you can all manage it from one platform and that's what we're going to use to keep things simple now before you start you can set up a free account and you get a few credits but you may need to add a few credits in your billing account.
So here you will just click on um top up with Stripe or with whatever and then you will add $5 and then you go to API keys and this is what we need here. So you can just click on create a new key. So you could give it a name while video creator create a new key and then it will be added here and then I will copy this key and then now before I need this key I need to actually go back here and I need to go let's rightclick and open that in a new window because first I need to go to run API.
So this is clinging AI. This is basically the AI video service here we can use via an API to create an a more automated system. And here we copy this URL and paste it in here.
And here I need to use generic credential type and I use header or and here I click on create a new credential and as a name and I have a value and as a name I need this here X API key. This is my name and as a value I can now use my API key here. Copy that.
Paste it in here. Click save. Now I scroll to the bottom.
Select send body. Specify body. Use JSON.
Now go back into my document. Now I need to send the code that will generate the video for me. So let's just grab this and paste it in here.
Switch to expressions. Let's expand this. And you see here it's going to use this prompt that our I agent generated to create the video.
Now here are a few parameters you can set for the video that is generated like the formatting um 9 to 16 which is like the vertical format for all the short form videos for Instagram, Tik Tok and YouTube shorts. The duration can either be 5 seconds or 10 seconds. And that's the only thing really need to understand.
You can change this if you want to, but I will just leave it as it is. So I will go back and click save. And now to generate this video, you can see here it takes around five to six minutes to generate the video.
Um, so I need to before I can move forward, I need to wait for at least 6 minutes so that the video is processed completely. So I need to switch this to six and then turn this to minutes and then I go back and click save. Now next after the video is finished I need to get the URL from it and I use another HTTP request module here and here I have get another URL.
I have the same O I have here. The only difference is I need to add a slash and here comes an ID. Now authentication I will select generic type and I will select header O again and this is the account I've just connected and here as an option I need to select response and the response should be JSON.
Now before I can continue I would need to do a test run so I can match this module here. So let's click on test workflow and I will just submit this prompt again. And then I have to wait for six minutes.
Now while I'm waiting I will already rename a few of these things here. So this is the generate video. Then it's easier in the next step to find the right parameters here.
It's to get the video video URL. Here this is video ID generator. Here it's the split function.
And here we have the agent video prompt. Now it is complete. Obviously I get an error here because I need to match the correct ID, the task ID.
So, I need to drag this over here. Need to make sure there's no space. And if I click on test step now, I should get the URL here.
As you see, and if I open that, this will give me the video. As you see here, it's a person running across a mountain ridge and in an aerial view, which is exactly what my prompt was. So, now we can continue.
The next step is to add a voice over generator. So I will get another AI module from OpenAI which is to message a model. And here I will just select the OpenAI account.
I have just connected. Um if you have only one connected it's fine. Just select one that is connected.
Select the model GPD4. Now here I need to specify the prompt for my voice over. I've already done this in my script here and there's here we need to switch this to expression.
Now here's a key thing here. If I remove this and if I would try to match this directly from this you see here this is my caption idea that comes from my initial command that is extracted like this is that part here. it will give me an error and it will tell me hey try using first or last or whatever and it will click on ask assistant and then it could even fix it for you.
So you see here this is the corrected one. So you could use that or just the one you copied from mine. But to get mine to work you basically need to have the exact naming I have also.
So the function is called split here and the variable name is caption idea and then it works. Now here it basically generates the text for the voice over and it should be around 7 second long. So it will just estimate a certain word count that it would think would match this criteria because our video is se is is like 10 seconds long.
Um you can play around between seven to 8 seconds so that the voice over audio doesn't get longer than the video. That's what I want to avoid. That's why I'm more a little bit conservative with the text length.
And now when I click on test, it should generate the voice over text for me as you see here. And if I would switch this to 8 seconds, normally the text should be a little bit longer. A little bit longer.
You see here. Okay, that's enough. My next step, I want to generate the audio.
I will do this with OpenAI again because you can also generate an audio with that. Here I can select any model I want. And here I will just use that content of the voice over I just generated.
Here you can select and try different voices. And that's it. If I click on test step, it will generate an MP3 file for me.
But to use the file and integrate it with the video I've created because here I want the voice over. I need to upload the video and make it available somewhere via a link. And to do this, I need another HTTP request and I need a service to upload the videos towards like an online storage service that I can use basically for free which is Claudinary.
So you click on that link here. You can sign up for a free account. Now I'm in my Claudinary account.
Now let's first go back to my workflow here. I actually need the operation get and here I need to put in a URL. I've already prepared this here at the this part.
This is what I need to put in there that and here I need to insert my clinary ID and this is basically what is up here. So I will would just select this and copy that paste that in here. Now here is a authentication I need generic credential type.
I need basic or and here I will click on create a new credential. Here I need to enter user and password. Now I find this under settings and here I go to API keys and there you can create a new key.
Then you first will receive an email with a confirmation code and once you've entered this you can create a new API key. So I've already done this and here the API key goes in user. Then I need the API secret.
Now to get this I also need to enter my confirmation code I received via email and then I can copy that and I pasted it in here and then I click on save and then it will show up here and it's selected and here I need to go to send body content type is form data the parameter type is binary file the name is file and the input data field that's this here is just data Now I need to add another parameter here which is form data. The name is upload preset. And before I can enter a value here, I need to create a preset.
And I do this under upload add upload preset. I give it a name. For example, something like this.
The signing mode should be unsigned. Then I click on save and then I copy that paste it in here and then I click on test step and then it should upload this file. Okay.
Unknown API key one I see already because I have a spelling mistake here. So now it should work. Yep.
And you see here is the URL to the uploaded voiceover text. Stay warm but choose breathable fabrics. Now I see it's 7 seconds long.
So I would actually even go back to my voice over text over voice over text generator. I would even switch this maybe even to yeah let's try just 10 seconds. And then if I click on test step the text should be a little bit longer.
And next I want to get this voice over and combine it into this video. And to do this I use another HTTP request. Here I select post.
And now I need to use a video generator API service. Let's go to the top because here I have it's called JSON to video. Here you can click on get your API key for free because this is what we also will need next.
But the first thing we need is this URL. It's somewhere here. Yes, this is what I need.
So we are here now. Merge audio plus video. So I need to go on here put in this URL and authentication.
I need generic credential type. Here I need custom O. And here I need to select create new credential.
And here I need to add this JSON code here. And here you need to put in my API key. And you get the API key by here.
API keys. Copy the key. Paste it in here and click save.
Now we're going to send body. Select using JSON. And here we will type in this piece of code here which will merge our video with our voice.
Switch it to expressions. Now here first I need to execute the previous node. And I see here because what I need is I need two things.
I need the video link and I need the audio. So here I have the audio now the video link. I need to match properly.
So, let's delete this. Now, where do I have the video URL? Here we have it.
So, it's here. Grab it, place it in here, and when this turns green, it's done. And that's all I need to do here.
Now here I can already click test the node and then the video will be generated. But this can also take like 30 seconds. So I will also add a weight node here of like 30 seconds and after that I need to again get the video URL.
So HTTP request here I let select get and what I need here is the URL and I get this from here as on theation I also use generic and here I select custom off because I've already connected this. Now here I need to match the project ID. I first switch it to expression.
Click on execute the previous node which means I need to wait for 30 seconds. And now it even turns green. So it's got it correctly.
And now I click on test step. And now it gives me the video URL which should contain the voice over for winter trail running. Now let's go back and continue because the next thing I want to generate the captions and add it to the video.
But I will also first add a weight because sometimes it can take a few seconds before the video URL is downloaded. So I take put in another one. And now we add another HTTP request for another JSON to video node because JSON to video can also add captions so subtitles to the video.
So here I click on post. Then I need to enter the URL. So I already have this prepared here.
plug in here. Authentication if you you already know this by now. Custom off.
Great. Now here send body. We need to select using JSON.
Go to my resource document and here I select this whole piece of code which will generate captions for my video using the voice over I have generated. So the only thing I need to make sure is the movie URL turn screen. And to do this I will first click on execute previous nodes.
Wait for 20 seconds. Now here you can see this and it's already turned green. Great.
So I can now click on test step. Now this is still under process. So it can also take like a few seconds like maybe 30 seconds before the video is processed.
So I will add this waiting time and go back. And then I need to get the video URL again. HTTP request.
Here I have get. And now the video URL is also this one that contains the project ID. Switch to expression and then authentication generic and custom O.
Then I click on test step. And now it has turned green. And we're already getting the finished video URL.
Let's open it. And it should now contain the text also as you see the text and the voice. So this is now our finished video.
And the only thing we need now is I want to also include a caption text like a social media text for my social media post which contains the video and the text. So that's the social media caption. So I will do this by adding another AI.
Not this one. This is the wrong one. So okay, let's just grab this, duplicate it, connect it, and just switch out the prompt because now I have the prompt to generate the social media captions based on the voice over text.
So enter this here. Now here let's go back. Now here I need to find the voice over text.
So where do I have this? Let's go to schema. The voice over text is here.
And then when I click on test step, it will generate the caption for me. Yep. And now I want to save all of the things I've created the video and a caption into a Google sheet.
I will select sheet append row in sheet. Now before I continue, I go back to my resource document because I've prepared a powerful Google sheet template for you because after we have generated our video, we want to publish it. And this handles this for us to publish it to Tik Tok, Instagram, and to YouTube Shorts.
We need this Google sheet which I have a little bit customized with a little script and program because it allows me to set us my posting schedule like how many videos do I want to be published on a day and during which time period and here I can save my videos. So let's just rename this to setup demo 123 and then I need to go back and now I need to connect my Google account. Click on create a credential.
And now before you sign in, make sure it's the same account that you have this Google sheet in if you have several Google accounts. So I click on sign in. Then select the one I have connected to my Google sheet.
And that's it. And now I can select from the dropdown my Google sheet. And here from the list I need to select videos.
Now I can match the columns. So these are the columns I have in my Google sheet. And now I need to just fill it with the information here.
I have video ID. That's this one here. Let's see what I have next.
I think it's video URL should come. I need the one that is with the caption. So I think that's this one.
I need to use this video URL. That's the one with the caption and the voice over. Right.
Schedule date. I don't need this. Status.
I don't need this caption text. That's my voice over text. No, that's caption text I have here.
Great. And now when I click on test step, it should now save this information to my sheet. Great.
And now I also want to receive a telegram message back when it's done. So click on add. Telegram.
I want to have send a text message here. Select my telegram account. Chat ID.
That's the ID that we have at the start. And there's a text. I've already prepared some template.
It's at the bottom here. That's this one. So, we have caption text and video link.
Let's just check if this is the correct video link here with the voice over and the text. Appropriately moisture wicking fabrics and grippy waterproof shoes for safety. Yes, it's there.
Now I can go back. Before I click on test, I will add another telegram because I also want to receive the video directly in Telegram. So I can take a look.
So I will here go to send a video again I need the chat ID but first I need to execute the previous node and there I will again need the chat ID which I can grab from here and then I need the video URL which is this here. Then when I click on test step, I should [Music] also receive the video. Okay, I need to select the right Telegram account, this one, because I have so many.
And now you see this is the message I will receive once my video is generated. And now the only thing left to do is to get it to published on Tik Tok, Instagram, and YouTube Shorts. And that's what we will set up next.
Let's go back to my resource document because I will not do this in N8N because there's a simpler way to do this. This is this which is less technical. You use Sapia.
You can sign up for a free account under sapier. com. Then you click on create.
You click on SAPS. Now here it's a similar workflow process. So logic first we have a trigger.
In this case we want the Google sheet. the one I have created here where all this information about my video is stored. Here you need to if you haven't already connected your account, you need to connect your account.
So just click on connect account and then you just sign in with the account where this Google sheet is in. Click on allow and then this will be loaded. Next here select this as a trigger.
Continue. Spreadsheet name. Let's go back.
Okay, there's some. Let's go back here. Spreadsheet name.
The worksheet is videos and the trigger column is schedule date. So once a date is added. So where does the schedule date come from?
It actually comes from our Google sheet. It will normally schedule all the videos that are added according to our plan. But to activate it, we need to click on authorize and complete the authorization process.
Select a Google account. Click on advanced and select select this link here at the bottom. Click on allow.
And now we need to click on install trigger. So here install trigger. Great.
And now in the next minute there will appear schedule date. So now let's continue in the meantime with this one. Click on test trigger.
Now if I go back you see now the video was scheduled. So this is good. This is what we need.
And now it has found a new record here. Con continue with record. And now as a next step we need to use buffer.
And before we can use this we need to go to this link buffer. com. Buffer is just a a social media scheduling platform which we can use.
You can set up a free account and then you can get in here and we can then also connect the accounts of social media we want our videos to be published towards. But first let's click on here add to Q account. Here you just connect a new account.
I will just connect to the account you have just logged in in buffer. Right now let's continue. Now organization just select this.
We don't need tags. Now here in the channel we need to add okay the social media platform we want to be published towards and here I can just click on connect a channel and then I for example I could start with Instagram connect to Instagram but I have a professional Instagram account. Click on admit or allow and then it will be added.
Click on finish connection. And then I can already remain this to Instagram and then I should be able if I refresh results to load it. Yep.
Now the text. Okay. Here I can select post type.
So you can select real whatever you want. So here I can say the text. I will just map the field from this is the caption text.
Now the video this is just the video URL. Share to feed method is schedule posts. And now for schedule posts, I need to match the schedule time as well, which is this.
And then I click on continue. And then I need to click on test step. And now it will send this video to buffer and schedule it for me.
So it should then show up here. And you see it's already appearing. You see this is the video and the caption.
So this works. Now I can click on publish and then this will be set up. And now I will connect the other accounts.
So go to my sets. Next I will connect Tik Tok. So duplicate, duplicate and edit.
In the meantime I can go on here, show credentials, connect Tik Tok. Click on finish connection. And then Tik Tok will be added.
So I can go back here, rename this Tik Tok. Now I go into the buffer module here and here I need to click continue and here under channel I will now have the ability to select Tik Tok account. Now the caption text is mapped, the video is mapped is this is good.
I click on remove extra field. continue test step and then it should be sent to Tik Tok account here in the scheduling in my schedule. Yes, you see here it just appeared and it was scheduled at 10:00 a.
m. for tomorrow, April 4th, which is the exact date here for my plan. Now, click on publish.
I need to go to my steps again back here. And now we'll also set up YouTube. So duplicate this again.
Duplicate and edit. Go over here. Show more.
Connect YouTube. Select my Google account where I have my YouTube channel. And then I will just select one.
Click on continue. Then go in here. Continue.
Rename this to YouTube. Let's see if it already appears. Not yet.
So, it's not finished. I need to finish connection. Now, it should work.
Yep. Now, here the only extra thing I have on YouTube, I have a title. So, I would just type in watch this because I don't have a custom title for this.
here. Select the category and that's it. Click on test step and then it should be scheduled here the YouTube.
Yes, you see here the video also is here scheduled to my YouTube shorts. Great. So now click on publish.
go to zaps. Now all of this is activated and everything is set up. So I will now go back to my workflow and what I will now do is before I would like launch it, you would need define okay how many videos do you want to be published?
Right? For example, if I want two videos a day, um, between 8:00 a. m.
to 11:00 p. m. , right, this is my schedule.
Then all the videos that are generated will be distributed according to my schedule over the next few days. Now here I need to switch this to active. Okay.
So I will open my Telegram account. there. I will just just start typing in generate video and then I will need to define okay what video do I want?
A man running through a desert and the camera should be from 6 in and from the front of the man. Then I need to specify my captions. My caption should be a quick tip for trail running beginners for running on sand.
And then I will just submit the message. And then let's quickly go in here back. And what I want to do in the meantime as I wait I want to switch this to executions so I can follow along.
You see it's already running. And there I can follow along where it is at the moment. So here it needs to wait for 6 minutes until the video is generated.
Now I see everything worked well here. All the check boxes are green. And also on my phone I see the caption was generated.
And here the video shorten your strides to boost balance and reduce fatigue. So it was generated. Great.
So now let's check my sheet here to my video to see. Yes, it was scheduled. Great.
So to for the next time slot and now I need to go to my buffer. I reload it and see if they were scheduled to all these platforms. Okay, I see they haven't appeared yet.
This could be that this just takes a little bit of processing time. Now I can see these were scheduled. Now the only thing missing is the YouTube thing but it's also already showing up here.
So here I see the video for trail running. Great. So the process works.
So the only final thing to do there are two things. First if you go in there you see the video still has some watermarks from JSON to video. And to remove this, you need to go to credits.
I need to go to topup credits. And there you need to select the paid plan. So you can basically so you can select a a prepaid plan.
You only pay like $49. 95 and you get 7,200 credits. And this gives you enough credits to generate like over 700 10-second videos.
So this will last you a long time, several months at least, depending how many videos you publish per month. And then the watermark is removed. And the other step we need is here for our PI API for cling API video generation.
It cost us like 25 cents to generate video. I will give you a breakdown of all the costs um in a second. And here you need to go to seconds settings and I need to go to billing and there if you want to run this continuously.
I would switch this to on. So here auto top up. So we will always have enough buildings to have no interruptions interruptions in your video generation workflow.
And then once you've done this everything is set up and everything will work continuously. Now as a final step we will go through okay how much does it cost and I will give you two options. One is the standard version that we have just set up and one is the budget version.
Now the first thing we have here different volume of videos created per month. So the first we have like 30 videos to one platform, 30 videos to three platforms and so on. The only difference between one platform like posting only to for example Instagram and posting to three different platforms and once is basically um Sapia the publishing um automation because here with Sapia you get around on the free plan as you see here you get a 100 tasks um and allow publishing to one platform is like two tasks.
So it costs like two tasks to publish a video. And that's why if you have like three platforms, you have like more tasks. So three platforms times six, six tasks per video is like 100 tasks a month.
This means you need to upgrade to the next plan. And the next plan in Sapia is $28. And that's how why I have divided this up into one platform and three platforms.
So you can decide for yourself. And now let's go through the the cost a little bit quickly. Here are all the tools we are using.
Cling API to generate the initial video. And here one video costs you around 50 cents. So for 30 videos like $50 a month, 90 videos $46.
For 150 videos, like five videos a day, $78 a month. Now OpenAI, we just use it to generate the captions and the video prompt is like 18 cents. So it's all it costs only a few cents.
So, OpenAI text to speech to generate a voice over is like only also a few cents. It's even cheaper than the one above. Now, Claudinary where we host our um files, it's free.
Jason to video um that costs you around like 10 credits um a video and I've calculated this in terms of dollars. How much would it cost you? like $2 for 30 videos and $6 for 90 and $10 $10 for 150 videos are also relatively cheap.
Now see here we have here the cost breakdown. So here when you have three platforms and 30 videos you need to upgrade to the next plan which is $28. And you can keep this plan for pretty much until you want to publish 150 videos to three platforms.
Then you need to upgrade to the next plan. Then for buffer um you if you want unlimited scheduling then it cost you $6. You can schedule unlimited number of videos in advance.
So you can generate them in bulk and all the time. This cost you $6 and it stays the same. Now for NN um you have like a free trial for 14 days where you can test the entire automation.
Then it requires you to pay $24 and you get 2500 executions and one execution is just one video in our case, one video generated. So that's one execution. So you can generate like 2,500 videos a month and the cost therefore stays the same at $24.
Now the total cost for these different video volumes is like $74 for 30 videos in one platform. 76 for 30 views on three platforms 111 for 90 videos on one platform stays the same also for like three platforms because Sapia is the same. That's the only cost change.
And here like $150 450 videos like around $1 per video. Um if you want 150 videos on three platforms $145 per video and like over $216 a month. Now this is the normal plan based on what we've set up.
Now this is still fairly cheap like given how much time it would save you like to generate 150 videos manually um versus to generate them in bulk which is within automation we've set up. However, I also created a budget friendly option for you. And here what we remove is you can remove basically Nadn um the Nadn cost if you install it self-hosted because you can host it on your computer locally and then you don't have to pay the monthly fee.
However, it's a little bit technical to set up. That's why it's uh it requires you to invest some time. So, you have to spend some time to figure this out.
But then it would not cost you anything and the cost would be removed. Or the other thing I removed is Sapia. So the budget friendly option means you have no longer a fully automated publishing process.
So you need to publish the videos manually. So you would go into your Telegram, you would grab the link, download the video to your phone and then copy and paste this to these different platforms from your phone. So and then the SP cost is removed and then the costs are reduced um correspondingly.
So for 30 videos, one platform, the self-hosted cost you like only $18 a month. Um, even for three platforms because it no longer matters because SPA is no longer there, right? So three or one platform.
So you can always like publish to three platforms because you do it manually from your phone. It cost you like $50 for 90 videos and like $90 for 150 videos. And and another thing I have reduced is the cost for buffer because with buffer on the free plan you can schedule up to like 10 videos in advance and then you have to wait again until those videos are published.
So that is also an option. If you want to remove that cost then you will only be able to publish 10 videos in advance or schedule them and then this cost is also removed. And so this is the budget friendly option.
In the next video, I will show you how you can build an automated process that allows you to upload your own image and turn them into a video and publish it automatically. So, like this video and make sure to subscribe and hit the notification bell so you don't miss this next video.