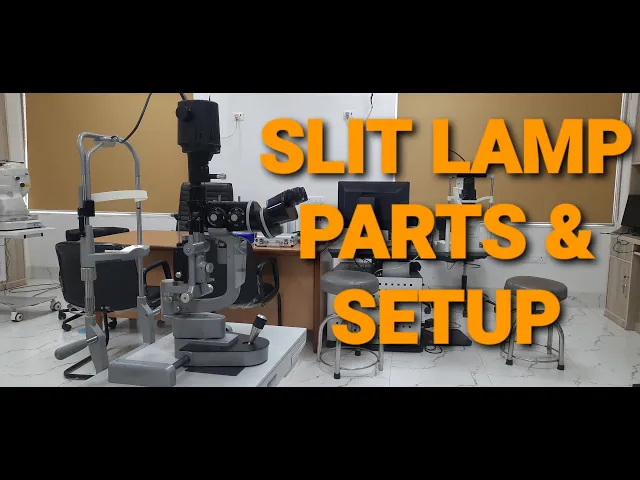
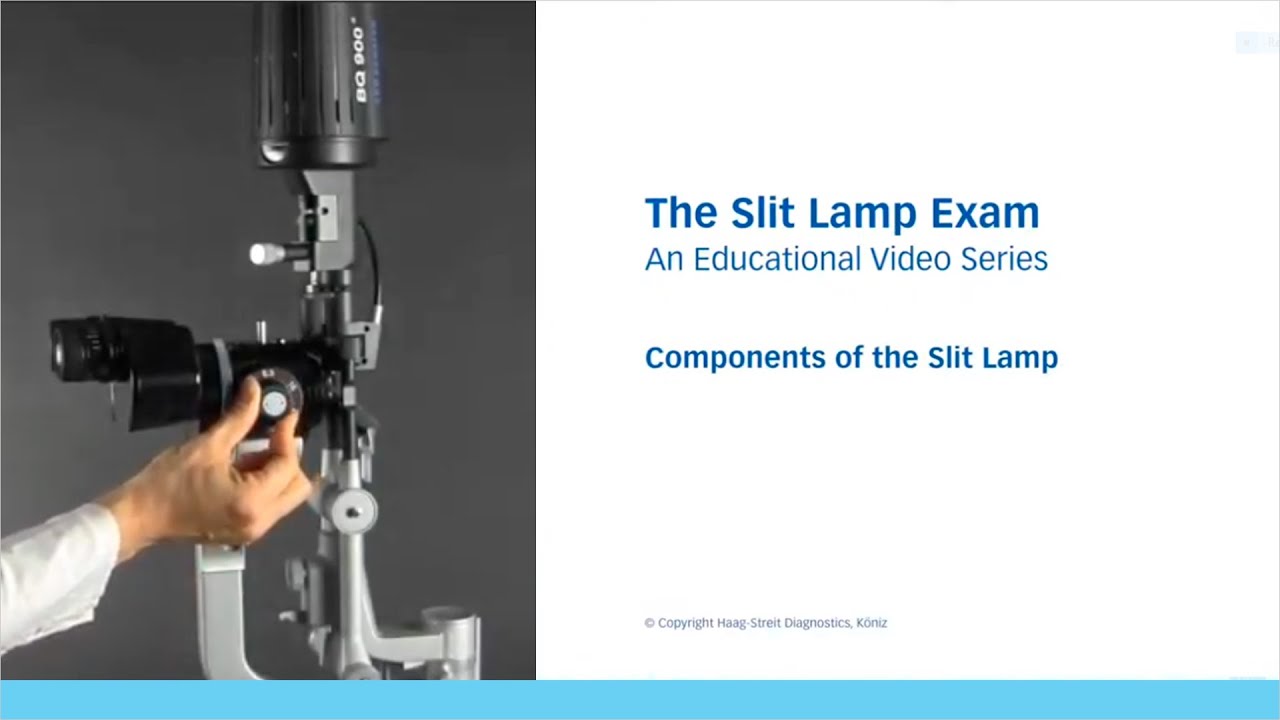
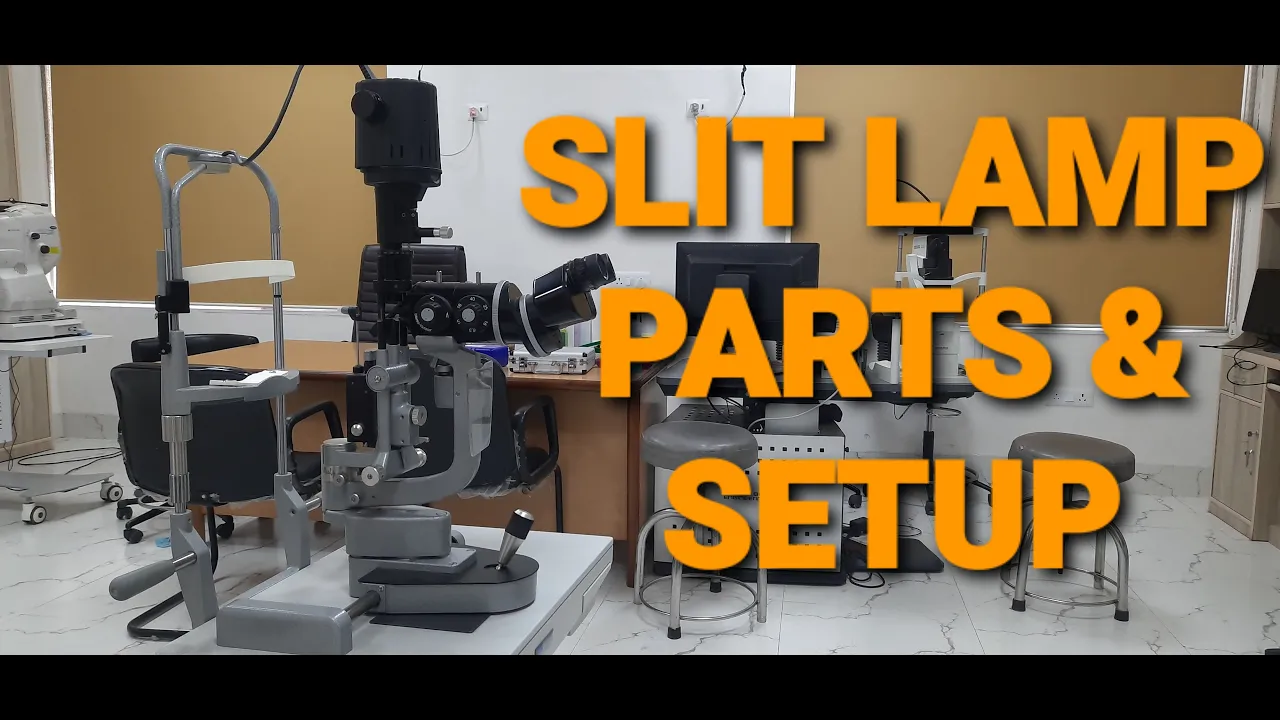
[Music] [Music] [Music] [Music] welcome to the first part of video series of slit lamp in this video we will cover the parts of slit so let's just this is motorized table on which the slit lamp is mount as we go upward slowly in the middle of the table there is a button which is used to up and down the slit lamp according to the height of the patient like this up and down it is shifted up and down by pressing the button as you see in the video this is joyce it is used to move
the slit lamp in various direction according to the adjustment of patient by using the joystick the slit lamp is moved backward like this forward left and in the right hand side by rotating the joystick in clockwise direction the slit lamp is move upward and anti-clockwise it is move towards the downside towards the right side of the slide lamp there is a small screw which is called locking screw it is used to lock the slit lamp when it is not in use by rotating in count clockwise now you cannot move the slit lamp even after moving
the joystick it is very useful during the transportation let's just unlock the after unlocking the screw it is easily move in the desired direction there is one more locking screw on the all three coaxial arm of slit lamp which is used to lock all the three arms now all the arms of slit lamp are locked and not moving independently when you unlock the screw the arms are moving independently like this now you can move each and each of the three arms irrespective of each other there is one more lever on the illumination arm it is
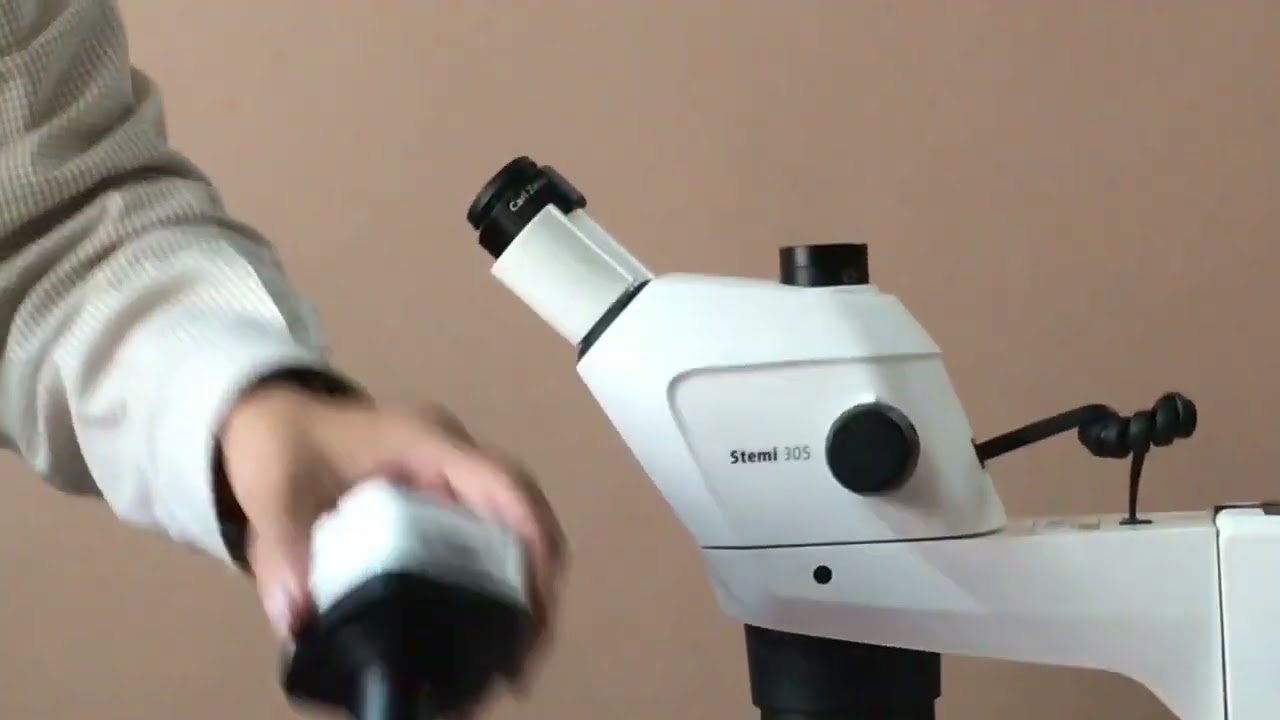
used to incline the position of illumination arm during the examination of aqueous floaters or cells which can be better enhanced with this method like this it has three steps and you can set in just above the lever there is one more circular screw as you can see it is used to tilt slightly tilt the angle of the illumination arm like in left and right position which is used for the better enhancement fundus and gonioscopy this is observation arm through which the examiner is examining the patient's eye it has two eyepiece right and left this is
a left one this is the right one and it has scales above it which is used to adjust the eyepiece according to the refractive error of of examiner by rotating the knob of if each eyepiece if the examiner is imotropic then it is adjusted on the zero scale which gives the better view and after adjusting the knob the ipd is adjusted as you can see there are two knobs on in the observation of the first one this one is used to adjust the magnification according to the illumination at different level like 16x 40x 25x again
16 by rotating it counter and clockwise 10 the second knob is and this one is used to enhance the stereo equity but it is very minimal it is useful during posterior segment examination or fundus examination and gonioscopy there are two marks which have only difference of three degrees which is very minor which is appreciable during the posterior segment fundus examination now let's just just come to the illumination up this is the overview of illumination as you can see in the video there is a scale here which shows the angle between observation and elimination arm it
has marking from 0 to 90 degree useful to set the angle between observation and illumination this knob is used to adjust the width of the slit during examination it has scale from 0 to mm by rotating it slowly in clockwise and counterclockwise direction like this as you can see in the video again this the bottom lever is used to incline the whole uh illumination arm as we have discussed earlier like this it has been three steps in this knob is used to uh adjust the illumination arm right slightly right and left direction during oscar segment
examination for a better enhancement of this is the reflecting mirror through which the light passes and goes to the patient eye and illuminate the patient's eye just above this uh reflecting mirror there is a one more scale which shows the angle between 0 to 180 degree it is used to rotate the direction of slit during different type of illumination and this knob by rotating this now this knob is used to adjust the height of slit beam just above this knob there is one more lever which is used to change the filters of slit lamp there
are four spaces force which appears to be circular the first one has uh normal light the second one is neutral density filter and the third one is in red free filter and the fourth one has no filters as it is shown by the dotted lines so you can change the filters by shifting this knob in different four directions as it is mark on the illumination arm this part is used for the fixation of for the patient it has a circular fixation target which is used to fix the patient die like as you can see the
circular target dot in the center the patient is asked to look at the dot and it is adjusted like this when the slit lamp is on this uh the circular target appears to the patient and a patient can be instructed to see inside it and it is adjusted according to the patient refractive as it is shown in the scale it has set up for the high myop high high probes or even emitter are shown in the scale from 0 to plus 10 and 0 to minus 10 this is the application tonometer which is attached as
an accessory and it has a scale from eight these are the hand rest both on the right and left side which is used by the patient for the proper positioning of the chin and this is the chin rest where patient has to put his or her chin and this is the rotating knob it can be adjusted up and down by rotating the knob in anti-clockwise clockwise like this but now it is goes to downward and it is adjusted according to the patient's height this is headrest on which the head head is rested and this these
black marks are used to align the canthus for proper positioning during the examination of patient it is on both sides so these it is very important that cantor should be aligned these black marks for proper positioning of the patient after it