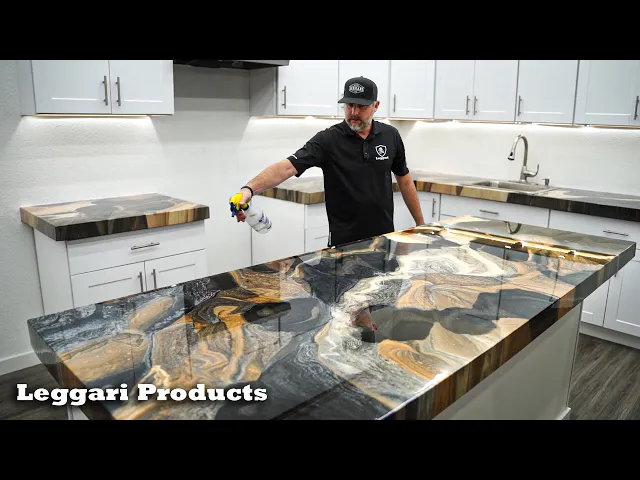
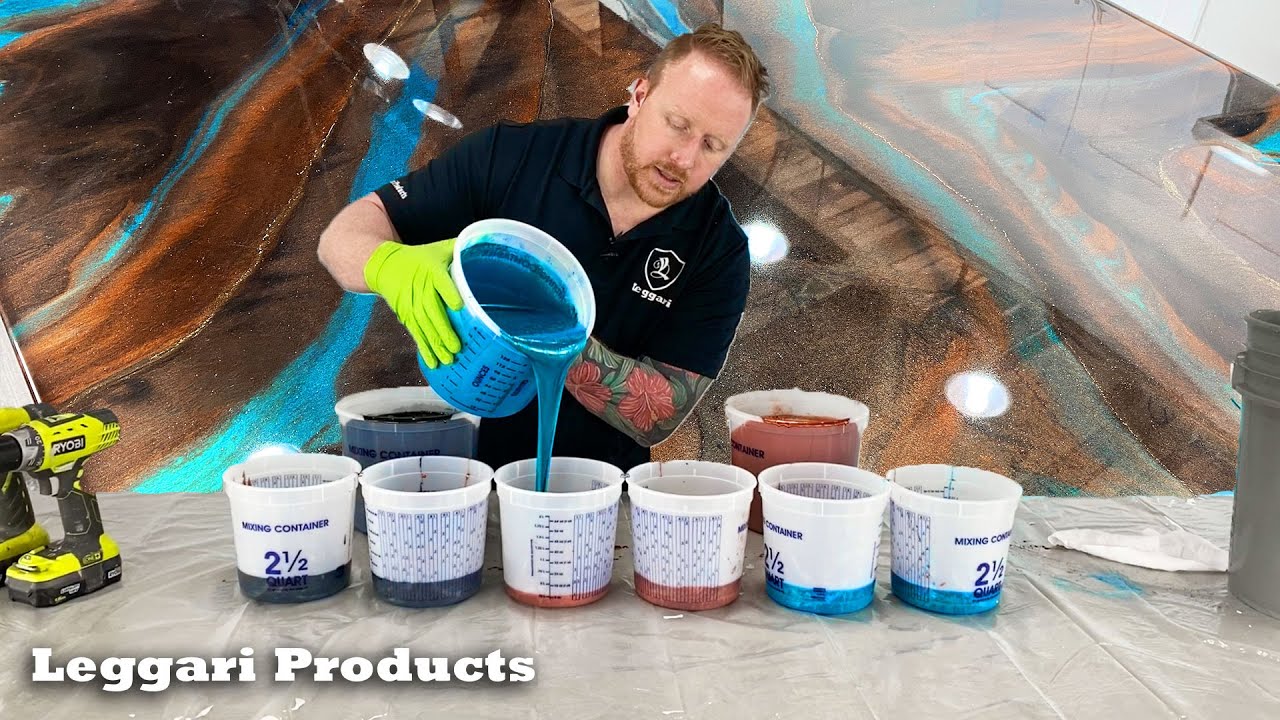
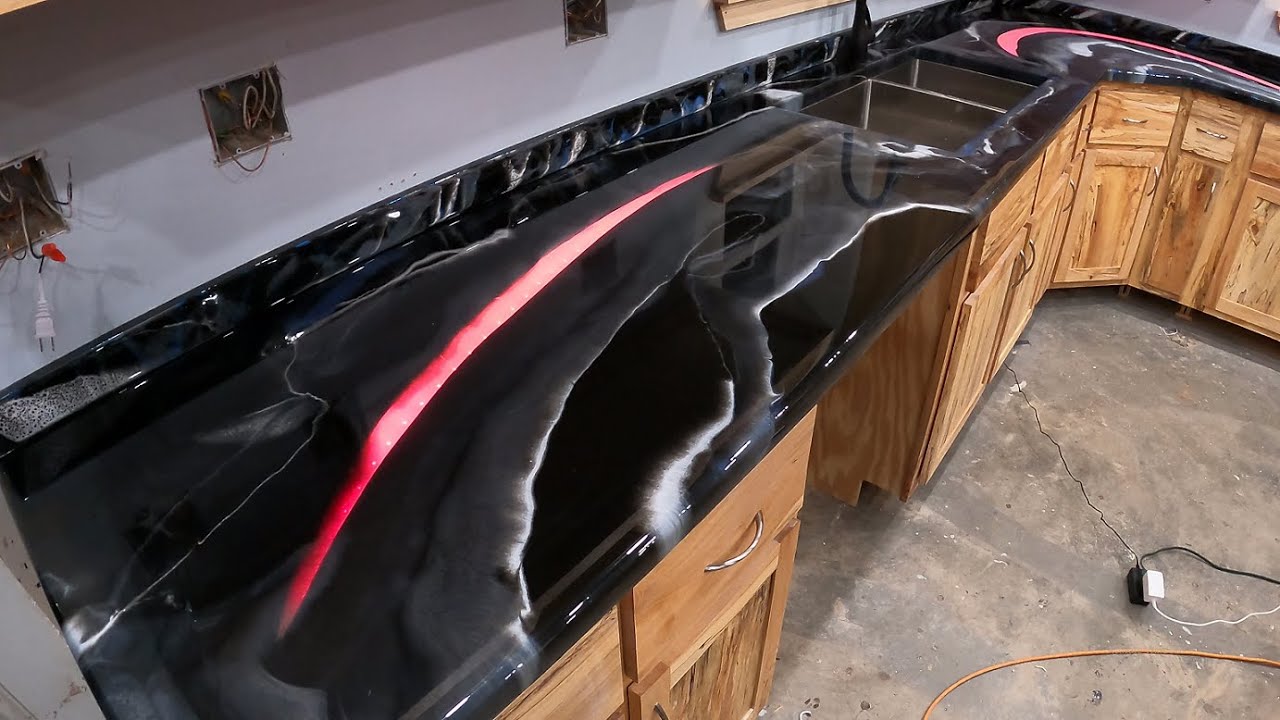
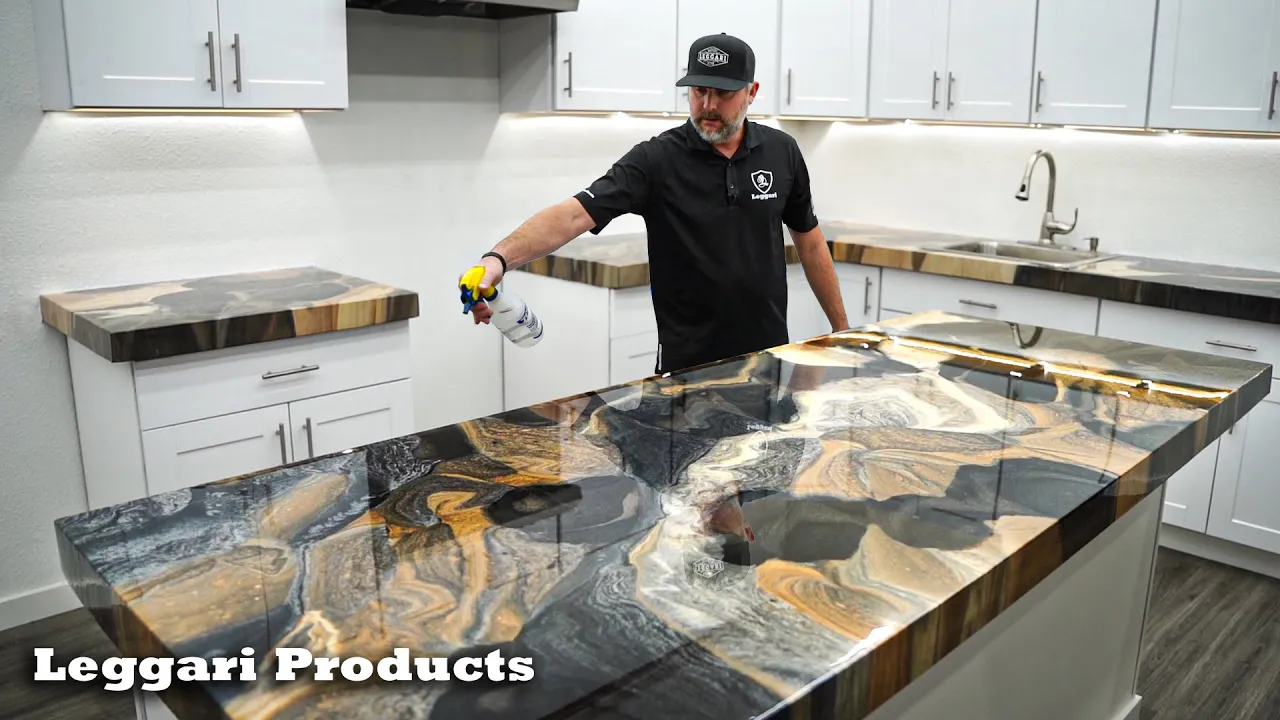
watch how easy and cost effective this process is saving you thousands of dollars hey everyone Kyle with lari products and on today's video we're going to be coating a countertop using our legari stone kit process using legari pigments and spray paint if you would like to see more videos like this make sure you like And subscribe now let's get into it [Music] hey [Music] [Music] [Music] [Music] [Music] heyy [Music] [Music] he [Music] [Music] [Music] all right guys we're going to get this 3 gallon kit mixed up we're going to be using our jet black epoxy
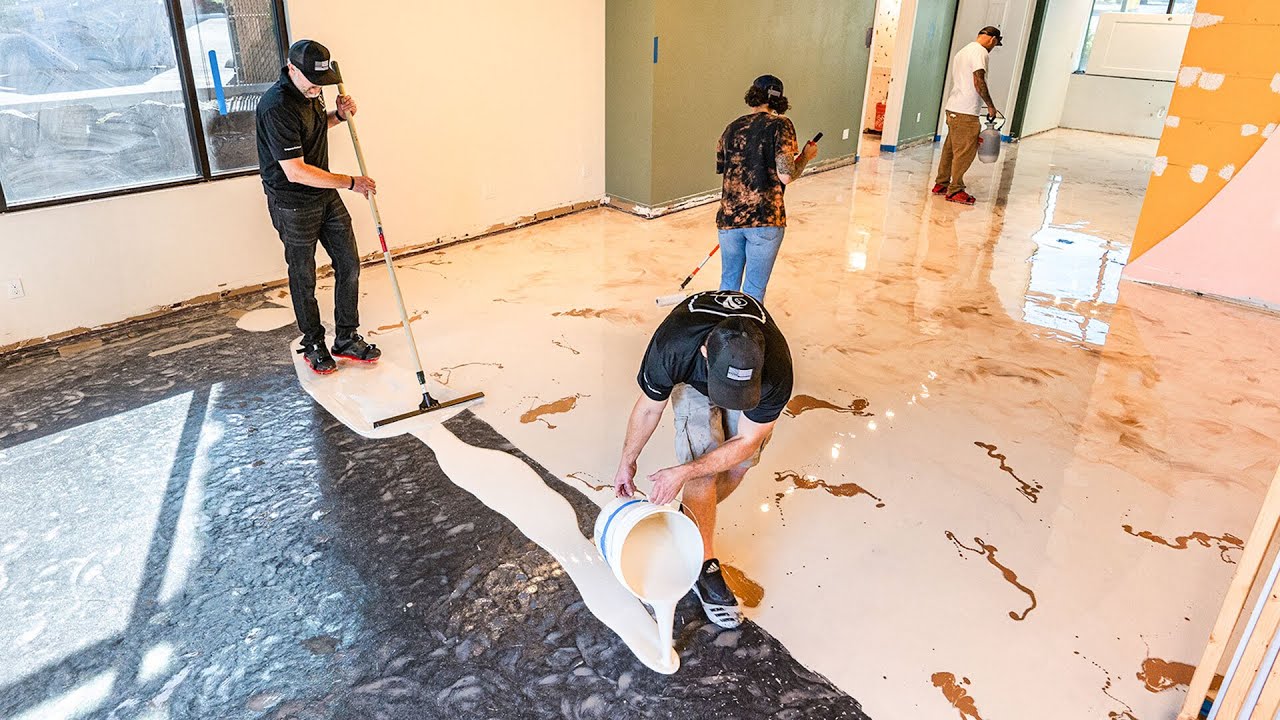
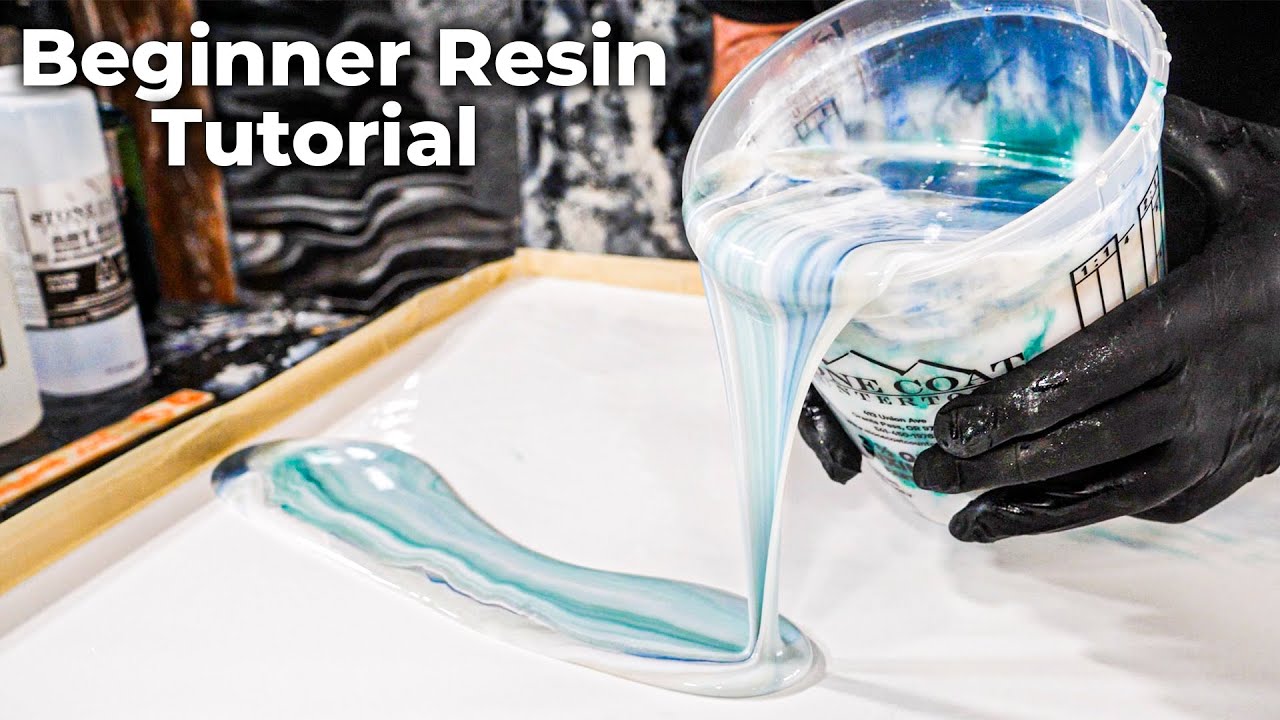
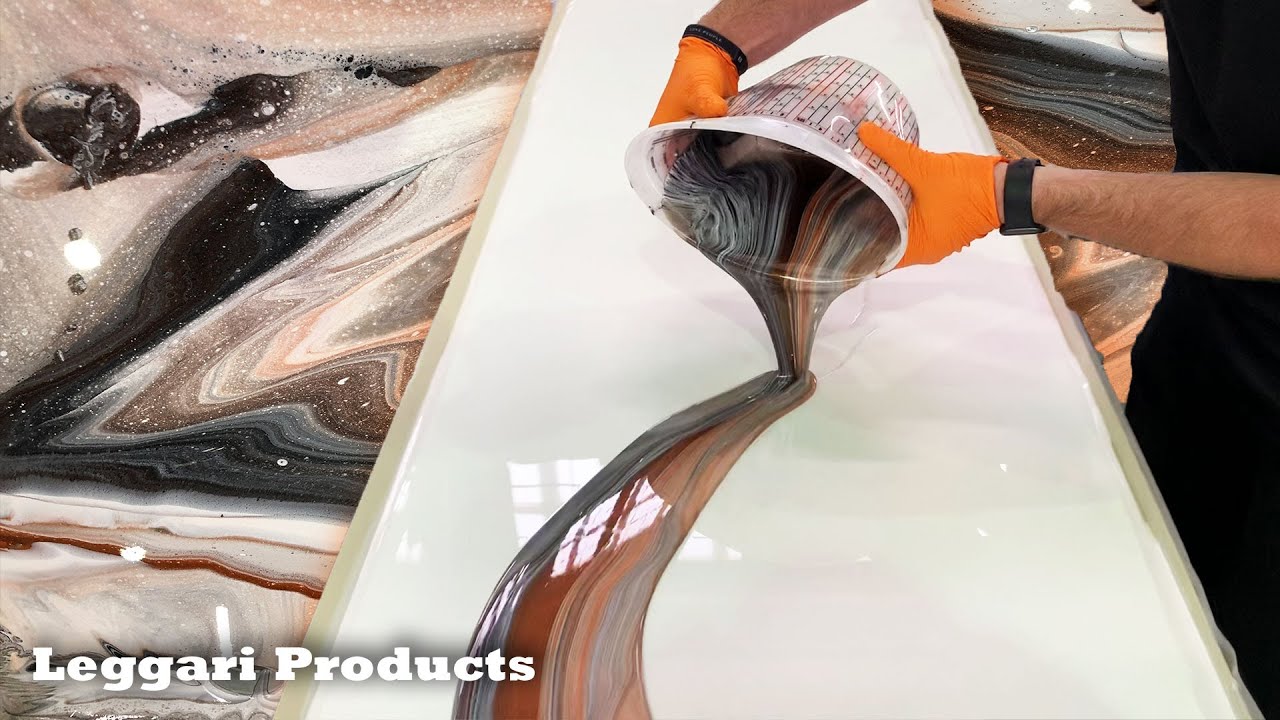
pigment our burnt caramel and our camel epoxy pigments as well as some rum white spray paint so the first step guys we're going to get part A's dumped in add the part B do our 3p2 process to mix and get it over to Tyler so he can get it down on the countertop [Music] oh [Music] n [Music] you [Music] [Music] [Music] [Music] [Music] all right so next step is to pour these out as fast as we can we do not want all this product sitting in a mass like this it is going to heat up
faster um if it sits in here too long it's going to be become useless you won't be able to use a product it'll become hard it'll uh get really hot so again make sure everything's ready to go before you start mixing and once they're mixed and batched up like this you want to start dumping them out biggest thing is if you want to get the same color on all your counters you don't want to just dump one of these buckets out in one spot um I don't really care on this one one I think it's
going to look cool if we have some some dark colors here maybe not much dark colors over there so it doesn't really matter on this one but again it depends on what you guys want to do the other thing you can do is Trace out a pattern that you want to follow um before you start mixing that way when you're mix you can come over and just start dumping along the the pattern that you have on your counter we've done that a lot as well so I'm just going to start we're just going to like
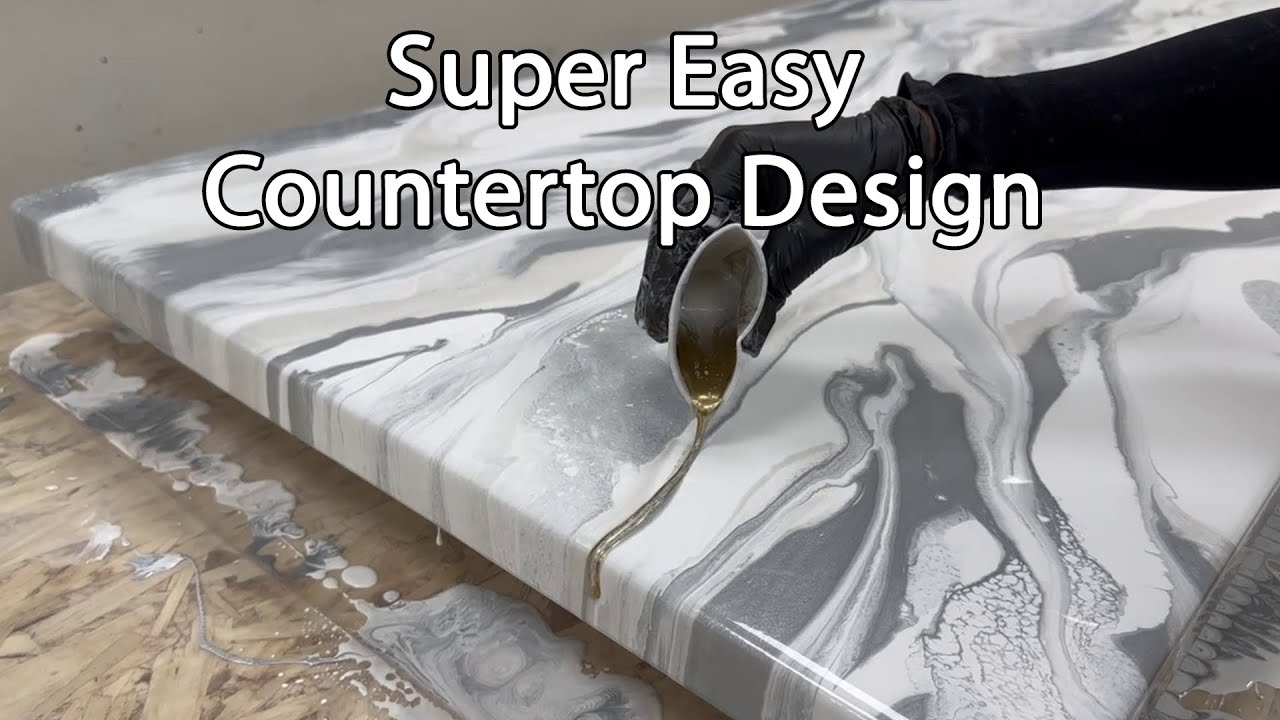
I said just real random kind of all over the place just no Rhyme or Reason for anything [Music] so notice I'm just dumping the buckets over so they can all drain out you can kind of start picking those up periodically I do like to leave a little resin in these in case I want to do some some tight fracture veins after and whenever I pick them up I'm trying not to drip all over where I'm walking so I'll set these out of the way of where I'm walking all right guys so we got two buckets
left we want to start filling in these bigger gaps right I mean this will wind up spreading out a lot more because these are thick puddles um but but you don't want to be pouring too much on one section and then you don't have enough on another section A few things that's going to um create an issue for you if you do that is most your resin will be on one area you won't have as much there where it's not going to want to level out out and filling by itself the other thing is when
you pull your tape you're not going to have as much resin on those spots where you didn't pour enough product there to flow over your faces um and cover your faces really well so again it's always good to jump around like I did and then now we're just kind of filling in we're being more methodical with our pores right we want to make sure we're filling in right in the middle of these gaps I don't want to pour a bead right on the edge I want to start to fill in some of these Ms [Music]
so once I've got all the resin dumped out sometimes you'll have spots that are just missing missing the resin um we want to help those level out and fill in you can use a uh your hand with a glove on obviously um I'm just going to use a little edge of a squeegee and I'm GNA just kind of just Pat those in again I want to go with the whatever pattern is out there I wouldn't want to try to fill in like this guy and go sideways okay so we want to go with the flow
of the pattern and we want to go around and make sure everything's filled into the tape edges corners any spots out in the counter that are missing resin and then that'll help it level out it'll just fill in once it kind of gets some resin in that dry area so I'm going to spray this with isopropyl if you guys don't want more of those cells and dispersing effects you would just uh miss a service with the natured the iso is really going to add a lot of dispersing effects especially using these types of pigments so
again if you really love this look just missed it with denatured alcohol so the next step is to let that isopropyl evaporate for about 5 10 minutes and then we're going to miss the surface with denatured alcohol um we might do it twice depending on how how glass the surface looks um if you are going to do it twice let that evaporate again we don't want to just flood the surface with denatured alcohol so again just a fine Mist everywhere [Music] and if you guys are in a in a house you're going to want to
wear a respirator you don't have a lot of air flow this does have a smell to it the denatured alcohol okay so we'll give that about 5 minutes check it if it's good um last thing we got to do is just wait on these edges so the right time to pull the tape is when you fold this back and the resin starts moving down very slowly um it is really cold in here right now so the resin is really thick um so it's really not going to move fast um but typically when you're in you
know in inside 70° temps the resin is going to be really fluid right now so you'll fold that tape over it'll just start to drip right off so you want to wait um until it just starts to slowly move down that tape another thing is if you're doing big edges like this you're better off pulling it sooner than later because you have so much of an edge to cover you want to make sure you have that resin has enough time to flow down before it gets to too thick if you have thinner edges um you
can typically wait a little bit longer but when we go to pull it I'll kind of show you the look that we're looking for like I was telling you guys before when you pull the tape down you want it to just slowly be moving I don't know if you guys are picking that up but it's moving slow um it's not just running down the tape super fast so we're going to pull it right now the biggest thing guys is when you're doing the the tape for the dam you want to make sure before you prime
your edges you want to make sure they're very clean wipe them with denatured alcohol make sure they're super clean and you won't pull any primer off when you're pulling tape if it's not clean if you have dust in there you'll wind up peeling some some primer off [Music] [Music] so I like to get all the tape pulled you can kind of see over here starting to run down let it drip for a little bit and then we'll we'll rub in all the edges with epoxy [Music] next step after we pull the tape and it's starting
to drip we want to get rid of all the surface tension by rubbing resin on all these dry spots that's going to help it flow over evenly and not all these runs that it's doing now don't worry about screwing up the design because a lot of this is still going to flow over if you have spots that are coated more towards the bottom just rub in the spots that that are dry where you can see the [Music] primer so you can see here where I I rubbed it in it's already halfway down the face once
it gets slicked off it just lets it run down that edge a lot better and again if I'm rubbing this in I'm not messing this up no point in screwing that up it's all coated nice and even I'm just hitting the spots that need it so the last thing we want to do is scrape our drips it's a lot easier to stick around scrape your drips and have to sand those the next day it's not hard to sand them but um less dust you create before your top coats obviously is better um a few things
I will point out is if you have any imperfections in your face now these are some pretty thick edges um if you have like a spot that just doesn't look like right maybe it look looks like a drip or a run um simple little chip brush paintbrush kind of rub that in just to eliminate that run look um any spots that are missing you can touch up obviously while the res is still fluid um so it's always good to stick around make sure your edges are looking good all your Corners are coated um if you
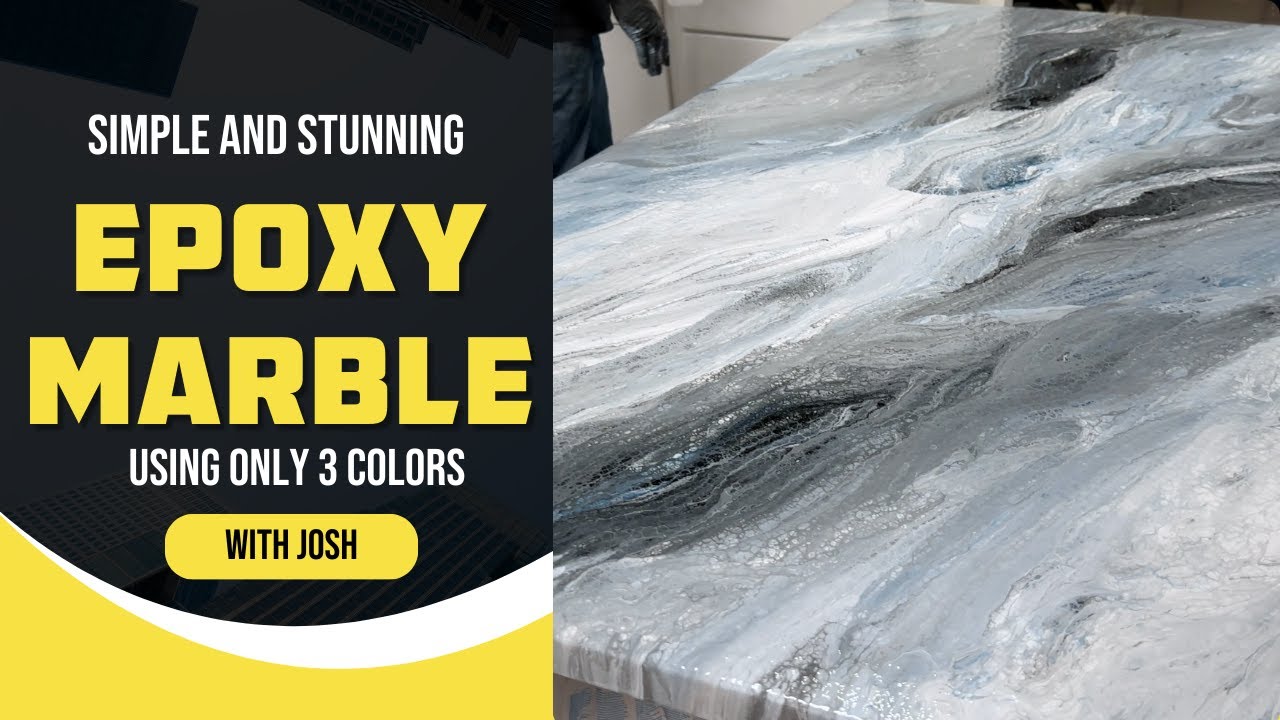
ever need to add product to your Corners just get some on your hand or a paint stick and just let it drip off and run down that edge that'll help coat your outside corners but other than that yeah we just wait now let this continously flow down it's already halfway here yeah so see it's even farther probably another 20 minutes the majority of these faces will be coated and it's going to look like we cut this out of a a real slab of stone [Music] he [Music] [Music] n [Music] [Music] n [Music] [Music] [Music]