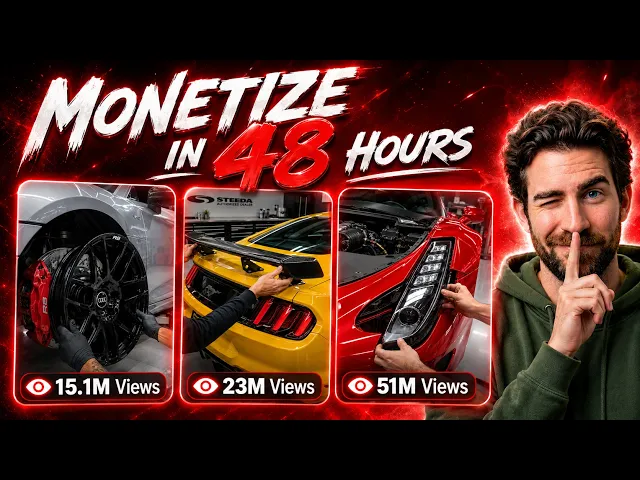
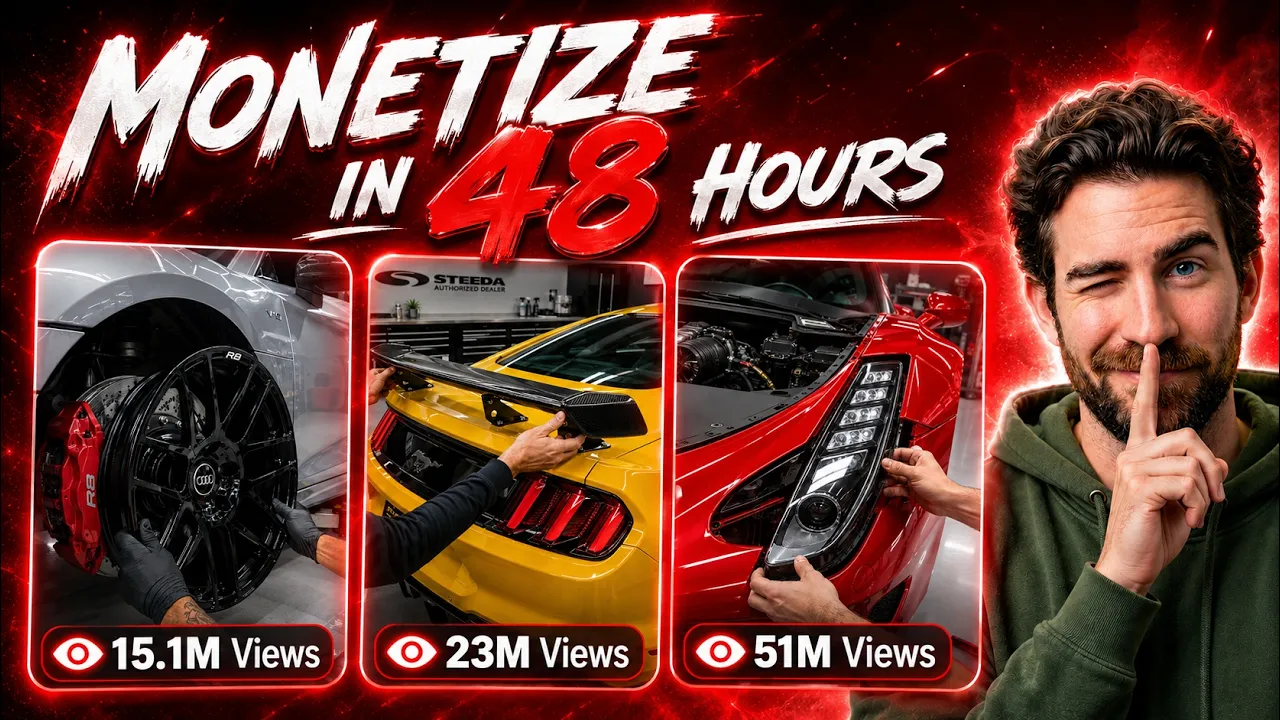
These car modification videos are absolutely exploding right now. I mean, just look at this Instagram page. It has gained over 110,000 followers simply by posting satisfying car modification videos.
And every single video is created entirely with AI. And in this video, I'm going to show you exactly how to recreate this type of content using completely free AI tools. You also won't have to worry about annoying watermarks because I'll show you a workflow that produces clean videos you can actually post and monetize.
One of their videos is currently sitting at an incredible 18. 4 million views. Another has already reached 7.
5 million views, while this one is at around 1. 8 million views. And the most impressive part is that the views just keep coming in non-stop, showing how much demand there is for this type of content right now.
I'll walk you through both methods. First, I'll show you how to create the short form version, where the entire car modification sequence is compressed into one fast-paced video. Then I'll show you how to create the long form version by generating multiple connected clips with consistent visuals.
After that, I'll show you how to combine all the generated clips, edit everything together, and turn them into a polished final video. I'll also show you how to create the background sound and satisfying ASMR effects that make these videos look and feel much more professional. And the best part is that I've already created a master prompt that automates this entire workflow for you.
You won't need to spend hours writing complicated prompts or figuring everything out from scratch. All you need to do is follow each step carefully from beginning to end so you don't miss any important details. I'll also show you exactly how to get access to the prompt before the end of the video.
So, make sure you watch until the end, like the video, subscribe to the channel, and turn on your notifications so you don't miss any future AI workflows. Now, let's get started. The first thing you'll need for this workflow is a chatbot.
For this tutorial, I'll be using chat GPT. However, you can also use Claude, Gemini, or DeepSeek. Any of these chat bots should work perfectly for this process.
[music] I would recommend DeepSeek for anyone who wants a completely free option because you can use it without paying for a subscription. Once your chatbot is open, the next thing you'll need is access to the Google document I created specifically for this workflow. Inside the document, you'll find the complete master prompt I built for generating these miniature vehicle customization videos.
I'll explain how to get the document before the end of this video, so make sure you keep watching. Once you have access to it, copy the complete prompt exactly as I'm doing. Make sure you don't leave out any part of it because every instruction serves a specific purpose.
After copying the prompt, return to your chatbot, paste it into the chat, and click send. The same process works regardless of whether you're using Chat GPT, Claude, Gemini, or DeepSeek. Once the chatbot processes the master prompt, it [music] will ask, "How many car videos do you want to create today?
" You can select any number from 1 to 10. If you choose 10, the chatbot will generate ideas and prompts for 10 different vehicle videos. For this demonstration, I only want to create one video.
So, I'll type one and click send. The chatbot will now generate a list of vehicles and color options. As you can see, we have vehicles such as Range Rover Sport, Mercedes AMG G63, Porsche 911 GT3, RSBMW M4 Competition, Rolls-Royce Cullinin, and several other options.
You'll also be able to choose the exact color you want for the selected vehicle. For this first example, I'm going to use the Mercedes AMG63. I'll copy the vehicle name and paste it back into the chat.
Then, I'll add a space and choose a color from the available options. For this one, I'm going with metallic silver. I'll copy the color, paste it next to the vehicle name, and click send.
Once you submit the vehicle and color, the chatbot will ask whether you want to create a short form 10-second video or a longer video of around 30 seconds. The long form option creates multiple connected prompts that allow you to extend the video using saved end frames. I'll show you how to use that option later in this tutorial.
For now, we'll begin with the short form version so we can quickly test the prompt and preview the result. I'll select short form, paste it into the chat, and click send. The chatbot will now process our selection and generate the complete video prompt.
As you can see, it gives us a vehicle consistency section that locks the exact car model, color, environment, lighting, scale, and visual style. It also gives us the complete short form video generation prompt. The prompt includes all the required camera shots starting from shot one and continuing through the final shot 10.
It also confirms that the complete video should be approximately 10 seconds long. Now, copy the entire prompt exactly as it appears. Make sure you include every section so the video generator maintains the car's appearance, color, [music] studio environment, and customization sequence.
Once you've copied the prompt, the next tool you'll need is Google Flow. Open Google Flow and click new project. After the project loads, you should see an interface similar to the one on my screen.
Google Flow currently provides free daily credits that refresh every 24 hours. These credits should be enough to test several short form videos or create a longer connected video. Open the settings tab.
Make sure video mode is selected and then choose the ingredients option. For the aspect ratio, select 9 to6 if you're creating a vertical video for YouTube shorts, Tik Tok, or Instagram reels. For a traditional long- form YouTube video, you can choose 16 to9 instead.
For this [music] first short form test, I'll leave the aspect ratio at 9 to 16. Set the video model to Omniflash. Set the duration to 10 seconds.
Leave the output at 1x so you don't waste credits generating multiple versions at once. Google Flow should show you the number of credits required before you generate the video. Now, paste the complete prompt you copied from chat GPT into the prompt box and click send.
Once you click send, Google Flow will begin generating the video using the Omni Flash model. [music] The process usually doesn't take very long, so wait patiently while the video is processed. After a short wait, our final output is ready.
Let's preview it and see how it looks. You can see how clean the result came out. The metallic silver color remained consistent throughout the sequence and the customization process flowed smoothly from one modification to the next.
The hands installed the different performance upgrades. The camera angles changed throughout the process and the sequence ends with the completed vehicle turning on and driving out of the studio. The entire result looks polished, detailed, [music] and professionally produced.
Now that we've tested the short form version, let's create a longer video using the continuity workflow. At this [music] point, we have approximately 35 credits remaining, which should be enough to test a longer video. Return to chat GPT and choose another vehicle from the list.
For this example, I'm going to select the Rolls-Royce Cullinin. I'll copy the vehicle name and paste it into the chat. For the color, I'm going to choose Titanium Gold.
I'll add the color beside the vehicle name and click send. The chatbot will ask again whether we want the short form or long form version. This time, type long form prompt.
This tells the chatbot that we want a connected sequence rather than one standalone 10-second video. The chatbot will now rewrite the workflow and divide the complete video into multiple connected prompts. Once it finishes, you'll see chunk one, chunk two, chunk three.
Each chunk represents a different section of the complete customization sequence. Together, the chunks create one longer and more detailed video. Start by copying chunk one.
Make sure you copy the entire prompt exactly as it appears. Return to Google Flow and change the aspect ratio to 16 to9 for the long form version. Set the duration to approximately 8 seconds and keep the output at 1x.
Google Flow will show you the credit cost for the generation. Paste chunk one into the prompt box and click send. The first part of the Rolls-Royce Cullinin customization video will now begin generating.
While Google Flow is processing the video, return to chat GPT and copy chunk 2 so it's ready for the next step. After a short wait, the first [music] clip is ready. Let's preview it.
You can see the titanium gold Rolls-Royce Cullinin [music] and the beginning of the customization process. The color, vehicle shape, studio background, lighting, and miniature scale all look consistent. Now, we need to choose the exact frame where the next scene should continue.
Pause the video on a clean frame near the end of the clip. Once you found the right frame, click save frame using saved frames for continuity. After saving the frame, return to the main Google Flow workspace.
The saved frame should now appear as an image. Drg that frame into the timeline. This image becomes the starting reference for the next video, helping the new clip continue from exactly where the previous one ended.
Paste chunk 2 into the prompt box. Check that the aspect ratio, model, duration, and output settings are still correct. Then click send.
Google Flow will now generate the second part of the video using the saved end frame from the first clip. While that is processing, [music] return to chat GPT and copy chunk 3, which is the final section of the long form sequence. Once the second clip is ready, preview it.
You can see that it continues naturally from the first video. The same titanium gold Rolls-Royce remains consistent and the customization sequence progresses without suddenly changing the vehicle or environment. Pause the second clip near the end and choose another clean continuation frame.
Click save frame again. Return to the main workspace and drag this new saved frame into the timeline. Now, paste the third and final prompt into Google Flow.
At this point, we only have around 11 credits remaining. That may not be enough for another 8-second generation. So, I'm going to reduce the duration to 6 seconds.
This allows us to complete the sequence without running out of credits. Once the duration has been changed, click send. Wait for the final clip to finish generating.
And just like that, the final section is ready. Let's preview it. You can see that the customization sequence has now been completed.
The finished vehicle is revealed. The modifications are visible and the titanium gold color remains consistent from the beginning of the first clip to the end of the third. This is exactly why the saved frame workflow is so useful.
It allows us to create a longer sequence while maintaining visual continuity between every generated clip. Google Flow also allows us to combine the generated clips directly inside the platform. Open the first original video.
Click the plus icon and then select add clip. Choose the second generated clip and add it to the first one. Give the platform a moment to process the connection.
Once that is complete, repeat the same process with the final clip. Click add clip. Select the third scene and attach it to the timeline.
Now all three generated videos have been combined into one complete sequence. The finished result is approximately 22 seconds long, giving the video more watch time than the original short form version. Once everything has been joined correctly, click done.
At the top of the interface, you should now see the complete combined video. Click download to save it to your device. This process works on a phone, tablet, laptop, or desktop computer.
The next step is to polish the final result inside an editing application. For this tutorial, I'll be using Cap Cut. Open Cap Cut and create a new project.
Click import and select all the generated clips. The files are usually saved in the same folder so you can import them together. Once the clips have been added, drag them into the timeline in the correct order.
Make sure the opening scene comes first, the continuation clip comes second, and the final reveal appears last. Because we used saved end frames to generate the connected scenes, the transitions between the clips should already look smooth. You can also inspect the footage for any visible watermark or unwanted branding.
In this workflow, we generated the videos directly without starting from separate image generation references, so the result may appear cleaner depending on the generation method and account settings. You should still follow the platform's disclosure and labeling requirements for AI generated content where applicable. The next thing I like to add is background music.
Import your chosen soundtrack into Cap Cut and drag it underneath the video footage. Trim the excess audio so it ends at the same time as the video. Then reduce the volume so the soundtrack supports the visual experience without becoming distracting.
You can also keep some of the original mechanical and ASMR sound effects from the generated clips if they sound clean. The final result should include satisfying sounds that match the actions on screen, such as metallic clicks, tools [music] tightening parts, carbon fiber components being pressed into position, wheels being fitted, engine startup sounds, smooth cinematic reveal audio. Once everything is properly arranged, preview the full video to make sure the sound and visuals work well together.
To generate your own background sound, open your browser and search for AAI. Make sure you open the official Sunno platform. Create an account or log in.
Inside, you can generate original music by entering a simple prompt. For this video, I'll use a prompt such as cinematic background music for a miniature luxury car customization and unboxing video. Satisfying mechanical ASMR atmosphere.
Premium automotive commercial energy instrumental only no vocals. Once your prompt is ready, click create. Sunno will generate multiple versions of the soundtrack.
Wait for the tracks to finish processing and then preview each version. Choose the one that best matches the mood of your video. To download it, open the track menu, locate the download option, and save the audio file to your device according to the options available on your account.
You can then import the downloaded soundtrack into Cap Cut and use it beneath your video. Always review the current usage and licensing terms for the account tier you're using before publishing or monetizing generated music. Once your video clips and soundtrack are arranged correctly, play through the entire project one final time.
Check that the vehicle remains visually consistent. The car color does not suddenly change. The saved frame transitions are smooth.
The customization sequence follows the correct order. The music does not overpower the mechanical sounds. There are no unwanted pauses or duplicated frames.
The final car reveal remains visible long enough. Once everything looks good, click export. Give your video a name.
For this example, I'll name it Rolls-Royce Cullinin customization. Choose your preferred resolution and export settings. For the best quality, export in 1080p or higher if it is available.
Wait for Cap Cut to process and save the final video. And just like that, you've created a complete miniature vehicle customization video using a chatbot, Google Flow, Omni Flash, Saved Frame continuity, Sunno AI, and Cap Cut. Now, let's watch the final result.