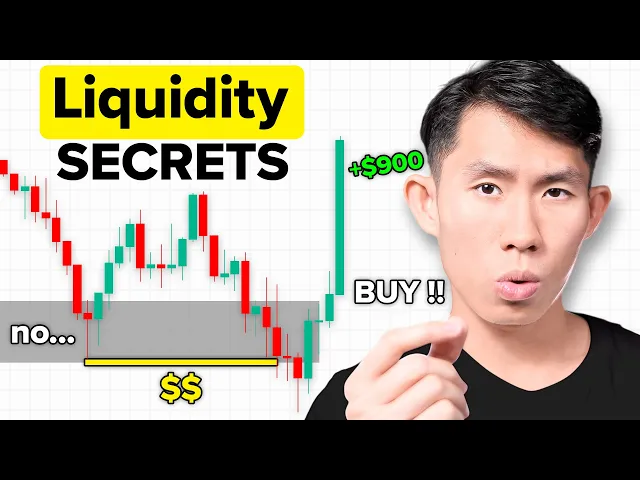
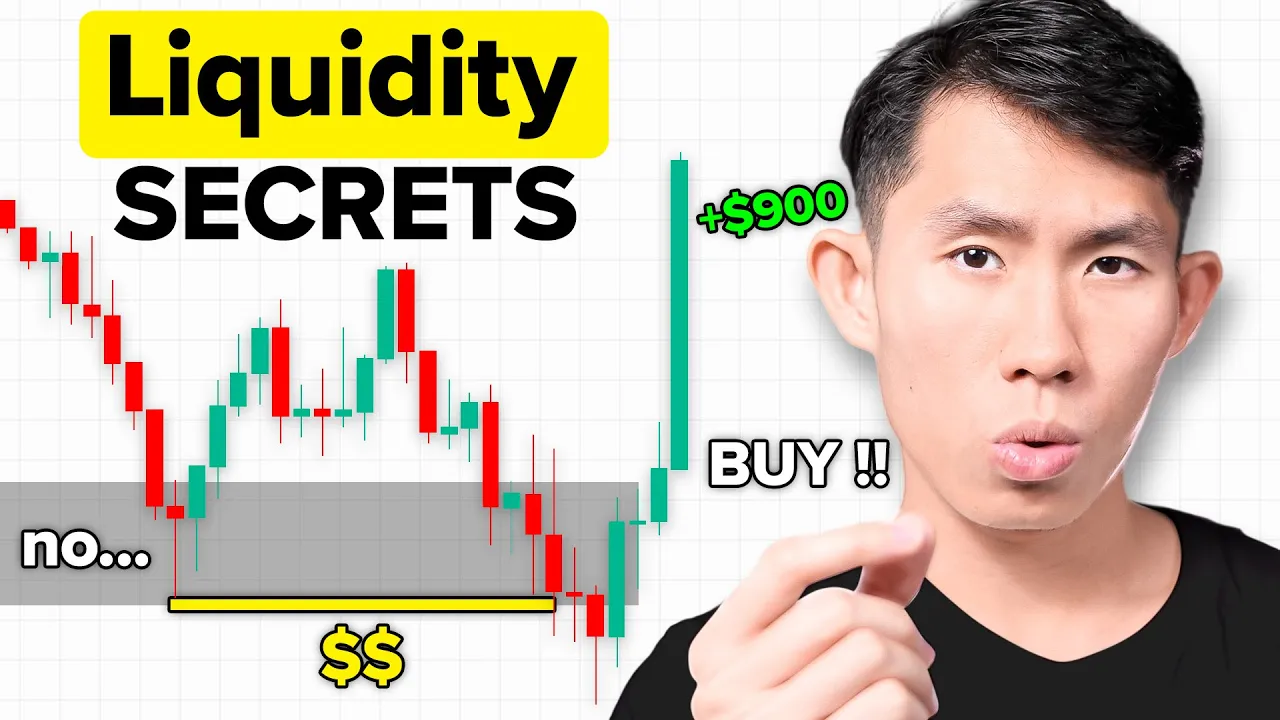
what if I tell you that everything you knew about trading is wrong have you ever stopped and wonder why you keep on getting stopped out again and again and again it's because you don't understand liquidity at Le one mistake is costing you thousands of dollars so in this market mechanics course I'm going to teach you how to spot liquidity so you don't become the liquidity first and foremost in order to sport liquidity you have to understand what are indu inducements inducements are basically traps for retail Traders where smart money entices market participants to enter for
traes and transact at certain levels in this way smart money is able to generate a large amount of liquidity in order to fuer their large positions they basically entice retail Traders by using obvious chart patterns like double toop and double bottom or support and resistance levels basically all these retail trading Concepts baiting them into entering the trade early for example when a retail Trader see a double bottom chart pattern just like this from at a support level they're going to endal for a buy thinking that price will go up and as a result they will
most likely be placing the stop loss below the support level or below the double bottom just like this and when this happens this actually generate liquidity because if the retail traders who ENT up for a buy right here get stopped out guess what they have to sell the position on the other hand this double bottom chart pattern also induces that retail traders who might be bearish and they want to enter for a sell when price actually break out of this support level right here in this case they will most likely be placing a sell stop
order below the support level or below the double bottom once again generating liquidity below these lows right here now once all the retail noobs have been induced to enter for their buy orders and their sell stop orders smart money would then manipulate price by pushing it down to sweep the available liquidity below these lows and when this happens this will generate enough liquidity to fewer that large buy orders and this causes price to Skyrocket to the upside this is exactly why you keep on getting stop out only to see price go in your way it's
simply because smart money is just getting some liquidity from you now let's look at other types of inducements so in this bearish scenario right here we have price pulling back to this Supply Zone that we have right here and the minute price actually mitigate the supply Zone it from a double top once again when retail Traders see this double top chart pattern they're going to think that you know what I'm going to enter for a sell right here and place my stop loss above this double top only for price to later go on there Swip
the available liquidity above this double dot before going back down right it's pretty much the same concept right here on the other hand there will also be retail traders who want to enter for a bite after price actually break out of this resistance level or this double top in in that case they'll be placing the buy stop orders right here only for smart money to manipulate price up there and ssy them out of their position by causing price to reverse and hit in the other direction after grabbing liquidity so yeah this is exactly why chart
patterns don't work that well right so if you're still trading chart patterns it's time to stop all right on the other hand right here we also got a strong low and strong High example now the other type of inducements is also created when there is a strong low or Strong high in this case we got price pulling back to the last swing low right and what happened was that the internal structure turned bearish to facilitate that pullback so we could expect the internal structure to be bearish and when we see price breaking past the last
internal lower high that tell us that there is a market shift that is a shift in structure and price is going to head up right wrong because what can potentially happen is that price could just go up there sweep the available liquidity above this swing high right there before coming down there even further spping the a a liquidity below this swing low as well right so a lot of retail Traders they will most likely enter for a buy after this strong low is formed but then later price come down and sweep more liquidity before actually
going to the upside or in this be scenario right here where a strong high is formed after price actually break past that strong internal higher low right when this happens remember there is available liquidity above this swing high once again because all the retail Traders will end up for sell here they will be placing that stop loss above this swing High only for smart money to come up there Swip the available liquidity above the swing high and causing price to go in that other direction so my tip is always look out for inducements when price
is approaching a point of Interest like an order block a supply and demand zone or a flip zone or even a Swip zone right any sort of point of interest because when price actually approached those zones that is where so many retail Traders they will be impatient and they will enter too early just for to come down and sweep the available liquidity before the actual move actually happens so always wait for liquidity sweep before entering and remember if you cannot spot the liquidity then you are most likely the liquidity instead of me yapping why not
I just go on to the charts and show you how it's done all right so right now we got gu on a 15-minute time frame the first thing you want to do is to actually map out your structure so over here we got a break of structure to the downside and this tell us that this is that last 15 minute swing High okay so I'll just put this as the 15 minute strong swing high that led to this break of structure and then over here we got price pull back a little bit before going down
even further and this could constitute as your internal breakout structure okay so when we got a market shift right here where price actually broke past that last internal lower high this does not signal that price has officially shifted bullish this just signal that price is potentially turning bullish to facilitate that pullback back to that last swing high before continuing down going even further and continue creating that lower high lower low Dynamic so always try to understand what's the objective of price right what is price trying to do so now we have figur out that okay
price has officially turned bullish to facilitate that pullback so on the internal structure we can expect price to create higher highs higher lows until price actually break past that last higher low that last internal higher L give us the market shift a shift in structureal then that confirm to us that price is Shifting bearish and we can look for our sell position to trade with that swing structure and then next step is to actually mark up your point of Interest okay so over here we got our extreme Supply zone right here that led to this
break of structure and then there is also another Supply zone right here okay there's also another Supply zone right here this is more of an order block right but I'll just label this as a supply zone right there let me just mark this up right there make it a little bit more cleaner okay so right now we have our two point of Interest we know that price is turning bullish to facilitate that pullback the objective of price is that it wants to mitigate this either one of this Supply zone right fill up the remaining sell
orders before heading back to the downside right so in this case let's just continue to play price forward and just wait for price to mitigate that point of Interest so until price actually does that we not doing anything okay cool you can see price has stepped into our near Supply Zone remember when I told you that in inducements tend to form at a point of Interest this is exactly what I mean at this point of time just because price has stepped into a supply Zone does not mean that price is going to go down straight
okay what can happen is that it can create inducements traps to entice retail traders to enter a sell position early just for price to go up there should be available liquidity before hitting back down even further right so you don't want to enter too early you want to enter at the perfect timing so at this point of time we are waiting for our inducements okay you can see price is reacting at the supply Zone but we are patient we are not doing anything whatsoever because first of all there is no inducement second of all we
haven't got a shifted structure that tell us that the structure have shifted bearish and right now we're going to continue to go down because right now price can continue to go up even further okay so you can see price started shifting bearish and then we are getting a reaction from this zone right here and what we have right now we have a double top right so if you look at this we got a price reacting from the supply Zone pull back and then goes up there react from this Supply Zone again and then start coming
down right here right so that is actually a double top and remember double top the two tops does not have to be the same height okay so it can have one that is higher than the other it is still count as double top and in this case there is also another double top right here you can see like a Flector double top right here on a 5 minute time frame okay so right here we got our inducements very very nice double top right here this is where most retail Traders they might want to enter for
a sell somewhere right around here and if they they do enter for a sell here guess what they're going to be placing the stop loss Above This highs right here and in this case let's look at what happened next okay price went down they are in profit they are happy they're celebrating you know they are considering getting that that new car right now because you know they have made 10K and boom they just lost I don't know their life savings or something right too bad for you you don't understand liquidity right so if you're watching
my video you shouldn't be operating in this way you should be operating like a professional professional all right so at this point of time we know that okay we got that inducement we are patient right we are not trying to enter for a sell here too early whatsoever we are waiting for our liquidity to be swept before actually entering for the trade itself and what do we have right here we got a very nice liquidity sweep right where price actually go up there sweep the available liquidity above this swing high right here above this double
top and then right now we can expect price to actually create like that reaction right but in order for this liquidity Swip to be valid it needs to create a sharp vshape reaction just like this so I'm waiting for that still right I'm not entering yet you can see very sharp vshape reaction right very very nice now at this point of time we got our liquidity shap but that does not allow me to enter for the trade yet because what can happen is that price can still go up even further because the internal structure is
still bullish so you map out your internal structure you will see that okay this is that last swing High okay this is the 15minute swing high and then this is that last swing low that we have right here okay so this is actually our 15-minute swing low so in order for us to confirm a shift in structural in order for price to turn bearish price has to break past this last 15 minute swing low right and that will tell us that price has officially shifted bearish right so at this point of time we got our
liquidity sh we are still patient we are waiting for our Market shift right here that confirm to us you know we are the lower time frame structure is align the higher time frame structure then we'll start entering for the trade and and there we have it a very very beautiful Market shift ladies and gents this is your entry signal right so at this point of time you know I will be mapping out the point of interest that led to this Market shift okay so this is a little Supply Zone okay or aut block whatever you
like to call it that led to this Market shift and this is where I I want to actually enter for the trade if you have watched my videos in the past you will also know that this is actually a flip Zone because we are reacting from this Supply right here I mean this demand zone right here and if this demand Zone were to do is drot price of continue to go up but in this case it created a reaction right here right so this is actually our 15 minute flip Zone and this is where I
want to actually look for my entry price immediately pull back into the the area right there that mean into the trade and at this point of time your stop loss you can place it above this flip zone or you can even place it above that that liquidity Swip right because once price Swip the available liquidity above this swing High we know that this high right here is somewhat protected right so in that case you can place your stop loss Above This high as well okay so it's really up to you and for illustration purposes we're
just going to keep this strategy simple and just going to Target about three R okay just going to Target three just like this okay so obviously I would actually place my stop LS Above This flip Zone I wouldn't place it so far up right because I know my all right so yeah you can see the price pull back boom immediately going to profit look at that large amount of imbalance okay within like a few hours you just dropped into our take profit as simple as that this is the power of liquidity when you get under
understand liquidity you're essentially God right you're essentially God now this is how I personally trade liquidity ships right there are some Traders out there who might actually addal for a sell somewhere right around here after price s liquidity and in that case they'll placing that stop loss above once again this protected swing high that swep liquidity and could potentially be targeting this area right here right and in that case that might work for you as well right so if you want to do that by all means go ahead my advice would always be the same
and that is to test out which entry work better for you for me personally I need to wait for the market shift to give me further confirmation right and I get that multitime Frame Alignment before I can actually you know let the trade do its thing but for some of you guys who might be more aggressive then in that case you might want to enter straight away after the liquidity Swip find out what works for you Based on data that you collect after countless of back testing and forward testing okay okay now let's look at
the next example that we have on your us on a 4our time frame right so same thing first things first go and map out your structure you will see that this is the last bullish break of structure that tell us that this is actually the last swing low and then right here this is that last swing high so right now we know that the objective of price is that it's turning bearish to facilitate that pullback to that last swing low before price could potentially I'll create that new higher low and continue creating your higher highs
and higher lows to the upside okay so now that you have understood the objective of what TR price is trying to do you must mark up your point of Interest which is step two right and you will see that this is actually demand zone right there a 4-Hour demand Zone and then there is also another demand zone right here it's a tiny one because what happen is that price actually got there it pull back on the lower time frame make a small little pull back and then it just goes back up right but it is
still counted as a point of Interest right so this is actually our demand Zone okay so you can see right now price has actually tapped into this near demand zone right so when you look at this there is two demand zones there's the near demand Zone and then there the extreme demand Zone I personally don't like to enter on the near demand Zone because when you enter the near near demand zone right you try to enter for a buy right here and you place a stop loss below this Zone what happens is that price will
potentially come down and tap into extreme Zone before the real move actually happen and in that case if you entered once right here and then right now you enter again after price actually come into this extreme Zone you are prone to being wrong twice okay because what happens is that if this Zone fails as well in that case you have been wrong two times one time right here and another time right here but if you just enter the trade at the extreme Zone you might just be wrong once and that's it right but obviously this
depends on different scenarios in the market but that's a conversation for another day but for now price has stepped into our near demand zone so we are looking at what price is doing at this near demand zone so at this point time price has actually reacted from this near demand Zone that we have right here right so let's go down to the 1 hour time frame and see what price is doing right and you can see we got that price reacting right here and we know that we are trying to spot inducements at this point
of Interest right so let's continue to play price and see what price does okay so you can see right here when price actually reacted from this demand Zone guess what all the retail Traders or rather most of them they're going to enter up for a buy right here and they're going to be place their stop loss below this lows now because what happens is that price has just mitigate from their demand zone or their support level right so obviously price is going to go up now and then later on price comes down Swip the available
liquidity up below this low right here and look at what we have we got a sharp vshape reaction to the upside right there okay so at this point of time we got a strong low Bing from right because pric is actually went up there and broke structure okay it broke structure right here okay when a strong low is formed just like this once again the retail Traders they're going to be entering for a buy right here and they will be placing their stop loss below this strong low right here after all what could go wrong
right this is a strong low price is not going to go lower than this right price is just going to go up right now so let's look at what happen next guys come on guys you're better than this this is what happens when you don't understand liquidity you are the victim of Market manipulation again and again and again right so wake up buddy so what we have right here was that price is just spping the available liquidity above this last high right here just for price to go down even further and that is why I
don't actually recommend you guys to actually enter on the near Zone okay so we got that inducement that strong low inducement right here we know that there is available liquidity below the strong lows right here okay so I'll just put that that liquidity Mark right there that shows us that there is available liquidity below this strong lows as you see right here price has just went down there and the available liquidity below the strong low and right now we can expect price to actually go up right there and then and then actually creates that that
real Market shift to the upside okay so at this point of time if you look at extreme Zone the extreme zone is still unmitigated right so there is still a chance that price will come down in the future to mitigate this extreme Zone before it actually goes up there and break past that last swing High okay so right now if you did actually enter for a buy right here after you got that liquidity sh below the strong low you can potentially Target like this area right here or 1 is three R right like what I've
mentioned earlier but let's continue to see what price does because what happens is that if you look at it closely at a high level you will actually see that there is available liquidity below this strong low as well right so this one is kind of harder to spot but once again I just want you to to time travel back with me a little bit okay so what we have right here was that this was that that last break of structure right to the downside which means this is that last low and then we got price
actually breaking past that last low that we have right here when price break past this last low we got a market shift right here and this tell us that this is the new strong low okay this is the strong low that led to this Market shift right here and because it is just a beautiful swing low just like this that is available liquidity below this swing low okay so yeah this one is a little bit trial okay but right now remember your extreme zone is unmitigated so what can potentially happen is that price is going
to come down there sweep the available liquidity from this strong low before the real move actually happens and take out this swing high right here okay so you can see price came down later on available liquidity from that strong low okay once again you must understand the rational of this when retail Traders what they will do is that they're going to be entering for a buy right here okay only even retail Traders maybe even a lot of expert Traders they see price actually creating this Market shift right here they potentially enter a buy right here
after this strong low is created and that is where they could potentially be Target like maybe right here or maybe even at this swing High because they're expecting price to take out this swing high right and maybe they're placing a stop loss below this strong low right here maybe the entry was like right here because this is a little bit ridiculous this is a little bit too late but let's say they they have some good entry let's give them some credit okay and in this case stop loss below this strong low liquidity right here they're
trying to Target this swing high and then they see price going so near that that swing high and then bam reverse against that and hit their stop loss now this is where they are raging all right this is where they are angry because they just got stopped out right here and that is really just price sweeping the available liquidity from this strong low and then the real move actually happens right there and finally take out that last swing high and move up to the upside this is what happened when you can really understand liquidity it
can actually prevent you from losing a lot of time and money now I know you are tired bro I know you're tired of losing again and again getting stopped out over and over again I was in your exact position until everything change when I finally understood liquidity liquidity was that one game Cher for me and my coaches inside the 1% Club after we really understood liquidity we know how to spot liquidity everything started to click like clock workor I know you might be struggling right now you can't pay your rent the cars are repossessed nobody
believe in you you have lost again and again and again the lights are cut off but you're still looking at your dream reviewing your goals every single day and telling yourself it's not over until you win that's the spirit that you need to have right for me I was so obsessed with trading and getting successful at trading where I literally lock myself in a room and just grind it at a cards and I told myself that I could either succeed at trading or I would die trying there is no in between I was sick and
tired of working my night to5 job I was sick and tired of being a waiter I had to succeed I have no choice so don't stop running towards your dream if you want to become a successful Trader don't stop there is going to be days where you adopt yourself thinking that whether this is actually the right decision especially after you have just lost like $5,000 but those are the times where you need to put your head up and just tell yourself to keep going because if you quit right now the only thing you guarantee is
failure that's it when the rough times come tell yourself they are not here to stay they are here to pass these two shall pass so if you're having a bad trading day don't say that you have a bad day say that you have a corrector building day today is going to make me a better Trader and that's the spirit that's the mentality that you need to have in order to succeed in this tiring marathon and if you want to learn more about liquidity you can check out this video right here and as always remember you
are just one trade away