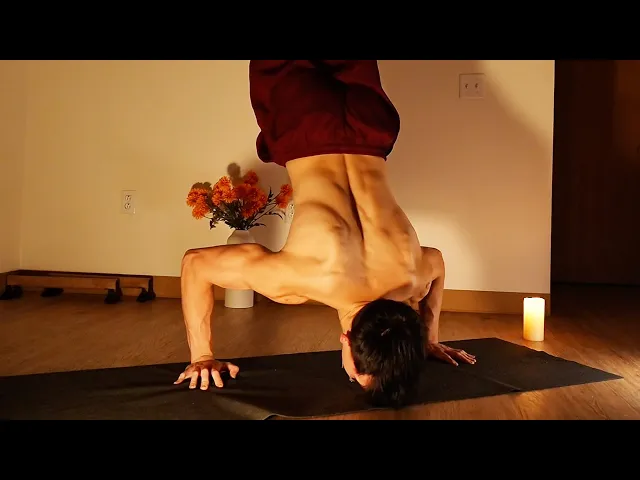
Welcome to the handstand push-up tutorial. On this video, we're going to cover everything that you need to know to learn your first handstand push-up. It's important to note that you should at this point already have a very consistent handstand hold, being able to kick up at any time and hold a free standing handstand with good form.
Consistent 10 to 15 second holds are ideal and will get you ready for the handstand push-up tutorial. However, if you still are struggling with your handstand, then head over to our handstand tutorial where we cover everything that you need to know to learn and master the handstand. Now that we got the prerequisites out of the way, let's talk about the handstand push-up.
The handstand push-up is 70% balance and 30% strength. The strength requirement to actually get a handstand push-up is quite minimal. The main bottleneck for most people when it comes to this skill is the balancing component and so that's why it's crucial that you have a consistent free standing handstand hold.
We're going to start off with some common mistakes that people make when learning the handstand push-up. The most common mistake that I see beginners make when trying to learn this skill is they skip past the pike push-up. Although pike push-up is a relatively basic exercise, it teaches you a lot of the fundamentals about protraction and the right activation cues that you'll need in the real handstand push-up.
And so that's going to be the first exercise that we're going to cover now. Another common mistake I see with those trying to learn the handstand push-up is they keep attempting it over and over and over again without fully understanding what the handstand push-up is. With the handstand push-up, there's a very important aspect of trajectory.
You are not simply pressing in a vertical motion. You are leaning forward with your head and then going down. So in reality, your pushing arc looks something like this versus just like this.
So to initiate the handstand push-up, you first have to lean forward with your head and then go down and then you're going to press back and move back with your head. And this is what the pike push-up is is to teach us. So the pike push-up is the most fundamental and key exercise that you guys need to master in order to do real handstand push-ups that are clean form with proper protraction.
You don't want to do the weightlifter handstand push-ups where you're in a fully retracted position using only your upper chest. Okay, we're looking for that protracted and depressed shoulder position keeping all of the weight in our shoulder joint, not our upper chest. And so, let's start off with the pike push-up.
So, when it comes to the pike push-up, many people do this exercise wrong, and that's why you see it gets slandered on social media. Okay, this exercise is quite difficult to perform correctly because if you do perform it correctly, it becomes relatively the same difficulty as a real handstand push-up. Okay?
So, let's talk about the first and biggest mistake that I see. It looks something like this. You should not be tucking your chin when you begin to press out.
And why is this? Well, think about if you were in a real handstand push-up. Would you tuck your chin when you start pressing back up?
No, because you will lose that focal connection with the ground, and you will lose balance. Think about in a handstand, you're looking at the ground. If you try to tilt your chin down, you're going to be looking backwards, and it's really hard for you to be able to balance with that focal point.
And so, same concept here is we want to keep looking at the same spot on the ground. We never want to tuck our chin excessively. So, this would be the proper head positioning in a pike push-up.
Notice how my head stayed facing the ground. It did not tuck like this. The second big mistake I see people make is they retract in a pike push-up, and it looks something like this.
Although you might be able to learn the handstand push-up doing it this way, it will have literally zero carryover to any other pushing skill in calisthenics. We want to develop strength in a protracted and depressed scapula position. So, by protraction, I mean shoulders forward.
This is it. It's not rounding the spine. It's just moving your shoulders forward, okay?
And then, depression. Pulling our shoulder blades down. So, when we're doing our pike push-ups and our handstand push-ups, we want to be in a protracted and depressed position, okay?
Forward and down. And so, now, if we do our pike push-ups with a protracted and depressed position, it should look something like this. Versus like this.
Notice how you'll see that I'm pushing like this versus like this, okay? So, we want to be in this sort of position rather than this. And what will happen is when you start getting tired, you'll notice that as you start pushing, you lose that protraction and you enter more of a retracted position.
And your elbows start to flare and, you know, why does actually happen on a biomechanical level? Well, our anterior deltoids are much weaker than our upper chest. And so, when we start getting tired, our anterior deltoids cannot take the load and so it transfers to our upper chest because now our thoracic spine is rounding more and we're pushing our chest out more.
And so, this becomes more of an upper chest movement. If we're talking long-term calisthenics development, you want to strengthen your protraction because it's going to help you in skills like planche, planche push-ups, Maltese, etc. And so, once you can comfortably do pike push-ups, you should attempt to do pike lift-offs.
And this is basically going to be a pike push-up except you're going to try to lift your legs off of the ground and it's going to look something like this. Pike lifts are a great exercise and are one step higher than the pike push-up because they're going to teach you how to protract hard enough and get enough of your body weight in this position so that you can actually lift your legs off of the ground. When it comes to pike lifts, it might feel impossible to lift those legs off of the ground, right?
But truth be told, it's just going to come down to if you're leaning forward enough and trying to transfer your weight. And so, you know, I'll even show you guys an example of me trying to do a pike lift and it will literally be impossible for me because I'm not shifting my weight forward enough. So, the issue there, it was really hard for me to pick up my legs because my butt was so far behind my head.
So, my center of mass is behind my palm. My center of mass is somewhere around here. And so, there's no way I'll be able to lift my legs to pick myself up.
If I bring my feet closer to my hands, I will be in a more piked position. Right now, my feet are further from my hands, but the closer I move them, the more piked I become. If you combine that with plunging forward, you will have more than enough weight transferred forward for you to be able to lift your legs up.
And so, it should be very, very easy with the proper body positioning and the proper activations with protraction and depression. So, this is going to teach you a lot about force transfer and how to direct force into your shoulder. And so, once you can do pike lifts, you're almost at your first handstand push-up.
At this point, you've already done all the hard work and now it's going to come down to spending time in that bottom position and being comfortable holding it. So, the next exercise is going to be a pike lift except you're going to unfold your legs and hold the bottom of a real handstand push-up. And so, it'll look something like this.
And so, just simply doing static holds in that bottom position will get you to be more stable at the bottom so that when you begin pushing, you can have a clean, smooth trajectory as you push out of the bottom. So, what I recommend at this point is combining these bottom holds with negatives so that you're working the handstand push-up from two ends. You can do negatives to build the actual movement pattern, and then you can do these bottom holds to actually strengthen your foundation to press from.
And so, combining negatives with the bottom hold will allow you to get your first handstand push-up. And so, let's talk about the final exercise that I just mentioned, which is going to be handstand push-up negatives. And this is where trajectory is going to play a big role.
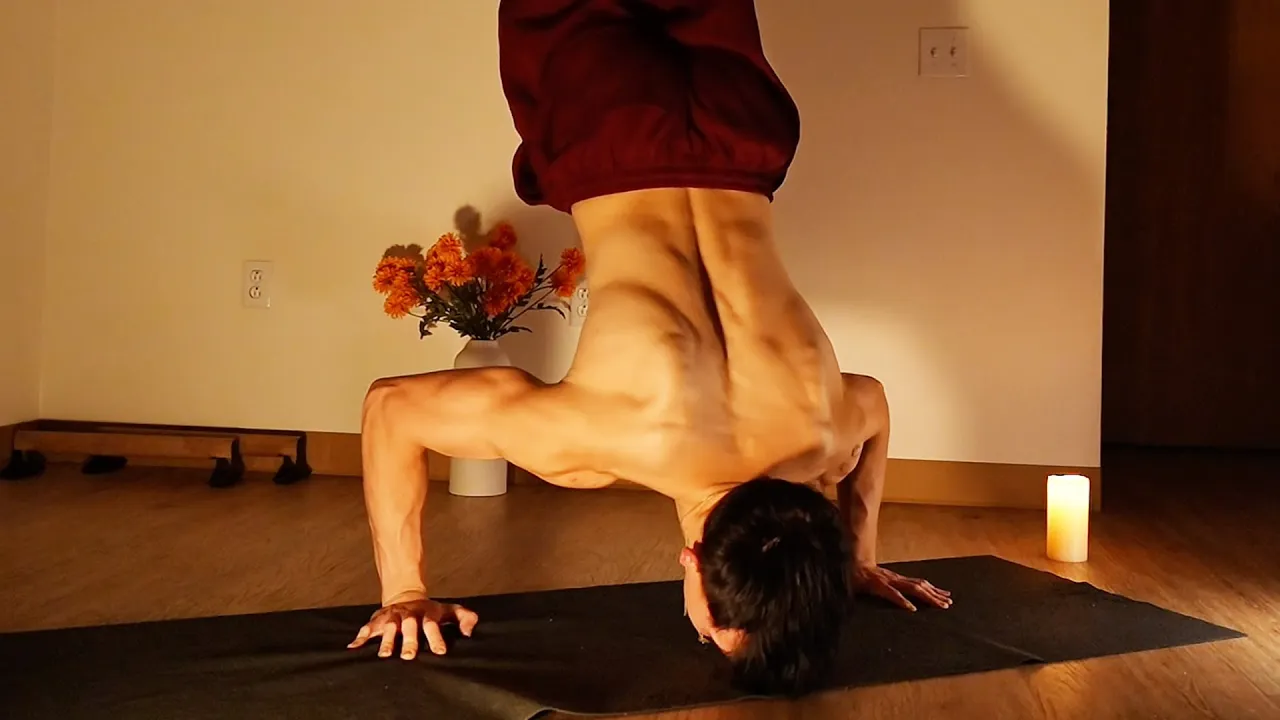
So, I want to emphasize we need to maintain that protracted and depressed shoulder position as we go down in the handstand push-up. So, your handstand push-up negatives should look something like this. And you should note that before I started my descent, I actually leaned forward and adjusted my focal point to be further than my hands.
Think of making a tripod with your head and your arms. You know that you're doing pike push-ups and handstand push-ups correctly when your forearm angle bottom is completely vertical. Right?
It doesn't look like this. This is slanted. It's perfectly vertical.
And so, I'm going to show you guys again what I mean by that. So, watch as I go down in my handstand push-up negative, you will see a triangle form between my head and my arms. And it's also important to note before you begin your descent, put the weight in your fingers.
This way you'll have more control of the movement, and you won't under balance. Quite oftenly, you'll see people they go for a handstand push-up negative and they just shift backwards and they think they're too weak, but this is just a balance component, right? So, if your handstand push-ups look like this right now, it's not because you're weak, it's because you lost balance.
Balance is really key in the handstand push-up because if you lose balance, you're going to have to make a major correction to save it and it's going to feel like pushing is impossible. The better your balance is, the easier it's going to be for you to fly out of the bottom. And so, let's demonstrate what I mean by performing a triangle between my head and my arms.
So, if you look at the handstand push-up from the side, as I do my negative, So, as you guys see there, my forearm is perfectly vertical and stacked over my wrists. Whenever you're doing your pike push-ups and your handstand push-ups, make sure to record them from the side so you can see that vertical forearm. Often times, if you're doing your pike push-ups and your forearm is slanted backwards like this, it means you're not leaning forward enough.
You need to initiate the movement by plunging forward with your head. And so, this is why the pike push-up is so important because it teaches us just that. As we do our descent, we plunge forward and when we want to come back up, we do literally the reverse.
We pull our head back and press. So, we're going to plunge with our head forward, go down, just like that. So, you're probably wondering, what about chest to wall handstand push-ups and back to wall assisted handstand push-ups?
Well, I'll tell you right now you should stay away from back to wall handstand push-ups at all cost. It's going to reinforce that retracted position that we want to avoid completely. However, chest to wall handstand push-ups can be very useful for building the raw strength needed to do the real handstand push-up.
So, I'm going to demonstrate for you guys now the chest to wall assisted handstand push-up variation and I'm going to kind of talk you guys through it as I do it. To enter the chest to wall assisted handstand push-up, you're simply going to walk up the wall. We need to climb up the wall until you're comfortable distance away from it.
Then you're going to point your toes so that you don't drag against the wall as you push. You're going to plunge forward with your head, descend, push back up. So, in terms of distance away from the wall, you're going to have to judge this because it's going to be different for everyone depending on limb length, how tall you are, but you want to have enough room to have that diagonal trajectory that we're looking for like we have in the real handstand push-up.
Understand that you're not going to be pushing up and down like this, you're going to be diagonally going down and then diagonally coming back up. So, I want you guys to understand all of the exercises we mentioned today are useless if you don't do them in a protracted and depressed position. If you're retracted and you're flaring your elbows, quite literally every exercise today you can do for 5 years and you'll never, ever, ever achieve a proper handstand push-up.
Make sure you're doing everything with protracted and depressed scapula position or shoulder position. We want to avoid doing our chest to wall or pike push-up variations like this. This is horrible.
Okay? This is horrible. You need to be like this.
And so, in terms of how frequently you should be training the handstand push-up, I recommend training it three times a week. I think that's perfect for most people. If you want to do more, you can do four times a week training, but keep the intensity of each session somewhat lower because the more frequently you train, the less intense on average each session should be.
It depends on which stage of the handstand push-up process you're in. However, if you do have the sufficient strength and you're already doing chest-to-wall handstand push-ups, you're doing pike lift-offs, you're doing the bottom handstand push-up holds, then at this point all you need to do is attempt it as frequently as possible, okay? However, if you are still trying to build the strength needed for the handstand push-up, I recommend training it three times a week focusing on pike push-ups and really keeping that protracted and depressed shoulder position.
And if you feel that pike push-ups are too easy for you, you can try to transition into pike lift-offs or do the chest-to-wall assisted variation. The handstand push-up is an amazing skill. It demonstrates strength, balance, coordination, and anyone can achieve it.
You can achieve it much faster than you think, especially if you have a background in weightlifting. You most likely already have the sufficient overhead pressing strength needed to perform the skill. You probably just lack the coordination and balance.
And so, thank you guys for watching this handstand push-up tutorial. If you guys want to see more tutorial videos like this, drop some recommendations of some future skills that you'd like to see me cover. And also, check out my other tutorials and informational videos where I talk about fundamental concepts in calisthenics, how to unlock the handstand, how to unlock the one-arm handstand.
I have all of those videos up, so go check them out. Hit the follow, subscribe for more informational content, and I'll see you guys in the next one.