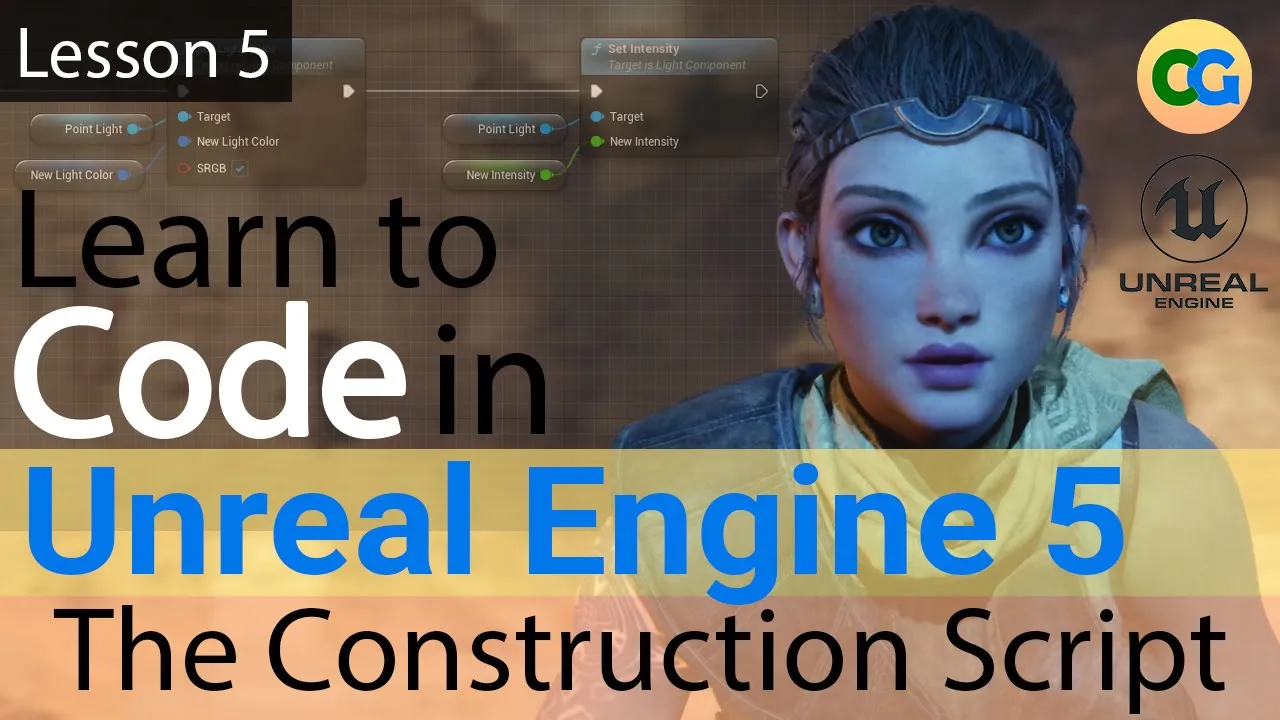
[Music] hello everyone and welcome back to the course in this lesson we will learn about the construction script and how we can use it to customize our class we will also learn about public variables and how we can use them to further customize our instances we will also explore how we can start changing component properties directly in our code let's get started now that we're back in unreal let's go back to our bp generic actor let's select all of the nodes that we used in the previous lesson in the event graph and delete them feel
free to compile and save your blueprint now let's go back to the construction script inside the graph you'll notice that we have a single node called construction script with a pin anything connected to this pin will be executed every single time we compile our class one of the most common things we can do in a construction script is change the properties of a component by using our code so right here we know that we have a point light so let's go ahead and select it and you'll notice on the right hand side on the details
panel that we have many different properties that we could try and change let's try and change the light color right here on the construction script so one thing you can do is simply click and drag any of the components in the hierarchy and when you release it you'll notice that we have a node that references that component and now if we simply click and drag from the pin we can search for a specific property in this case let's search for light color and you'll notice that we have two different nodes one called get light color
and one called set light color let's go ahead and select the second one here and simply connect it to the construction script now click on the new light color to reveal a color picker and let's choose a different color in this case because we had red i'm choosing blue ok and now compile and save your blueprint you'll notice that as soon as we compiled you saw a visual representation of this node being executed starting at the construction spread now let's go back to our map and notice that our light has changed from red to blue
let's go back to our blueprint another thing we can do is instead of entering the value directly in the node we can create a variable that will hold the value and simply connect it to the spin there are two ways to do this one you can simply right click right here on the node and select promote to variable or you can simply drag from the node from the pin into the graph and release and you'll see that you have the options to promote to a local variable and a variable for now let's choose promote to
variable compile and now notice that the color is held inside a variable called new light color so let's go ahead and click here and change the light one more time click compile and now let's go back to our map now we see that the light yet again has changed the value of the color is now held inside a variable but what if we wanted to change the color of the light for each individual instance you see if we select our instance in the level and duplicate it you'll see that both instances have the exact same
color let's go back to our blueprint and select our new variable if you look on the details panel notice there's a check box that says instance editable meaning you can edit this variable on an instance by instance basis if we select the check checkbox and compile our blueprint we will now see that the variable is now exposed inside the level for each individual instance if you look down here you'll notice that there's an eye icon that now appears to be open compared to the other variables that are closed this also indicates that the variable is
now public so if we go back to our map nothing has seemingly changed however with any of the instances selected we can now go to the details panel and see that we have the property exposed as new light color so now if we simply select the color we are free to change it to anything we want and as you can see as we change the color the change is reflected immediately inside our level and we're not limited to a single property we can expose as many properties as we want for instance so let's try let's
go back to our generic actor and select our point light here just to see the available options on the details panel how about we expose the intensity value we'll do the exact same thing as we did before drag the point light into the graph and search for intensity we'll select set intensity and connect the nodes as such [Music] right click on the new intensity pin and select promote to variable with the variable selected let's go back to this area here and simply click on the eye icon making the variable public compile save and before we
go let's make sure that we change the default value of new intensity from 0 to its original value 5000 let's go back and compile and let's go back to the map now we see that we have a new value exposed called new intensity and we can simply change the value to whatever we want so let's do a quick recap we learned about the construction script and how we can use it to customize our class we learned that we can get a reference for any component inside our graph and use that to set its properties with
code we learned about public variables and how we can use them to expose properties that can be changed on a per instance basis and we also saw that we can expose many properties from multiple components to truly customized our instances if you want to practice what we learned try changing other properties of the point light component inside the construction script then make sure to expose those new properties to further customize your class and that's it for the lesson thank you so much for watching and i'll see you in the next one [Music] you


![Interactivity Basics for Mocap / Body Tracking in Unreal Engine 5 [Tutorial] | Kinect UE5](https://img.youtube.com/vi/Dw0QV3j_i94/maxresdefault.jpg)