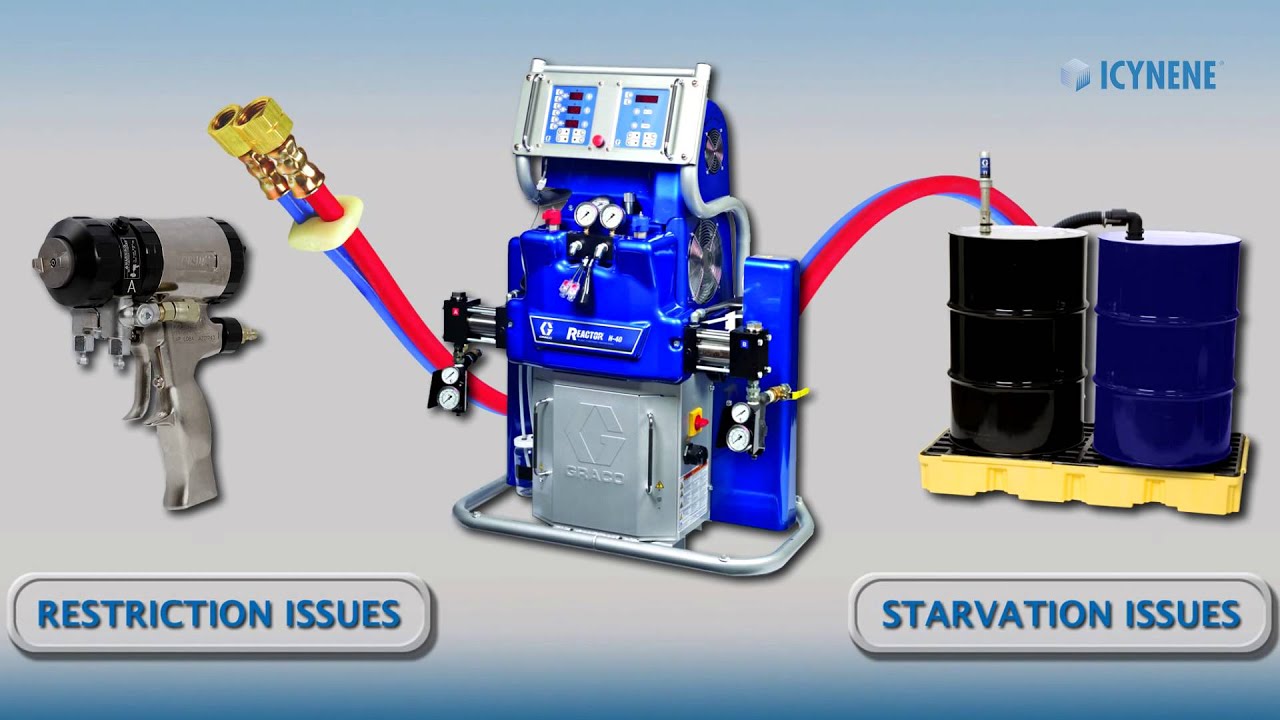
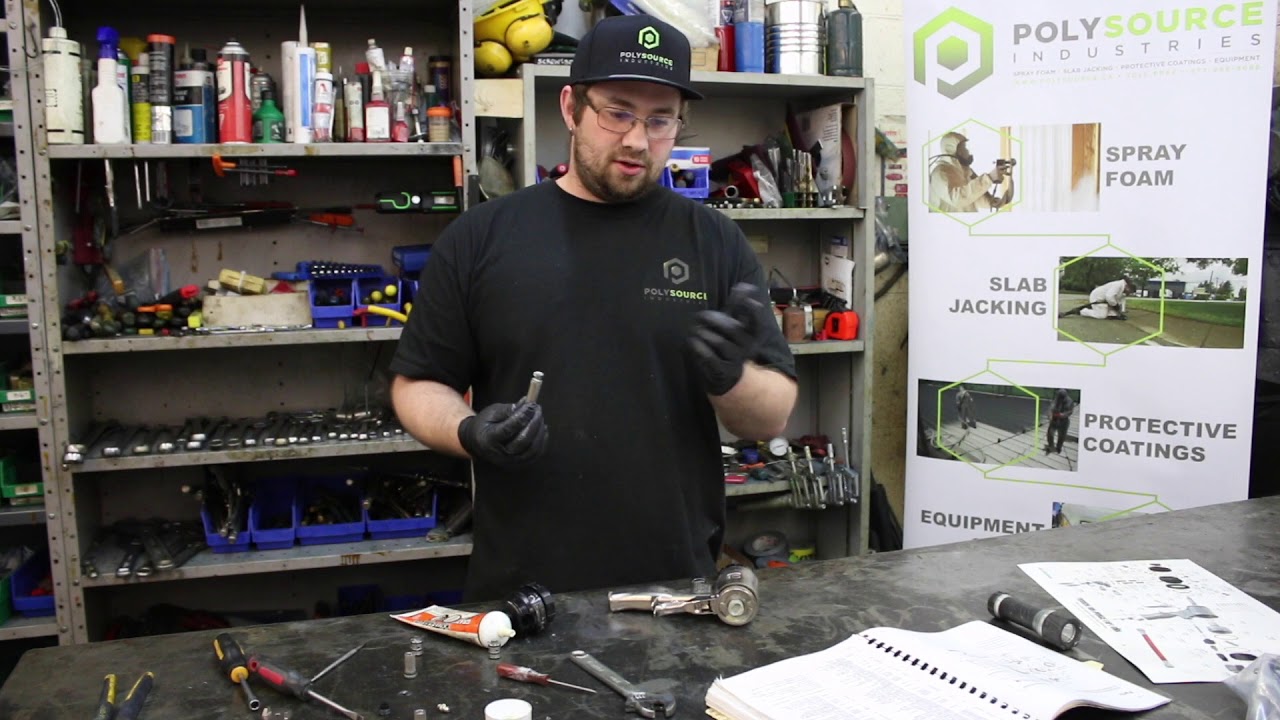
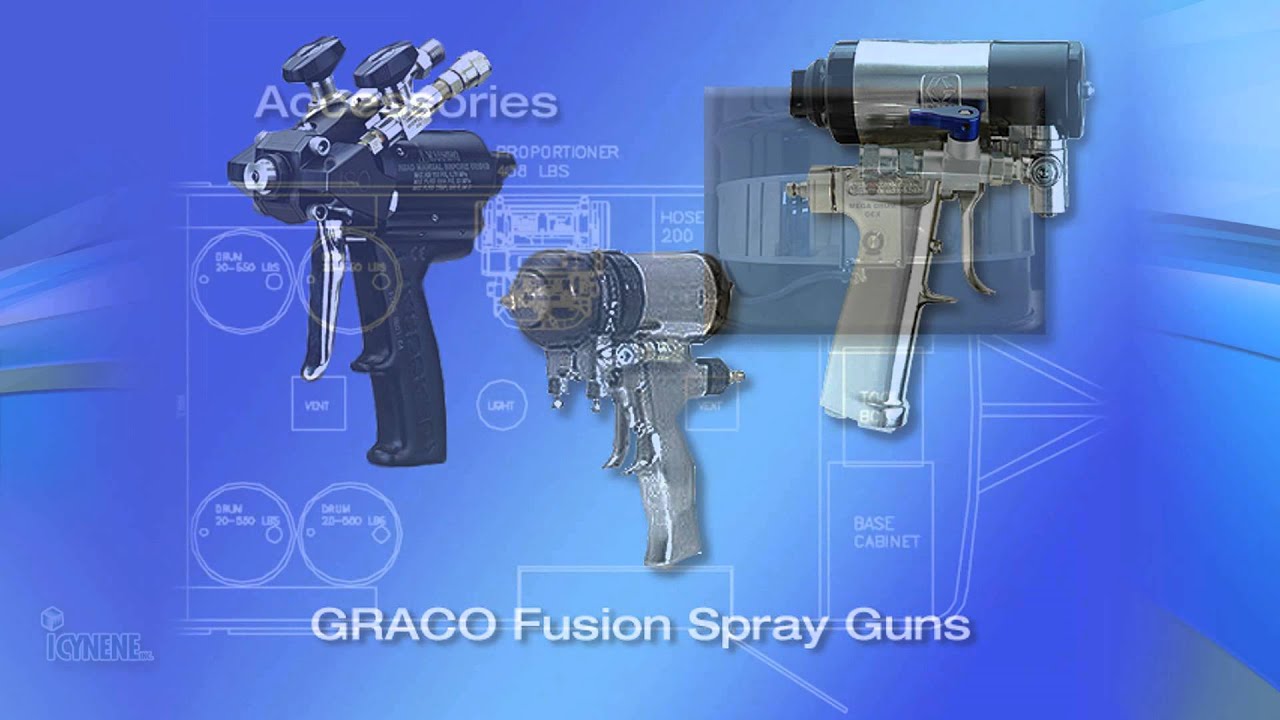
okay uh today I'm going to demonstrate uh flushing of the fusion mechanical Purge gun this can be done with any of your guns the fusion mechanical Purge the fusion air purge your gx7 your gx8 uh you can even uh flush your uh Gap pro gun if you're using a short set of cold whips up on your gun like I do but I really before I ever do any type of Maintenance work on these gun especially if if I've been spraying uh and I need to take my gun down for for Maintenance Cleaning Out My modules
or at the end of the day when I'm done spraying always like to Simply flush out my gun and I'm going to uh demonstrate that I've got my night cap I always keep up on my guns this gun was used at a training class and uh saved it for today so that I can demonstrate flushing this gun out this is our flush manifold here uh this is comes from GCO it's got onoff valves on it so I like those uh you can also modify your block that comes with your guns I just put a quarter
uh female by quarter male swivel and then uh put a block on the other end and I can also use this as a flush block okay [Music] [Music] good and tight go ahead and hook my air up uh the tank that I'm using is just a 2 and 1/2 gallon uh just using a two and uh a 2 and 1/2 gallon pressure pot like you would uh see for uh spraying Coatings with conventional coatings so it's just a 2 and2 gallon paint pressure pot that I have converted into a solvent flush tank for my guns
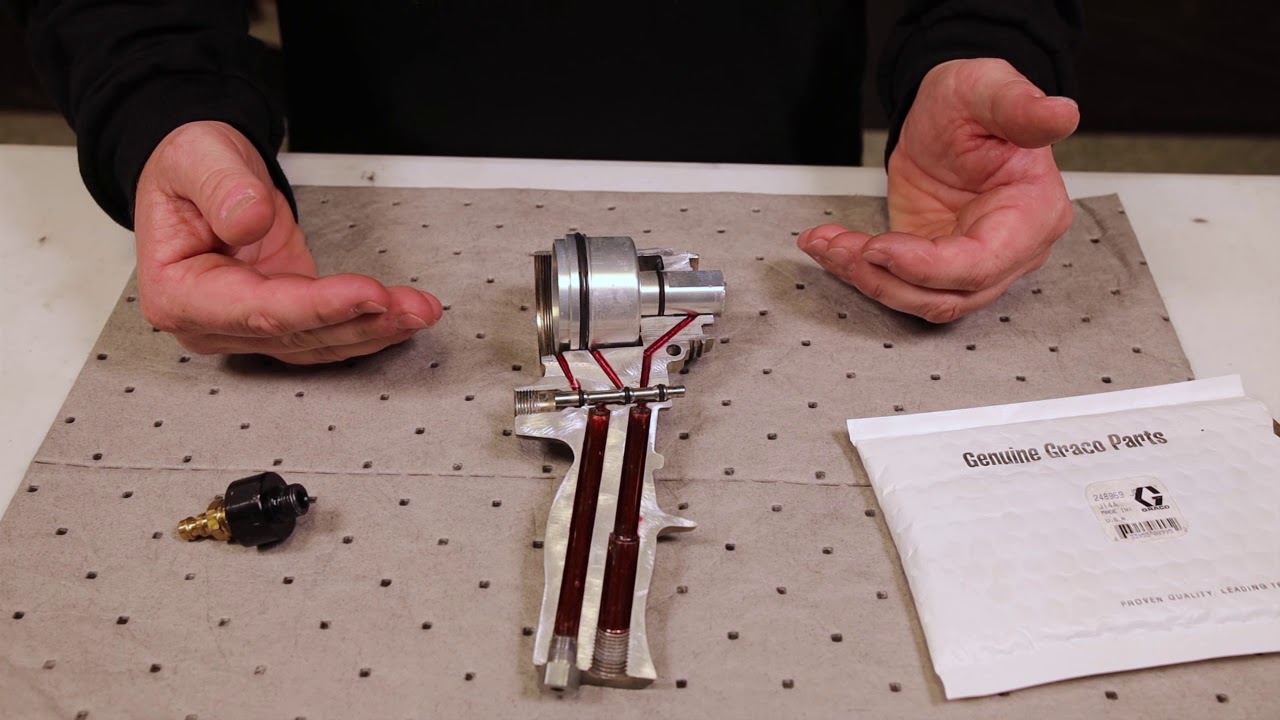
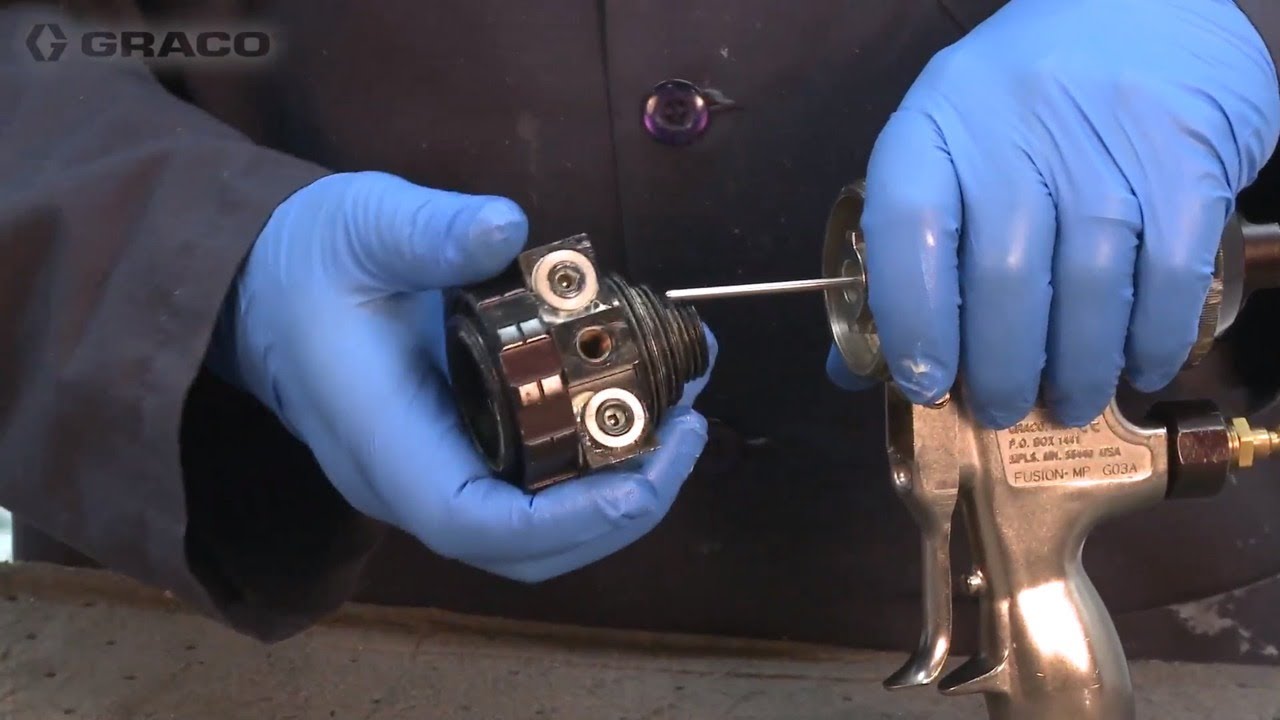
I like it a lot it holds plenty of solvent I can pressurize it up and uh no problem does extremely extremely well I do like to go ahead and remove my tip from my gun before I flush I just uh has everything coming out a lot easier hopefully you can see everything here I'm focusing here on this on this gun now take you can see there I've dispensed the material that was inside of the gun I'm here to tosolve it I do want just to ensure that I get enough material out enough solvent through I'll
go ahead and remove the front Purge Rod seal I I got a chance and what I do like to do as I'll close off my resin side of my gun see there look here I'm showing right here that I'm not getting nothing through on my ISO side okay my ISO side is Little B stopped up so I know that I'm not getting nothing on my ISO side but I am able to at least flush out one side of my gun so we what we'll do since I've got that going like that we'll go ahead and
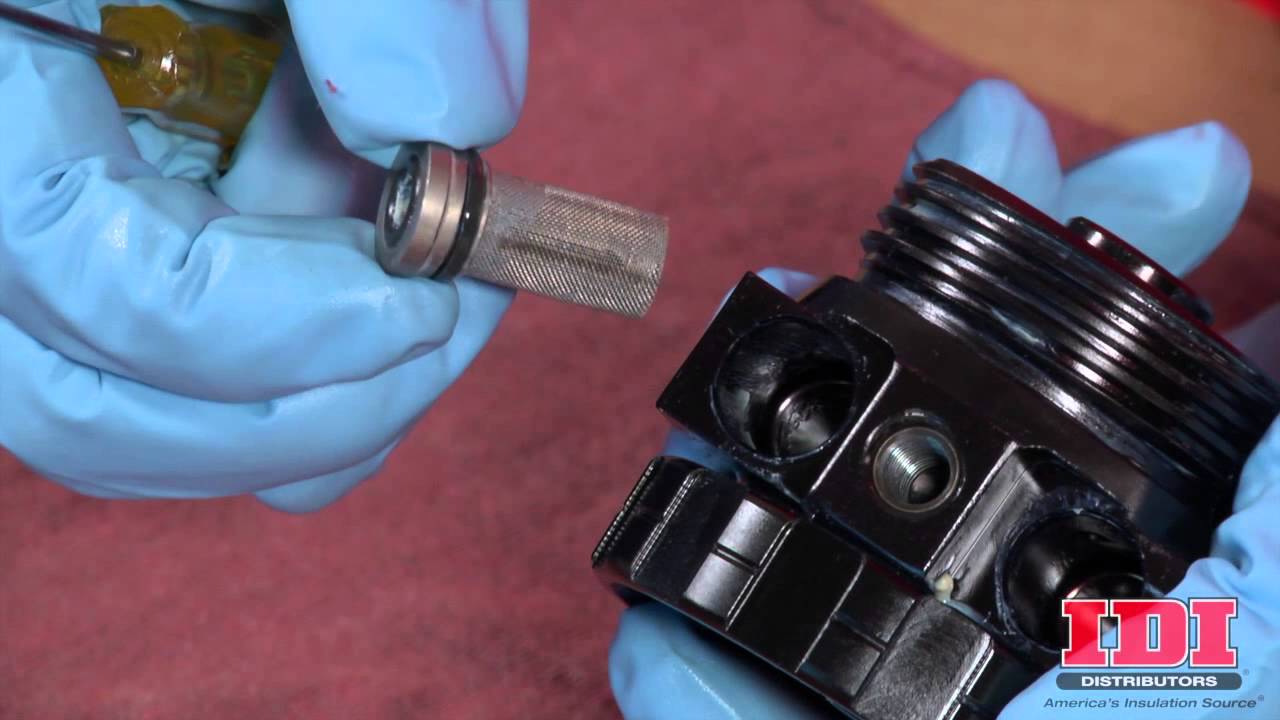
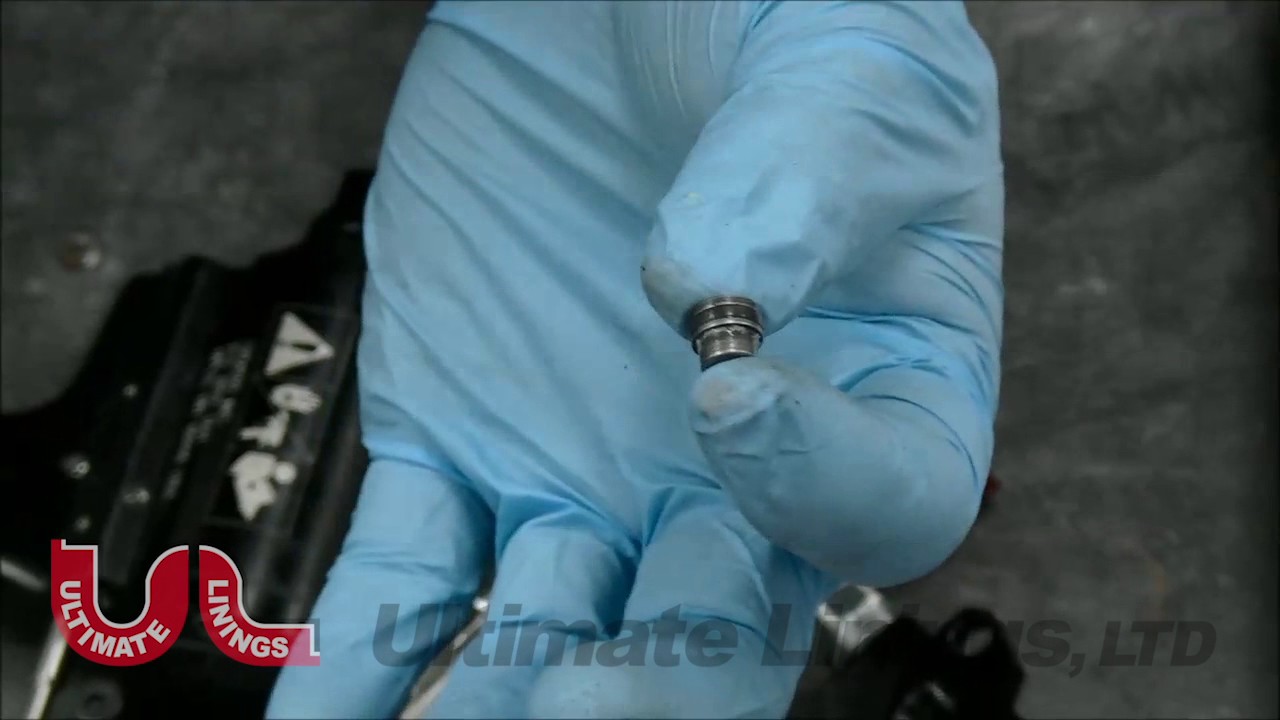
we'll take the module out move our modle retaining nut we see if more modu will come out look at there no problem so now I should be able to flush the aside portion of this gun we'll see here y got a little got a little plug it's probably on my aside check valve know that their bside is good so we'll take this back off see where our problem is at remember said a seems to always be our problem our problem side and right here I am that check ball is moving let's remove our chick valve
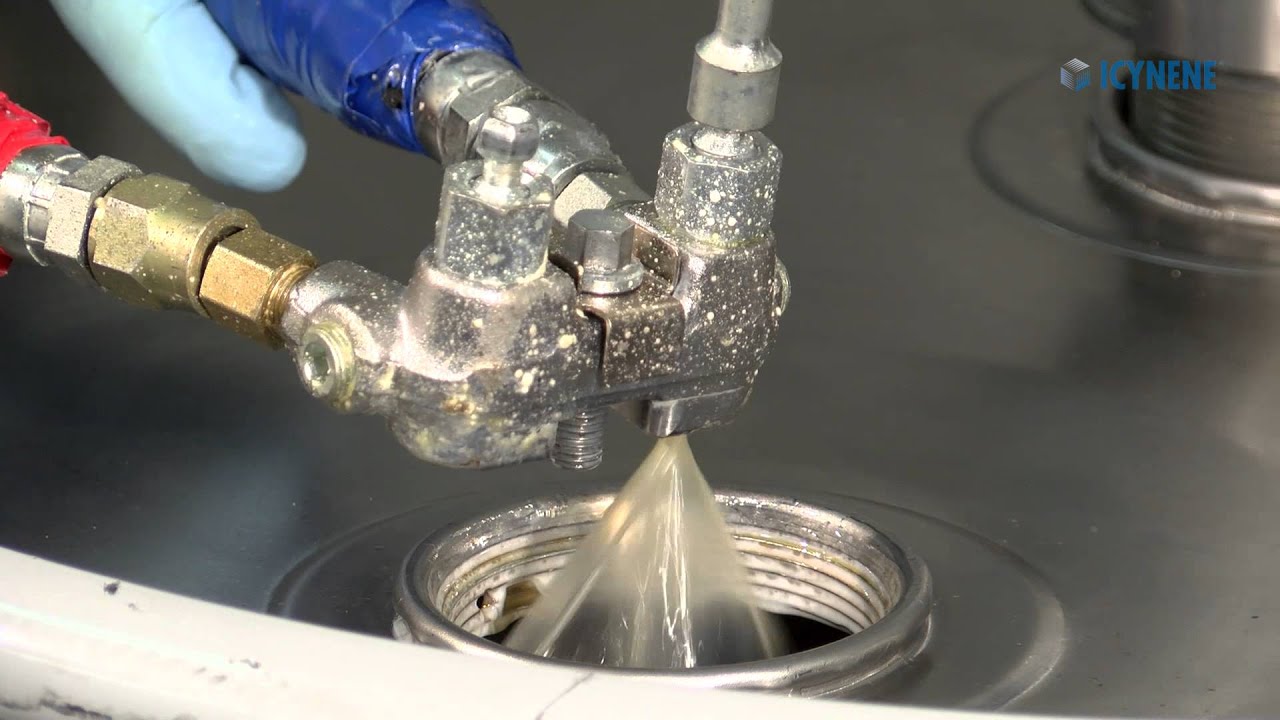
let's see what we got in here [Music] oh liquid some ISO out so let's put our flush block back on anytime you're working with solvent you do want to use some type of solvent re Sol uh resistant gloves try to avoid contct with solvent with their skin as much as possible sometimes it's a little difficult to do but very important there we go now we've got our aside flowing do the be just right quick Okay so we've got that so I like to able to flush with my module on so what I want to do
is reinstall the module and the retainer let's see if we can get material flowing through both sides of our module now air hooked back up my gun on safety turny to solve it off on the rism side there we go this way I can clean the passageways out of the S out of the the module thoroughly doesn't take much solvent at all I used a little bit more than what I normally would uh but I had a little bit problem with seem like maybe the aside check valve was stop was stopped up plugged up uh
stuck probably the check ball from it's been a couple of days since my last training class so I'll let my gun sit I wanted to get this video done sooner but time wasn't permitting me and I wanted to be able to do it with a dirty gun so we we'll remove this check valve out drain the liquid out remove our bside that liquid out now we can take our check valves down our gun screens clean every everything thing up I do want to take out my module again now I can just go can go about
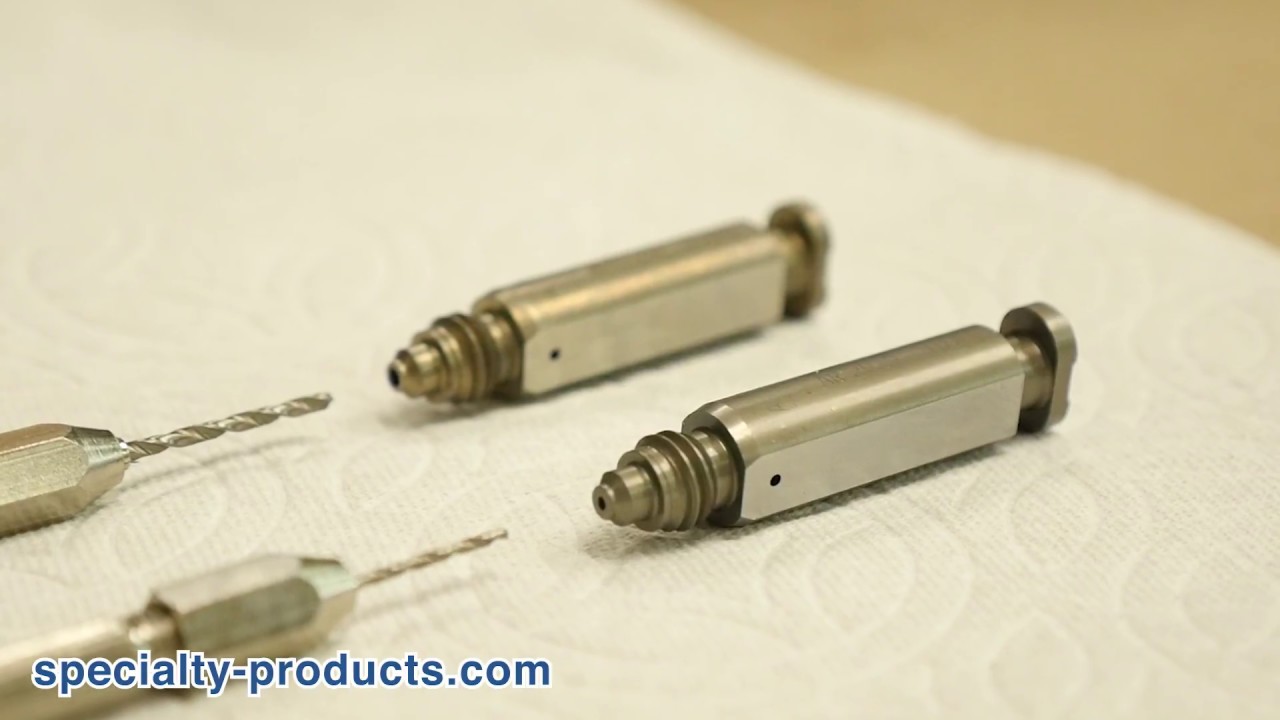
my daily routine of serviceing my gun clean my gun screens make sure my check valves are working take out my module and uh remove my module now it's good and clean as far as being clean with the solvent and now I can take my the correct size drill bit and drill my passageways this here is a XR 2929 module so I'll take and I'll drill my a and my B orices out with my drill bit uh holder my pin Vice that's already sized up for the uh size module that I'm cleaning but that is pretty
much all there is to Flushing out uh the mechanical Purge Fusion gun very very simple again uh you can use you can make this part here comes with your gun minus this uh quarter by4 in uh npt fitting and uh very very handy always travel with this so that uh maybe the uh my customer doesn't maybe they have a flush pot but they don't have the right size manifold for a fusion mechanical Purge gun so I generally travel with that as well so anyway I hope that you get something from this now this now I
can take all of my parts uh apart here all of my parts and I can clean them up and all of the residue is flushed out of them and thank you and have a good day byebye

![Open Cell to Closed Cell [OC-CC] Spray Foam Insulation Chemical Changeover](https://img.youtube.com/vi/KiGXvGK5sXk/maxresdefault.jpg)


![How to Flush A Spray Foam System [Proper ISO Flush]](https://img.youtube.com/vi/QRyKBMwWHNA/maxresdefault.jpg)