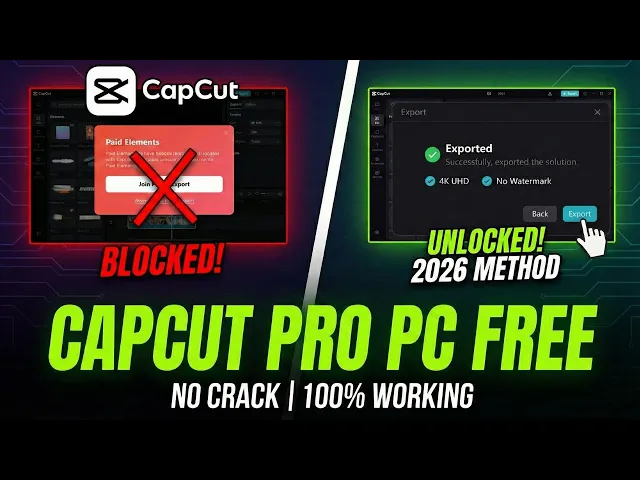
If you're using Cap Cut Pro on PC, you might have faced this problem. You finish editing your video, click on export, and suddenly a pop-up appears asking you to join the Cap Cut Pro subscription. This happens especially when you use Pro Elements or features during editing, and many users get confused at this point.
So, in this video, I'm going to show you how you can use Cap Cut Pro on your PC for free. And yes, no crack, no hack, and no shady tricks. I'll show you a safe, clean, and working way that anyone can use.
Let's get started. First things first, we all know Cap Cut is officially banned here in India, which means you won't find it on Microsoft Store. And even if you do, it won't work properly.
So to fix this, we need to trick Windows into thinking we are in a different country. Click your Windows icon and go to settings. On the left, click time and language and select language and region.
Under region, you'll see it's set to India. Change this to United Kingdom or United States. I personally recommend UK.
This will instantly unlock Cap Cut in the Microsoft Store. Now go to the store, search for Tap Cut, and hit install. While that's downloading, search for HotspotVPN or any free VPN and install that too.
We need a VPN because even after installing Cap Cut, the app will give you a network error if it detects an Indian IP address. Once everything is installed, open the VPN first and connect to the UK or US. After connecting the VPN, open Cap Cut.
This ensures all the Pro effects load without any network errors. Now go ahead and edit your video. Feel free to add all the pro transitions, 4K effects, and premium stickers you want.
Usually, if you were to click the export button right now, Capcot would scan your timeline, see those pro features, and block you with a paid elements pop-up asking for money. So, instead of using the export button right now, we are going to force Cap Cut to render the video inside the timeline as a preview file. To do this, first click your timeline and press Ctrl + A to select everything.
Right click and choose create compound clip. This merges everything into a single layer. Now right click that new clip and select pre-process compound clip.
Pre-processing tells Caput to render this heavy clip in the background to make playback smoother, but effectively it's exporting the full quality video into a hidden catchy folder on your PC. Wait for the little percentage bar to hit 100%. Do not close it early.
This is essentially your video exporting in the background. After the processing is finished, your 4K video is actually sitting on your hard drive. Cap cut just hid it in a temporary catchy folder.
Now we need to go dig it out. So minimize cap cut. Press Windows key plus R to open the run box.
Type app data and hit okay. This is where apps store their internal data. Now you need to follow this exact path to find where cap buried that video file.
Open local. Go to Cap Cut, then user data, then project. Look for a folder named com.
editor. draft. This is the draft storage.
Here you'll see the folders for all your projects. Find the one that matches your current project name or number. Open it up.
Go to resources and finally the combination folder. You'll see two files here. Ignore the file ending in alpha.
That's just transparency data. You want the file ending inmpp4. This is your fully rendered highquality video file that we tricked the software into making.
Now drag and drop directly into your import box in Cap Cut. Then close all the folders and make Cap Cut full screen. Now take that file you just imported and drag and drop it directly onto your main file on the timeline.
A box will pop up saying replace clip. Just click on that and you are done. Cap cut will no longer detect any active pro elements.
Because of this when you go to the export window, Cap Cut thinks you are just exporting a normal free video. You can also select 4K resolution, 60fps, high bit rate, whatever you want. Click export and it will save to your PC without any watermarks or without asking for a single penny.
And there you have it, a legitimate way to use Cap Cut Pro features on PC by simply understanding how the software renders files. If this trick saved you a subscription fee today, please smash that like button. If you get stuck at any step, comment down below and I'll help you out.
See you in the next one. If you're using Cap Cut Pro on PC, you might have faced this problem. You finish editing your video, click on export, and suddenly a pop-up appears asking you to join the Cap Cut Pro subscription.
This happens especially when you use Pro Elements or features during editing, and many users get confused at this point. So, in this video, I'm going to show you how you can use Cap Cut Pro on your PC for free. And yes, no crack, no hack, and no shady tricks.
I'll show you a safe, clean, and working way that anyone can use. Let's get started. First things first, we all know Cap Cut is officially banned here in India, which means you won't find it on Microsoft Store.
And even if you do, it won't work properly. So to fix this, we need to trick Windows into thinking we are in a different country. Click your Windows icon and go to settings.
On the left, click time and language and select language and region. Under region, you'll see it's set to India. Change this to United Kingdom or United States.
I personally recommend UK. This will instantly unlock Cap Cut in the Microsoft Store. Now go to the store, search for Tap Cut, and hit install.
While that's downloading, search for HotspotVPN or any free VPN and install that too. We need a VPN because even after installing Cap Cut, the app will give you a network error if it detects an Indian IP address. Once everything is installed, open the VPN first and connect to the UK or US.
After connecting the VPN, open Cap Cut. This ensures all the Pro effects load without any network errors. Now go ahead and edit your video.
Feel free to add all the pro transitions, 4K effects, and premium stickers you want. Usually, if you were to click the export button right now, Capcot would scan your timeline, see those pro features, and block you with a paid elements pop-up asking for money. So, instead of using the export button right now, we are going to force Cap Cut to render the video inside the timeline as a preview file.
To do this, first click your timeline and press Ctrl + A to select everything. Right click and choose create compound clip. This merges everything into a single layer.
Now right click that new clip and select pre-process compound clip. Pre-processing tells Caput to render this heavy clip in the background to make playback smoother, but effectively it's exporting the full quality video into a hidden catchy folder on your PC. Wait for the little percentage bar to hit 100%.
Do not close it early. This is essentially your video exporting in the background. After the processing is finished, your 4K video is actually sitting on your hard drive.
Cap cut just hid it in a temporary catchy folder. Now we need to go dig it out. So minimize cap cut.
Press Windows key plus R to open the run box. Type app data and hit okay. This is where apps store their internal data.
Now you need to follow this exact path to find where cap buried that video file. Open local. Go to Cap Cut, then user data, then project.
Look for a folder named com. editor. draft.
This is the draft storage. Here you'll see the folders for all your projects. Find the one that matches your current project name or number.
Open it up. Go to resources and finally the combination folder. You'll see two files here.
Ignore the file ending in alpha. That's just transparency data. You want the file ending inmpp4.
This is your fully rendered highquality video file that we tricked the software into making. Now drag and drop directly into your import box in Cap Cut. Then close all the folders and make Cap Cut full screen.
Now take that file you just imported and drag and drop it directly onto your main file on the timeline. A box will pop up saying replace clip. Just click on that and you are done.
Cap cut will no longer detect any active pro elements. Because of this when you go to the export window, Cap Cut thinks you are just exporting a normal free video. You can also select 4K resolution, 60fps, high bit rate, whatever you want.
Click export and it will save to your PC without any watermarks or without asking for a single penny. And there you have it, a legitimate way to use Cap Cut Pro features on PC by simply understanding how the software renders files. If this trick saved you a subscription fee today, please smash that like button.
If you get stuck at any step, comment down below and I'll help you out. See you in the next one.