in the last episode we exported an mvr file from wysiwyg lighting design software from cast-soft this time i'll show you the easy way to set up your GrandMA3 layout to reflect what's in your GrandMA3 3D window GrandMA3 has a great and simple tool that's going to help you make your setup based on your fixtures position in the 3d universe so if you want to be a better and faster GrandMA3 programmer this tutorial is definitely for you if you haven't watched the last episode i'll link it in the corner right now but you don't have to
use that setup you can follow along if you made your own 3d setup but you must have some fixtures ready in your GrandMA3 3d window for this technique to work in the description below i've shared a onedrive link where you can download this GrandMA3 show file feel free to use it for this tutorial if you don't have something of your own setup right now if you go into the folder it's the episode 18 folder so let's get into it as you might remember from the last tutorial we imported this mvr file as you can see
right here and this consists of a lot of fixtures and building a layout file from all these fixtures in the right position is going to take you a long time and that's why GrandMA3 has a really really great tool which is going to help you in that in that regard but the first thing here we look at it in 3d and then we have our cameras up here which determines from which angle we are watching it right now so if i press the front it's going to show us the front it's going to show us
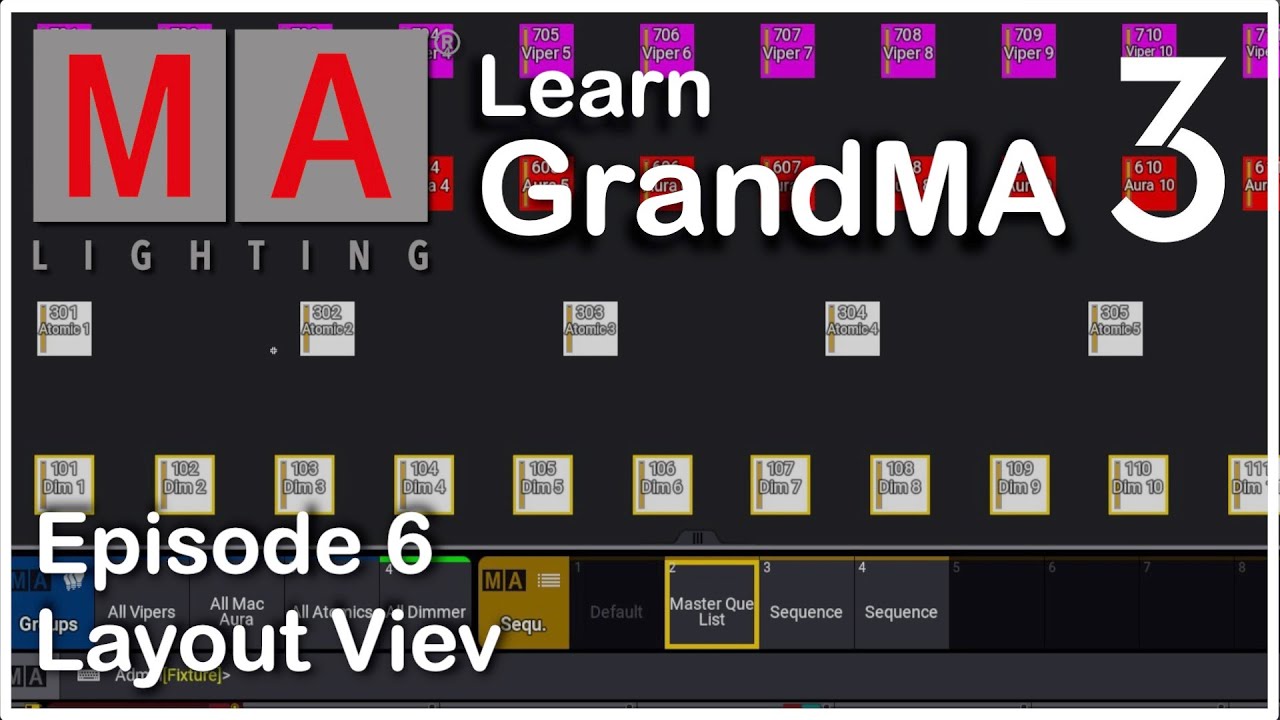
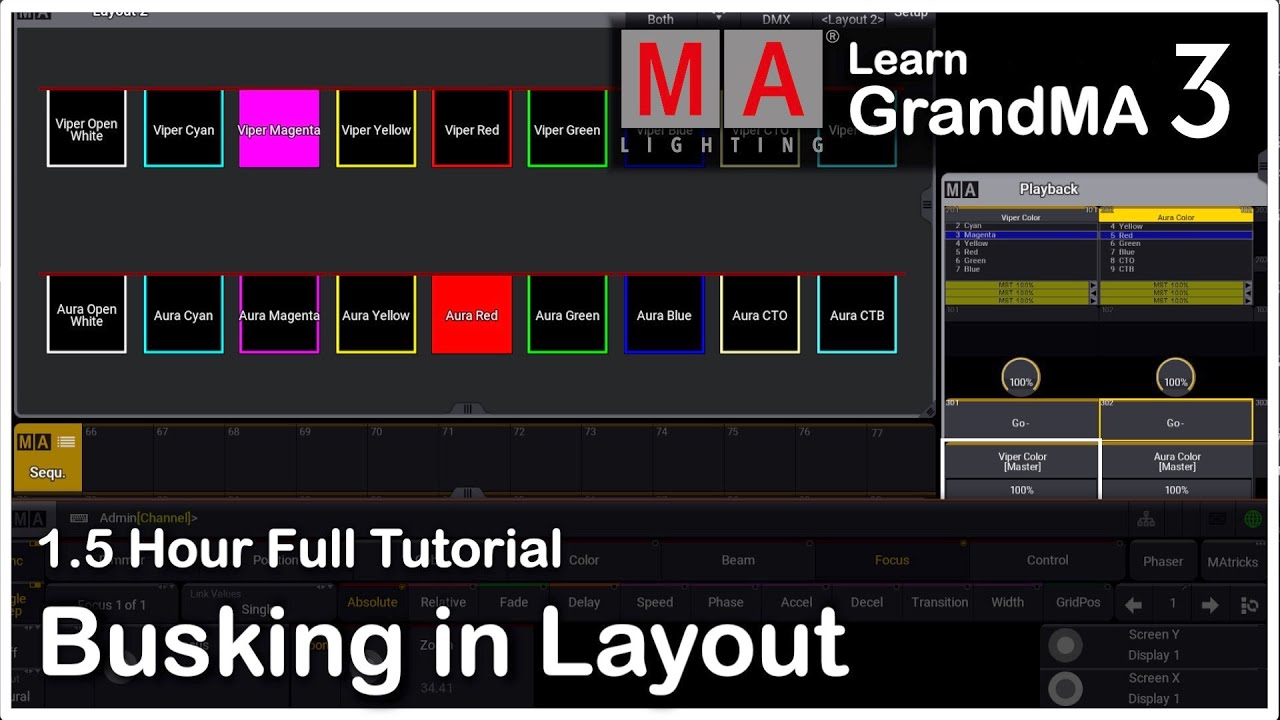
front and left left back lift back and so on and so forth and this is this is something that's going to help us in a minute when we build our layout but before we build our layout i you have to build a layout view which i've done here i have some groups i have some playbacks here which we're going to need later i have some macros for easy access instead of writing everything out in the command line i have my sequences ready down here i can see what's in the sequence when i store some and
i have my fixture sheet here so there's a few different ways you can make a group first of all you can of course just type the numbers you can type fixture one through and the last one in in that chain of the fixtures and another thing is you can go over here and you can simply drag drag the cursor down until you you select all the fixtures in a certain fixture type this time i'm going to do it with all our two lights right now and it's a little bit difficult because it reacts really fast
sometimes but i think i've put in 175 two lights we have marked them out now we can simply say store and put them into a group up here we label the group all two lights like this and then i'm going to speed up the video and do exactly the same thing for the other moving lines and the other fixtures in our 3d space once you've stored everything into its own group it's much easier to work with not that we have to do that we could actually basically just select all fixtures and put them into the
view but this way we have a little bit more control when we need to work with them later but as we have done we have a build our layout right here we just need to scale this a little bit down and we need our layout pool in here as well and it's over here somewhere and we're going to need that in a minute let's just store this into our current layout view right here there we go so clear this now we go we need our two lights our atomics our spiders mega points auras and vipers
and we need to assign them into this layout view so we have just selected all of them and we simply say assign and we put them in here and as you can see this is all our fixtures but they are just in one big long line right now and we can't use that for anything really so here comes the cool part you can go up into your setup menu here with everything selected you can go into your position down here and you can click it and say arrangement you can right click this one and say
camera and if you remember before we used we could we switch around the cameras in 3d window so here in the camera setting you can simply right click or left click and and go up and say okay from which angle do i need to set this up right now if you do it from the front view like this one it's gonna be basically set up the layout of if you see it from the front i love to see it from the top this is the way i like to work with it so i select the
top view and then we go down into our settings down here and we say apply and now we actually set up everything as we're supposed to we can mark everything here and we can take our little move tool here and we can move it into the center and now we very very quickly built a layout for our setup but as you can see this layout is practically useless because everything is positioned on top of each other so we need to separate this out the easiest way we can so we have all our fixtures stored in
this first one up here so when we press that that's the the view with all our fixtures in it so let's just copy this one and move it down here and we can relabel this to all atomics for instance like this and then we can go in and select it and it looks exactly the same because it's a copy of course so we say edit and then we find everything in here which is not an atomic and we simply delete it so we start up here with all the two lights we select them and we
delete them we go below the atomics and we find all the spiiders and all the way down and we delete that and then we close this one down and then we suddenly only have all our atomics in our view but it's still a little clunky because we are looking from the the top and you can see they are a little bit on top of each other so we just simply select all of them here all the the weird ones from 307 up to 3 11 312 here and we reposition them just a little bit and
this is basically what the layout view is really good at so let's just do that again and make sure that we selected all of them like this and then we go into the move tool here and we simply drag them a little bit back and now we have them all separated so now we can work a little bit better with them so let's select all of them and let's go down into our controls down here and they have a width of 50 pixels and a height of 50 pixels let's just increase that a little bit
to make them a little bit more visible like we want them like this maybe 80 and 80. maybe that's fine and then we can certainly much better grab them and move them around the way we want it so the layout is basically just a starting point when we import it from 3d and then we can rearrange it a little bit like we like we just did here so let's just uh once again move them into this one and then i'm going to do the rest of the fixtures right here and then we're going to go
into the next step afterwards so this one this time i'm going to speed up the video once again and i'm going to do all the other other views for the other fixtures and then when we have done that we can go and proceed to the next step if you think you have learned something so far be sure to give this video a like to give some free support to my channel i really appreciate it and it really helps the youtube algorithm to push my video out to more people and you're also very welcome to subscribe
to the channel i try to upload a video a new video every week so if you want to continue learning GrandMA3 this is a good place to be so subscribe and hit that bell notification so you don't miss any future uploads another cool thing we can do after we've done all these layout windows is to give each fixture type its own color so if we go into the atomics into the edit again we can scroll all the way down i've tried it with the with some of the the different appearances and it doesn't seem to
work for me i think it's a some kind of bug right now in the software i hope it's going to be better but i find kind of a work around is to color the border and as you can see on all the atomics here all the borders are hidden but we can simply mark them all the way down and say visible and then we can scroll down to border color right here and then we can mark them once again and we can choose a border color for our atomic fixtures so let's just make a kind
of a cyan border color right here close this one down and if we clear out you can see they are all in a cyan color once again i'm going to do this to all of the other fixtures so we can have them each and and everyone can have their same color so now i colored all the different fixtures they all have the same color so you can much better differentiate one from the other i can see there's some similar colors over here but never mind the last thing i'm going to show you in this tutorial
is to be a little bit more specific about what is in each window because you can actually draw a large border around a fixture collection as i'm going to show you right now like this one i have this selected and i can right click on it and go into the setup menu if i can hit the controls and then we can rename it this is another element we can say custom text we can say all two lights like this and as you can see the text come up here in the center and it's very small
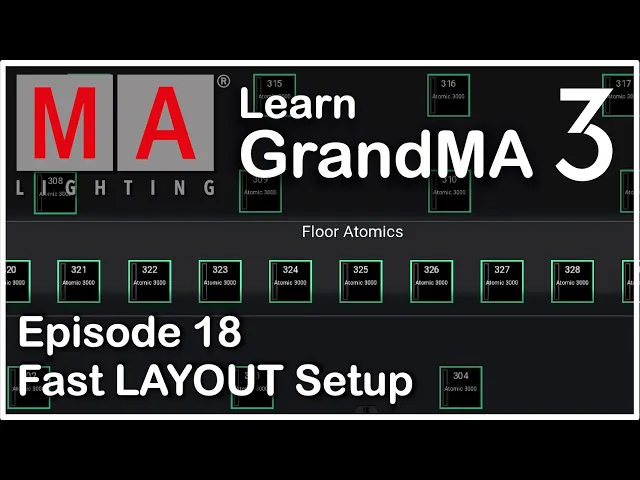
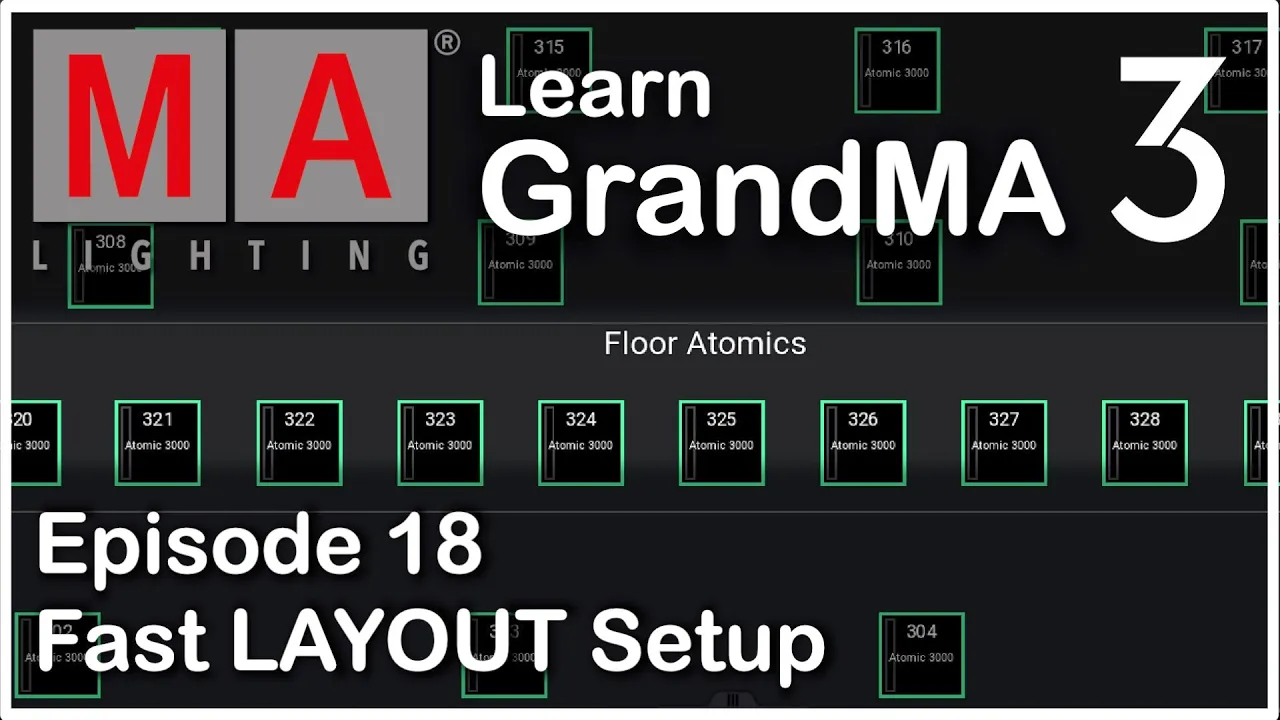
so we can set the default font size to 32 and we can set the text vertical up to the top and that makes it a lot easier when we go into a setup or into a layout view to see what's actually in it so if we for instance go into let's say all our atomics and let's just say for the fun of it that these ones are on the floor we can simply choose this plus icon up here and we can draw a border around these atomics only and then we can right click and it
can be a little bit hard to hit we can right click and say floor atomics like this and you can it's very hard to see but there's a small name right here in the in the center so we can set the default font size to 32 for instance and we can place the text all the way to the top and then we can simply align this this border just a little bit oh i need to change this up a little bit delete these ones and then i can just go up with the with the this
border like this so basically now if we go out of the setup menu you will have this one marked out as the flow atomics and then you know everything else is in the in the roof or in the trusses i release a new video every week on this channel so be sure to subscribe and click the little bell icon if you want to be notified when i release new content if you are interested in GrandMA3 be sure to watch this next video you can see on the screen right now where i will go through even
more GrandMA3 features on our quest to learn GrandMA3 programming i hope to see you on the channel again in the future and until then happy GrandMA3 programming - BYE! :-)