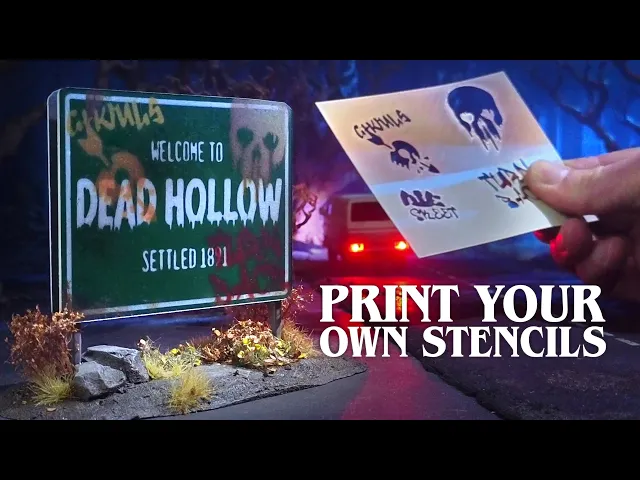
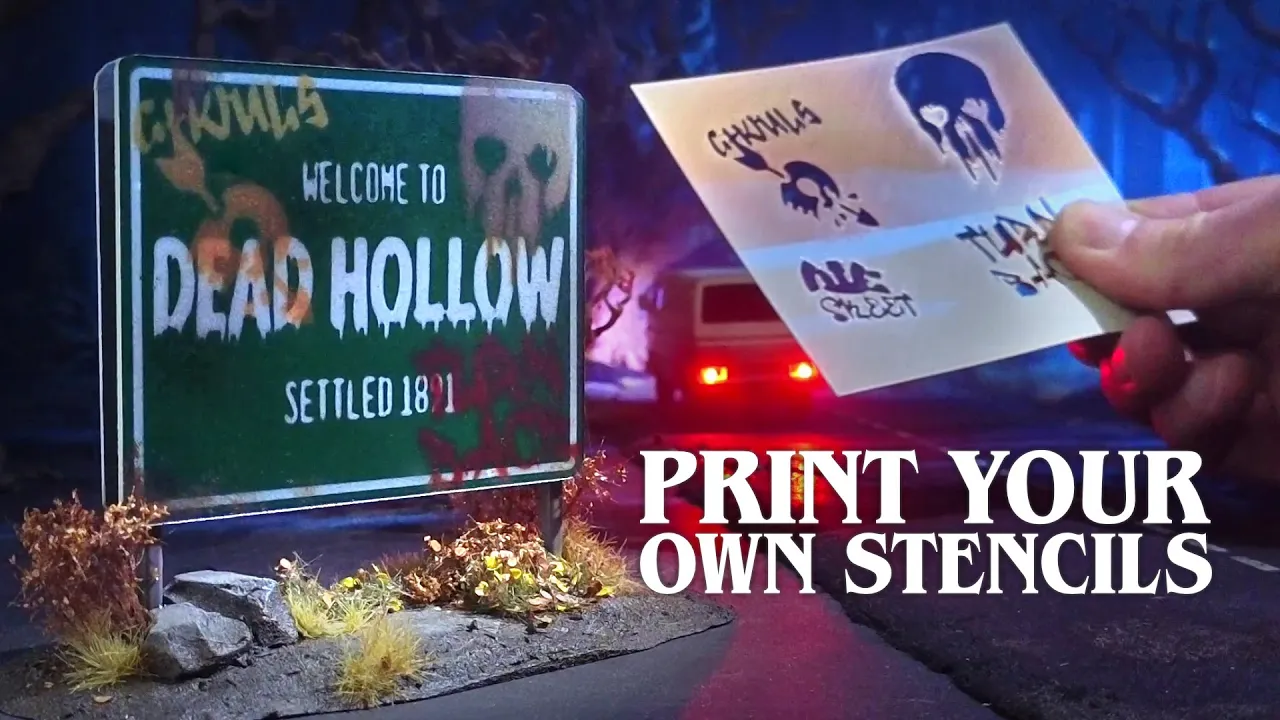
Welcome to my dead hollow terrain for season 2 of Atmosseker. We've got the roads, but we need a sign. [Music] Bad weather, but just the way I like it.
Come on in. We do all kinds of experiments in here for tabletop gaming. Isn't that right, Bro?
>> Like I care. >> Oh, come on. Now, I'm wanting to craft a road sign from a bunch of stuff that I found around the basement.
But one thing I need is some custom stencils for the graffiti and lettering. So, I'm going to use the help of our 3D printing robot. Okay, let's boot this up.
So, if you're after making some custom stencils with whatever weird names or graffiti you want, I'm not judging. Let me share what I found. Now, I found that Bamboo Labs lets you throw in vector graphics to create flat 3D objects you can print.
>> You're going to explain how meat bag >> I was getting to that now. First, we'll need a black and white image. The white parts are going to be our stencil holes.
Here, I'm just using Affinity Photo, but any image editor will do. And once you have something that you're happy with, we have to add some connection lines. This will make sure that any floating areas like the center of an O or the holes in the number eight aren't loose and stay in the right place when we're using the stencil.
>> All of our fonts suck. How are you meant to make something look like graffiti? >> Yeah, some graffiti on the signs.
A good idea. Okay, I'm going to make a separate stencil to grunge things up a bit. A good place for graffiti style fonts is a website called 1001 free fonts.
Make sure you put in die stew. I hate that guy. >> Who's Stew?
>> He always watches but he's never subscribed. >> Oh yeah, screw that guy. >> Oh, also if you want some simple graphics, game.
net is a great website to find something. All right, let's just double check all our connection lines. Yep, looks good.
So for Bamboo Lab, it just needs the image as an SVG to translate it into a 3D mesh. Affinity Photo can save it out as a vector graphic, but in case you want to make it in something else, pick SVG. com lets you convert the images.
Just adjust these settings to get it looking similar to your original image. And we got it. All right.
Going to download that. >> Send it to the robot now. Hang on.
We got to slice it first. Now we can just drag in our SVG. And it's 3D now.
>> Wow, that's massive. >> Yeah, it's a bit too big. All right, we can make it whatever size we want, but we want to only have it about two to three layers thick.
If it's nice and thin, it'll print fast and give us a cleaner result when spraying these on. Okay, let's print. [Music] Okay, whilst that's printing, I'm going to prep some styrene for the sign.
I'm going to prime this one with some Vidian green to get that street sign color. The material I'm using here, styrene or ABS, is a good, sturdy, thin model making plastic. This one's about 1 mm thick.
Oh, prints ready. Yes, it worked. It's a goddamn miracle.
>> Okay, because we don't want it to bend or warp, we're going to have to wait until it's fully cooled down. Might be a different story if we were resin printing it, but this one's actually been sitting on the plate for a while. So, let's take it over back to the table.
>> Yeah, just rip that off there. >> No, >> rip it off. >> I mean, we could do that.
I'm not sure. Maybe. Uh, >> tell you what, let's be careful and let's use a little blade here to kind of slide underneath it and take it off as careful as we can.
You coward. >> Yeah, cuz I'm going to be using it like a little airbrush stencil. I want it to be all reasonably flat here.
Got it. >> Yes. Success.
Pretty thin. Pretty flat, I guess. Yeah.
Let's Let's give it a shot now on the uh the airbrush. All right. Just got a little bit of scrap cardboard I'm just going to cut the corner out of.
See if that does an all right job. There we go. [Music] See how this turned out.
This is going to be the moment of truth here. Not bad. >> Not bad for a flesh sack.
What about all those gaps? >> I don't know. Yeah, might is just a tiny little brush.
Fill in some of these gaps. All right, I'm going to let that dry. >> Graffiti time.
>> Oh, yeah. Looking way too clean here for Dead Hollow. Let's grab our graffiti stencil.
All right, so I've made a stencil layout to match the positions on the sign where I want the graffiti. I'm going to mask some off so I can use some different colors. I'm just trying not to go too heavy so it doesn't cover up too much of the sign writing.
>> Oh yeah, that's looking all right. Too easy. >> Where's my message to Stew?
>> I left it out. Wimp, be a man. >> No.
Okay, now that we've got our sign done, all we have to do now is open a portal to the underworld to finish it off. >> Wait, what? Ah, all right.
Here we go. [Music] Ratas, right? It's easy.
You can also throw in some crafting materials. Like here, I've got some foam core, some old sprus, stuff like that. Just pop it in there and wait a moment.
Ah, it's all done. Give me that. >> Ooh, that's looking good.
>> Some really nice finishing touches here. I like that they've used some leftover sprus for the sign poles. >> We'll see if we can link the underworld tapes of how this sign came together.
Right now, it's available for my supporters over on Patreon. A special shout out to my seeker level patrons, A Light in the Darkness, Blake Darly, Chris Andress, Constructed Chaos, Devante, Dr Justin El Ham, John A. Johnson, Mad Bishop, Mini Wargaming, and Theos Primus.
>> Hey, if you leave underworld portals open too long, can things come through? >> Oh crap, I forgot to close it. >> Back [Music] back to the underworld.
Heat.