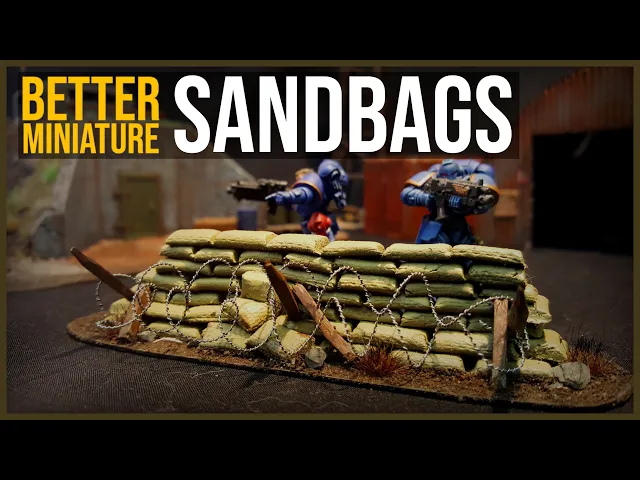
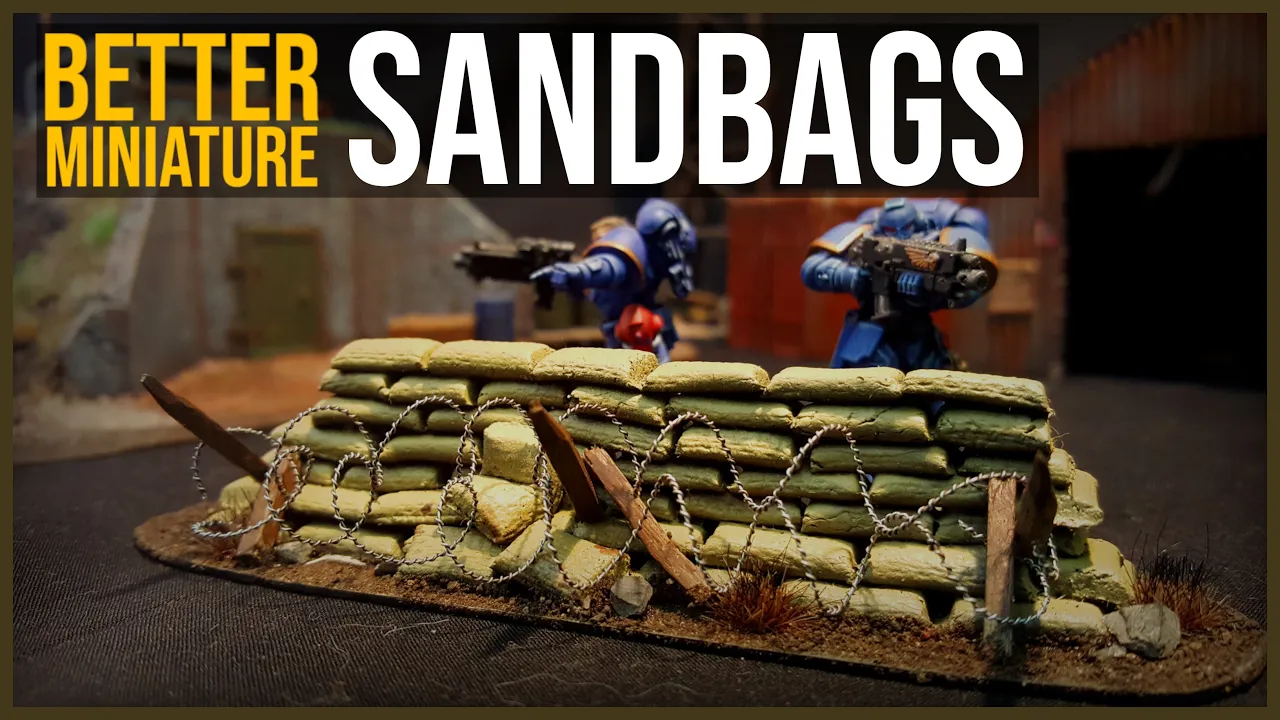
hey everyone and welcome back to the channel for this week's wargaming terrain tutorial i hope you enjoyed this video should be a nice and quick one remember to hit like and subscribe if you do now this week's video we're going to look back at some sandbags i did uh quite a while ago now these were great uh the process is still essentially the same but i've managed to find a couple of ways to really sort of you know bring these up to the next level and i want to share that with you today so let's
get into it now the only real difference from the first original process uh is going to be this cloth that i've got on the table here which i'll explain a little bit more about in just a moment so for my sandbags i just use this air drying clay this stuff is really cheap very effective for this type of thing and super simple to use so uh it's not very messy i'm just going to tear off a small section of play here you don't need a lot for your first first roll you'll probably want to repeat
this process if you need stacks of sandbags but here i'm just rolling out a little sausage so this is just uh thinning it down as much as i can to kind of get that scale and that size of those sandbags that i want obviously if you want large sandbags you're gonna want a you know a larger tube of clay here now all i'm going to do is just lay it onto this canvas that i've got which is just some of that same canvas i used for the battle map videos uh now this stuff is it
doesn't need to be poly backed at all this stuff's just got a quite a large weave i guess so the pattern that i press in there when i actually um squash down the little tube of clay really works well to sort of give it some texture at least because i was one of the things about the first lot i did i mean the first lot looked really good they i have i still use them but if i'm going to make some more i thought i'd try and make them a little bit better which is what
we're doing today for my base on this one i'm just using some cereal box cardboard i have glued two pieces of cereal box cardboard together there just to get this a little bit more rigid not that it really needs to be here what i'm doing is just with that spread of glue that i've used that pva glue there using very liberally so you want a fair bit of this stuff on there to sort of squish these down into it acts as a bit of a mortar so uh and it will shrink significantly as it dries
so you won't have all those little ripples of glue it's not like hot glue or anything like that i'm just going to build this up here um now you notice when you build these or when you make these sandbags you'll probably have a lot of different sizes over the time that you build them so some big some small some in the middle some slightly odd shaped it really doesn't matter you don't want to be sort of aiming for perfection on these they're so quick and easy to make uh that it doesn't really matter if you
have different sizes i've found uses as you can see here for building up different parts of the sandbag wall here uh you know having smaller ones and larger ones is actually quite helpful so with this sandbag wall i want a bit of a angle on the front of it so i wanted to sort of double back a little bit with these and overlap them just to get a little bit of an angle there at the start so a bit more of a foundation for these sandbags now one thing i'm also going to do here is
just add a couple more at the front that have just sort of fallen off or being left stacked there one of the things i did when i was uh when i set these sandbags to dry is i just bent a couple of them over as you can see there just to make a bit of a folded sack this is really handy for gluing these on the front and around the uh defenses that you're building so next thing i want to do is add some spikes here these spikes will be really important because i need something
to kind of stand the barbed wire against or glue it against so here i'm just sort of getting a bit of an eyeball of what i'm sort of aiming at uh which is a bit of a cross section i'm just using matchsticks and i'm just going to actually drill out a small section not all the way through obviously you just want to drill out a small hole there which is big enough for your matchstick to go in and this will just add a bit of a spike to the front of our defenses here so [Music]
if you find your matchstick is just a little bit too large just trim it down here with your craft knife you only want to take a really little bit off you just want to be able to press it into that hole you want to do that for all three doing this without gluing at this stage i will come back and add glue to that very shortly but this is just to sort of get a sense of what i'm looking for with these uh bits of wood here so it comes to gluing in i'm just using
the pva glue again uh make sure i cover up the hole that i've drilled so that when i push in this spike it'll actually hold in there and won't come loose at any stage in the future so there you can see i've glued these all in now i'm just going to wait for that pva glue to dry a little bit before i go in and give it a good coat of this watered down black paint and mod podge uh it doesn't matter to use mod podge or pva in this instance it's just i have this
bottle mixed up that's got mod podge in it you want it to be quite watered down um you would have seen me do this in quite a few videos before where we want this to sort of run into all the cracks and crevices of this build so you know the watered pva and black paint mix is uh pretty important to kind of cover up as much of that white as you can you can see we're done it's not a perfect paint job we're not looking for that because we're going to cover it up a fair
bit now the painting process for this one is really simple i'm going to use an airbrush in this case just because i want it to be quite quick but you know you could still brush this on and get a very similar effect so don't be too put off by the airbrush i'm using here i'm just going to use some of this oak brown to really baste this thing after the black's gone on i do use the army painter thinner flow improver which seems to work really well with their paints just to get this through the
airbrush now i'm just trying to get this as you can see here angled from the sort of from the top just so i keep some of those shadows and those different shades of brown that i've put in there uh the next thing i did was actually tried to lighten this up a little bit and i mixed in the mommy robes and the desert yellow and my mix was a little bit off so i ended up it was a bit too a bit too light bit too white so i've actually just all i did was added
in some more desert yellow to that to that mix so that i was getting a lot more yellow than i was uh white so as you can see once that's dried it's turned out pretty good i could probably still go in with some more effects paint-wise i could maybe give it a wash or something like that but at this stage i'm looking for quick terrain so i'm going to kind of just leave it there i'm just going to get some straight pva glue here and run it around all the base the exposed base here this
is just for our ground cover to go on now for this i'm actually just using dirt uh this is this dirt here i've just got from my backyard you would have seen me use it in the um bunker build that we did this stuff's really good again if i can avoid having to paint sand or ground cover in any way i'll do it so i'm using this brown stuff because it seems to fit really well there you can see i've added just a few little rocks and some uh scorched tufts of grass here i thought
they worked really well the dark in there i could have gone with green or or lighter color but um this one i i think worked out pretty well the next thing i'm doing is just using the razor wire uh this stuff is from army painter and i have to say one container so far has lasted me a quite a while and uh you know i only use small amounts of it so it seems to be going a fair distance that container that i've got so i'm just going to add a few little pieces of wire
as you can see there the razor wire on the front i do try to tone that down a little bit with a wash or something but i think you'll agree this one's turned out really nicely you can still see that texture on those sandbags and i'm really happy with uh spending a little bit of time to try and upgrade that last build that we did so i hope you enjoyed the video please remember to like and subscribe if you did if you have any questions or suggestions please just leave a comment below always happy to
hear from you guys so take care and i'll see you in the next video