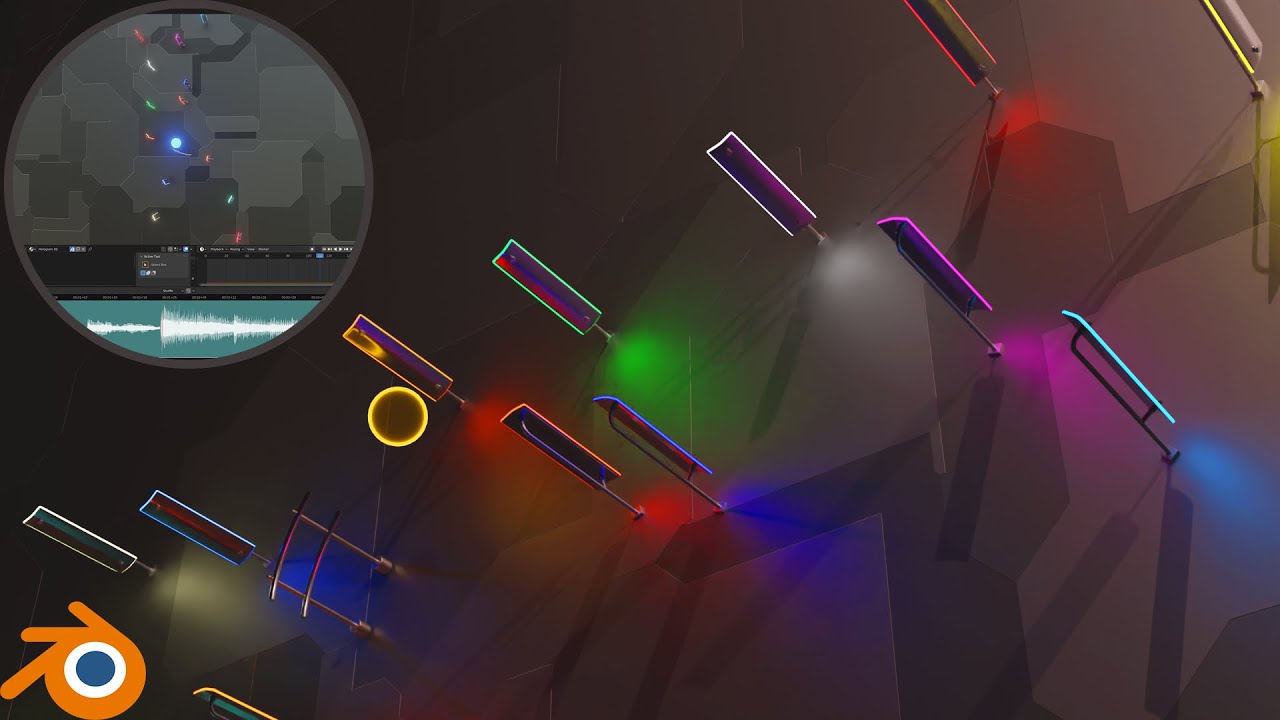
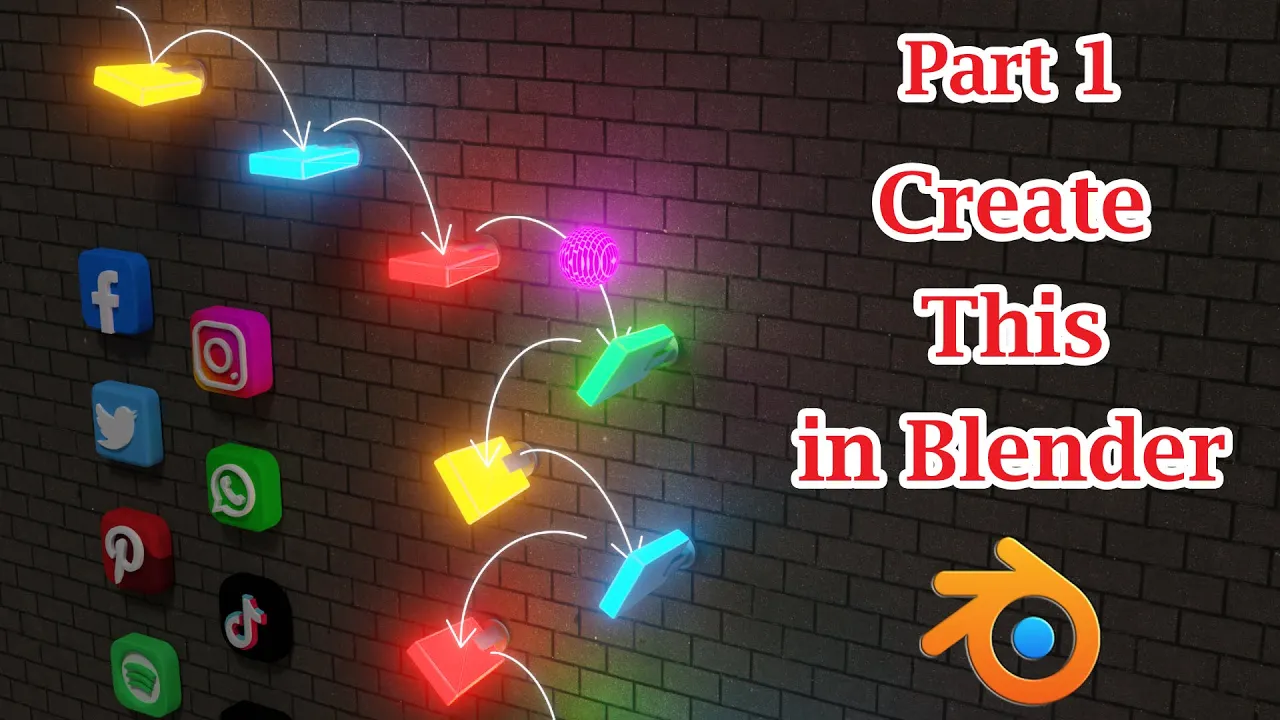
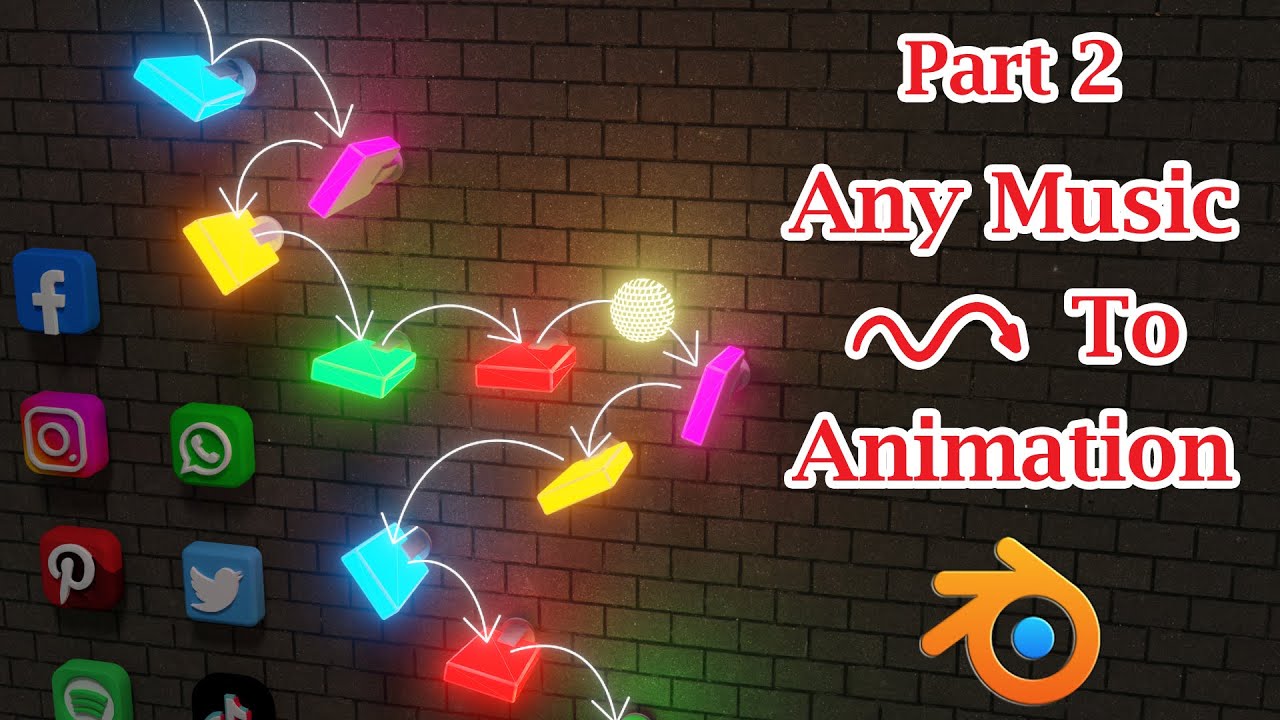
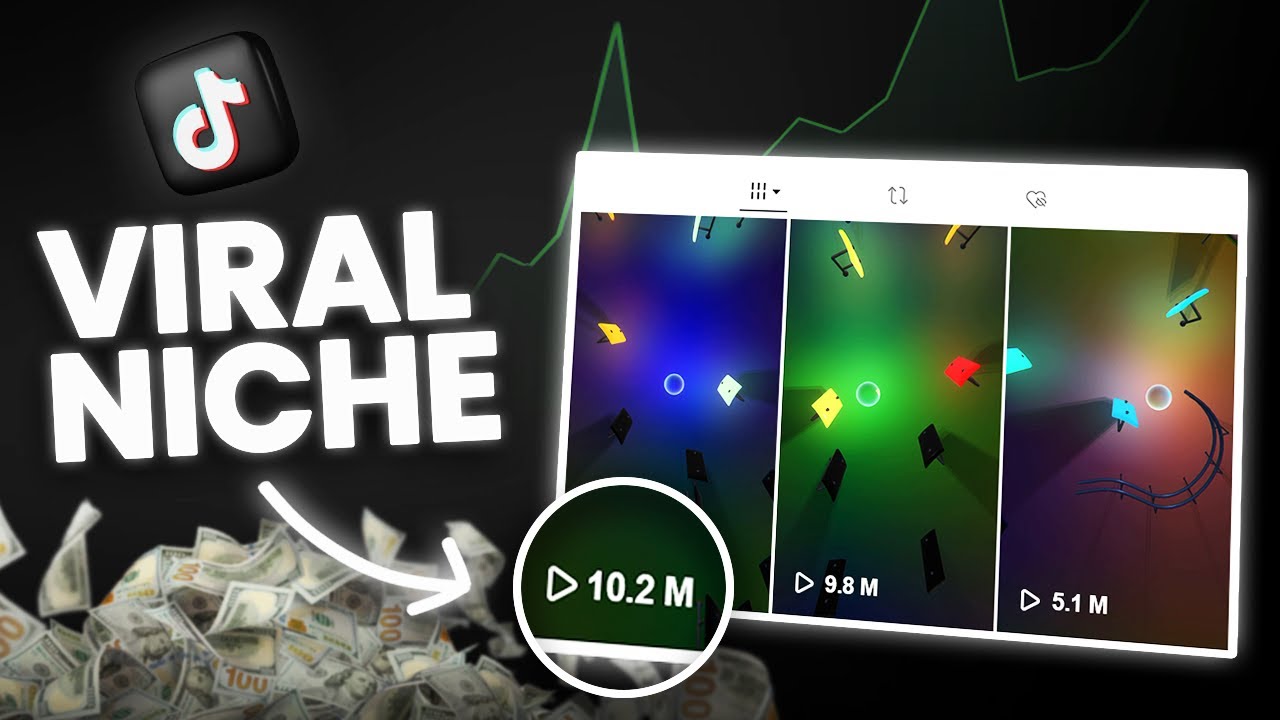
in this tutorial we'll discuss how to create musical marble videos like this one that have become quite popular these days on social media there is rigid body physics here used together with a light and sound effect and we're going to develop it with blender which is a powerful open source and free animation software so before we do anything we need to First create a single musical note or a model like this which can be used for this animation so with our default Cube let's change the Y scale factor to save 7 and the zscale factor
to 0.2 now we'll add a taper to this box so in the modifiers tab let's add a simple deform modifier then select the taper option change this factor to 0 2 ensure that the x-axis is selected and then apply this modifier we need to apply the scale factors as well and then again in the modifiers tab let's add a bevel modifier the bevel amount can be 05 and we can have five segments for this bevel let's change its X location value to say 1.4 so the main part is ready now we'll add a holder at
this end so let's go to the add menu and add another Cube we'll resize this Cube to make it smaller there's nothing specific just do it as you like for your design and we'll move it toward the main part of our model and then we need to join these two parts so go to the modifiers Tab and add a modifier called Boolean modifier use this difference option then select the bigger part in the Target object and then apply this modifier so we'll get a hollow part like this we need to join it with the main
part but before that we'll also add a cylindrical part here so again go to the add menu and let's add a cylinder we need to rotate it to horizontal and make it a little smaller we'll move it in the X direction as well but let's first reduce its zscale factor to 05 and then change the X location to place it just behind the other parts now select them together and apply the the shade smooth option finally we have to join these individual Parts through a parent child relation so select all the parts like this and
select this main part at the very end then press contrl P to bring this menu and select this option to make this as the parent for all other parts now if we move this main part or the note they'll move together or if we rotate this the whole thing will rotate together like a single object now we can simply copy this note and create a series of several such notes and then the next steps will follow so press three on the number pad of your keyboard to go to the left side view so that the
y- AIS is here and the z-axis is here in this side view we'll create a series of many such notes and we'll drop a ball like this which will gradually move this way through these notes so let's again go to the ad menu and add a UV Sphere for the ball but we need to make it smaller in size and we'll also move it up so we'll change its Z location to say six we want the ball to fall on this note due to gravity and then bounce through the other notes but we can see
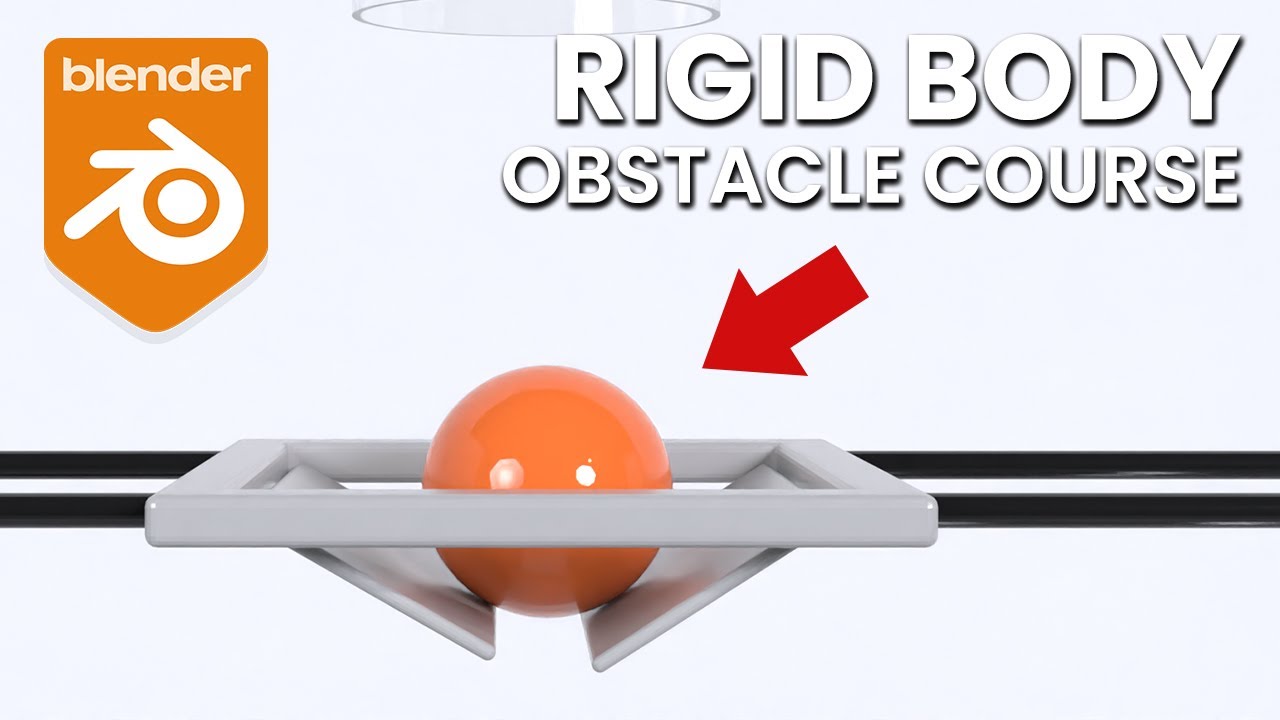
that we need to also move it this way to drop it on the center of our note so we'll modify its X location value as appropriate to bring it to the center position and then go back to the side view mode then for our ball let's go to the physics Tab and enable the rigid body physics this should be an active type rigid body and we can change the Collision shape to sphere from this drop- down then under the surface response will remove the friction value completely and change this bounciness to say 75 similarly for
the note enable rigid body physics but this should be a passive type object we'll change the Collision shape to box type for Simplicity then let's remove the friction value like before and the bounciness can be 7 but if we run this to test the setup we'll see that the ball does not actually bounce so we have to rotate this note slightly just to make an inclination that will cause a deflection and this time the ball will bounce just as we want now the most difficult part we'll create here another note and we need to ensure
that the ball hits this note after bouncing from the first one to make this job slightly easier we'll split this editor into two parts then for the middle one let's go to the scene Tab and under rigid body physics let's expand the section called cache if we change the in frame of our animation to say 500 we must have the same change in this cache section as well we'll use this calculate option quite often so let's keep this calculate section visible in this middle panel and in the lower part scroll down to surface response because
we need to manipulate these fields now box select this note duplicate it with shift d and move it to any position with your mouse you can rotate the note whatever way you like then hit this calculate to frame and play the animation once more it looks perfect so we'll place our third note let's go a couple of frames down the line then create another copy of our note and place it right here so that it overlaps with the ball now hit on the calculate button and we can go back and forth to ensure that the
physics is working exactly as we need if we want a Little More Bounce from any step we need to increase the bouncing this value for that note so let's make it 75 and before we test it again we have to calculate the physics only then the changes will take effect so we may need to either change the bounciness or the location or the rot a of the notes for our desired result for this third note as well let's increase the bounciness to say 75 then we have to calculate it again and this same process has
to be followed for all other steps or all the musical notes that we want to add in this composition like a series let's say we want this ball to follow a path like this while hitting the musical notes so we spend a lot more time to perfectly design this whole scene but it pays off when you see the final result we have used a total of 2 three musical notes you can use even hundreds of them if you have that much patience now if we play this from the beginning we'll see that the ball is
coming down following the path that we have designed then there are two important things to consider for a good result first in the output properties we have a field called frame rate so whatever physics we can see here is specific to this frame rate later if we change this value to say 30 and then render this output we'll discover that the actions are happening a little faster and the second thing is blender's rigid body physics is not very stable sometimes it can change abruptly so we should ideally bake it to Key frames once everything is
finalized let's select the ball then go to the object menu and under rigid body select the option called bake to key frames here we need to change our frame range if needed and hit the okay button it will convert the movements of the ball into a key frame for each of the frames like this within the start frame and the end frame and we can can also see that the rigid body physics has been removed from this ball so everything is now driven by the key frames like a normal animation no physics is involved but
it will give us the exact same output and it is highly stable the only thing is you can't change it later everything is now permanent we can also remove the rigid body physics from the musical notes so let's select all of them together using a box select then remove the rigid body physics for them using this option let's add a back ground for this scene with a simple plane we need to turn it to Vertical enlarge it as needed then place it behind the musical notes like this and we can hide the floor from our
viewport display so here we go with our complete setup as far as the modeling part is concerned although we are not done yet it looks really beautiful and satisfying when seen from this 3D angle the ball will jump from one note to another creating a nice music but we are yet to go there in the next step we need to add suitable material materials for our objects so let's first select this ball and turn on the rendered View mode we need to have a dark background then in the materials tab let's create a new material
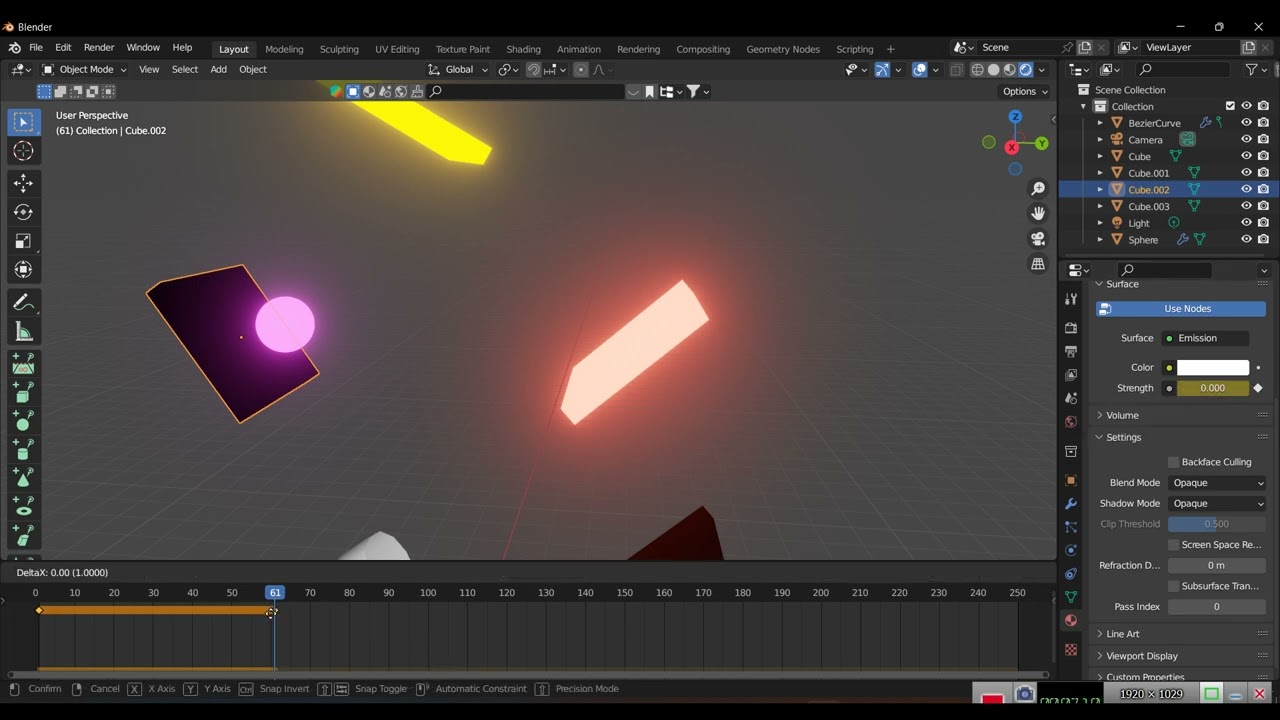
and then change the Shader to an emission type Shader we can pick up a color here based on our choice and let's also turn up the strength to say five then if you are using EV you can also turn on this Bloom option to get a nice halo effect around our ball then for our musical notes we'll use a combination of two shaders and change from from one to another so let's open the Shader editor here we are mixing one principled bsdf with an emission Shader with the help of a mix Shader and we need
to key frame this fac suitably if we change it to one we'll get an emission type material for the notes so we can either key frame this value manually for each note or we can automate this using the technique of collision detection we have discussed this approach in our previous tutorial the tutorial link is given below let's discuss here how to do it manually we'll first split this editor again into two parts and in the lower part we'll switch over to the timeline editor now play it and then stop right where the ball is about
to touch the first note you can go to the previous frame or the next frame to get the correct frame then for this fac value let's insert a key frame and then for the next frame we'll change this value to one and we need another key frame for this value now if we play the animation it will look like the collision with the ball is initiating a change in its material which looks really attractive so you can use either of the two methods to detect the Collision frames the method of autod detection is better for
a large number of notes and once you complete this exercise for all the notes you'll get a result like this it will run faster when you render and you can even use a different color for each of the notes you'll notice that the ball does not roll or rotate as it moves from one step to another if we want it to also roll we need to use friction you'll probably remember that we had removed the friction value when we added rigid body physics in order to avoid any kind of deflection for our ball if the
rolling action is really important we need to add a friction for the ball as well as for the notes but remember that the friction can also cause it to deflect from the center line so you'll need to do a trade-off regarding the value of this friction parameter finally you can set up your camera and render the output it's good to add some decorations into the video and the background music is also very important with this low lighting you can render a good video even with EV you don't necessarily need cycles for this so I hope
you like this tutorial thanks for watching and don't forget to subscribe to this channel

![[2.81] Blender Tutorial: Marble Run Simulation](https://img.youtube.com/vi/_-JN53Yv45U/maxresdefault.jpg)