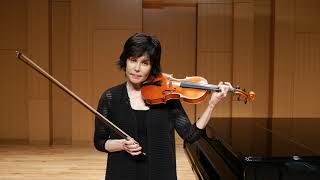
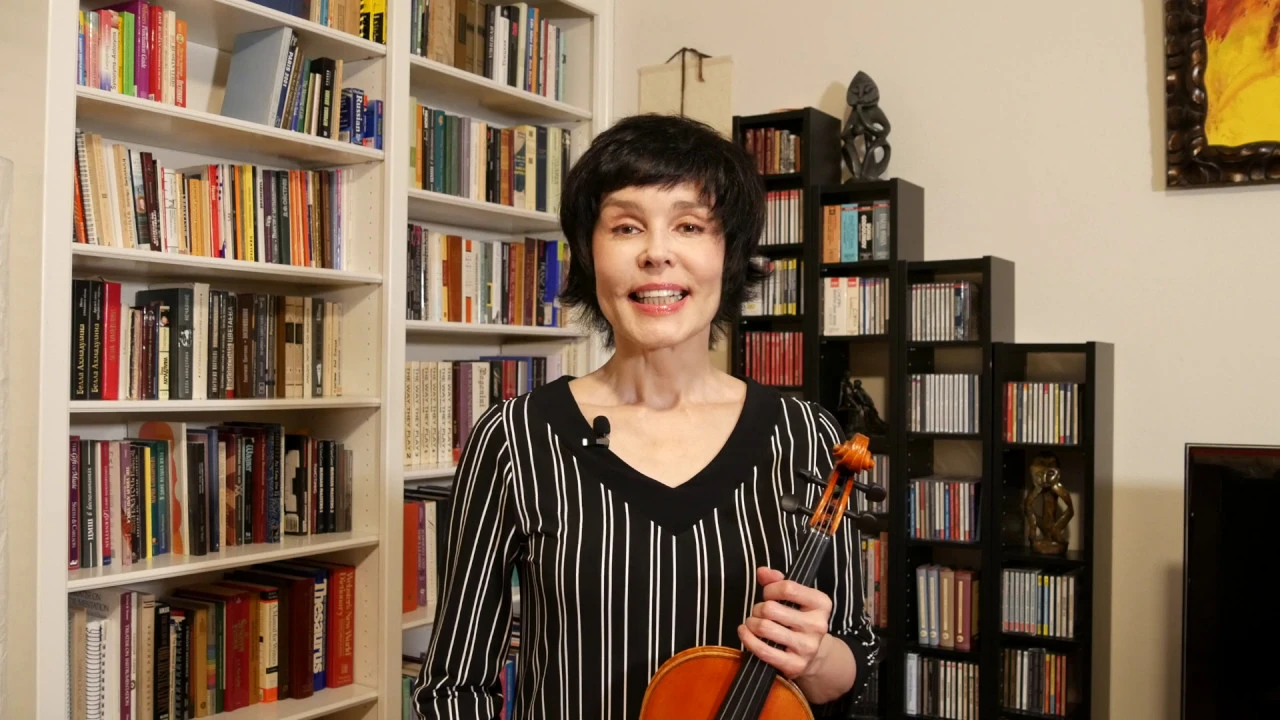
hello this is Julia buccola and today I'm going to be continuing my basic series with the left hand so this video is geared towards those who are either self-taught or want to refresh their left-hand mechanics from the very beginning so for those of you who have not ever started the violin or maybe started but forgot thoroughly how to do it here's what I would recommend you want to look at your left hand in the relaxed state as this and if you notice all right now my my wrist is really relaxed and it's positioned over my
forearm so if I bend my form this way the wrist will fall if I bend my form this way the rest would fall here and open so what we want to do is just to balance it upright vertically to the floor to the center of gravity so that it's loose but not falling this way or that way okay so here's the first thing notice where your sound would be everybody's down would be in slightly different place but wherever it is that's the where it grows I call it so the next thing there's Riley and what
I would do I would take it like this right now and mmm that's the reason right now I'm now going to be placing at my my shoulder I want to first insert the neck into my relaxed hand so here's my hand relaxed so I would insert the neck in there in between the fingers and without doing anything else just keep it there for a little bit so you position your hand like this and then you take the world and back out again so here again you insert it there you can slide it down you can
slide it up just to feel that body and now how your hand is actually not reacting to it make sure that your hand here is really dry and very clean if you're touching the varnish but you know dry hands are okay in the varnish a little bit okay so after you've done it several times I would recommend the next step next time would be so I'm restarting it here make sure that your thumb is about two inches or inch and a half depending on the size of your hand away from the nut so we know
that in the old days everybody was taught to place the thumb by the nut trust me those days are long gone we don't do it anymore and if you see anybody who is teaching like that believe me the students will later literally learn how to get their thumb out of there so the thumb should be placed away from the nut just where it grows okay so now whether your first finger our index finger we call first of course we will pull it slightly back and that will look like this so if I don't do anything
you see this shape right here of the finger when it's completely relaxed so when I pull it back it goes in becomes basically straight line with the rest of the wrist okay so that's what I want to hear we inserted it well in then the first finger goes back and that's where it stays meanwhile you place your second finger on the E string let's say or on a string maybe but maybe an e string isn't the closest to you find and then just hold and just a mmmm interesting notice that I am not at all
in the position of the violin position we'll get there in the moment why would you this way is as not to get any grabbing or holding reflex that we all have or squeezing god-forbid into our hand okay so that's stage one the hand is not in this position yet but in whatever comfortable position in which you can insert the violin in pull your first finger back and place the second finger maybe third next to it but it will be always next to it force don't worry about this so far okay second stage second stage we
need to get the violin in the proper position before we get there I need to tell you that there are very important moments of creating comfort and this very uncomfortable especially at first instrument and those moments of comforts are created by the chin rest and by the shoulder rest or shoulder pad now we do have the controversy that's going on to play with shoulder rest or without children rest believe me it doesn't apply to you if you are a young beginning player all beginning players start with some sort of support we call it under the
violin between the violin and the shoulder so the shoulder support can or the violin support under shoulder rather it could be actual show the rest in this case I am using the wolf for to say quando it can be a very much beloved by many it could be actually a paired and this for instance is the example of the play on air or it can be even that sort of pad by acoustic grip I believe it is this one is called concertmaster so this one is actually mount that one mounts on your violin and space
without anything else so it's many people are using that as well so let me show you what I would do with the play on their playing there pretty much goes on the violin the why it's called play on there because you actually inflate it yourself and you can choose just how puffy you want to you want it to be and here it goes and you have a nice support nice cushion support here there right now the good thing about it is that when you are at first time violinist and you will place your chin on
the violin you'll need to make sure that your you look straight and then you turn your head just a little bit and then you place your chin so when you do it your violin might not be as comfortably sitting there as - but even if it goes down like this that's still okay at this point it don't try to hold it with your hand at this point it's not going to be a good idea but if it's too much droops you want to make sure that it's more on your shoulder it's on the shoulder it
will be more or less parallel to the floor it should be that's what you want to get so now we are repeating the same thing as we did before now the violin is here you can also support it by the way like I do it now so I won't even be relying on my support in there even though I have it and I will go and insert in this position I will go insert and pull my first finger back here and I will put my second finger on the E string so you will see and
they do that's what you want to strive for that you have a straight line right here so you in other words you don't allow your hand to turn sideways it continues to be straight your second finger lightly touching East ring your thumb is about two inches or inch and a half away from the nut here and the third finger also will be placed right there next to your second finger and again what I would recommend this we chose with iteration just observe it and get comfortable more or less comfortable your first finger right now we
can put it on the string or we can just leave it off and I will tell you in a second why so second is on third is on then you can lift both and just be there you will be touching with the side of your index finger to the neck of course you will be by the neck right there and here the thumb will be touching with this what I call meaty part over thumb just as you inserted it right there okay so that's your fur position if you want to put your fingers on the
a-string you can just do it by fingers most likely if you have good enough size of the hand you're not too small your fingers are not too short but then most likely you will not need any accommodative movement of the elbow yet but later when we go to the d and g string then your elbow will come what i call come in into your immediate space so anyway but on e and a we don't do it so at first we ignore the fourth finger if you want to put a fourth finger there it might not
reach it might be like there especially on a string it might not reach don't worry about this we don't use the fourth finger at first for a while okay so that will be our second stage of getting the hand there so making sure again that also this space big space between the base of the thumb and the base of the first finger of the finger that with which we point stays very open in no way you want this to be a squeeze but I believe we'll all of these steps that you will take you will
actually not get to any squeeze so for now that will be it I would suggest that you would practice this for several days and don't attempt to be to do anything else with the left hand you want to be thoroughly comfortable with all of these different sensations including positioning your violin here on your collarbone and the dimension this perhaps not but yes your violin needs to be in touch with your collarbone right there that's where it comes tunes right there and instead of supporting it just with the hand as people who are playing without the
any support do you may do it later we don't know but at this point instead of trying to do this you are just letting it rest on your support on your shoulder between your shoulder and the front of your chest so here it is and then placing the fingers all right I hope this has been helpful and you will get some successful first steps and I will continue this in my next video

![Violin Techniques - Left Hand Frame [Part 1]](https://img.youtube.com/vi/PTFzNp0jOyQ/mqdefault.jpg)